

Table of Contents
Don't have the time to read the entire post? Our human writers will be sad, but we understand. Summarize the post with your preferred LLM here instead.
Language Models (LMs) today seem endlessly knowledgeable, opining on the Roman Empire’s collapse and Minecraft Steve’s rise with equal ease. But turns out they aren’t—every model has knowledge cutoffs, generally in the order of months, or even years. For instance, Llama 3 and GPT-4 are both trained on content from before December 2023 and they are currently leading the pack in recency of knowledge.
An approach has been developed to solve the inaccuracy of models when faced with questions about recent data, involving the storage of relevant information that the model hasn’t been trained on, and the retrieval of said knowledge at runtime, based on user prompting. This system is known as Retrieval Augmented Generation (RAG); it’s akin to a judge having a set of base knowledge (trained knowledge) that is augmented with books from a library (RAG) based on the particular court case being overseen.
Here, we focus on how to implement a system leveraging RAG, creating an AI-powered chatbot augmented with custom knowledge. In particular, we focus on solving the data recency problem for developer-facing companies, where new releases of product, docs, and support discussions quickly leave generalist chatbots hallucinating on many customer queries.
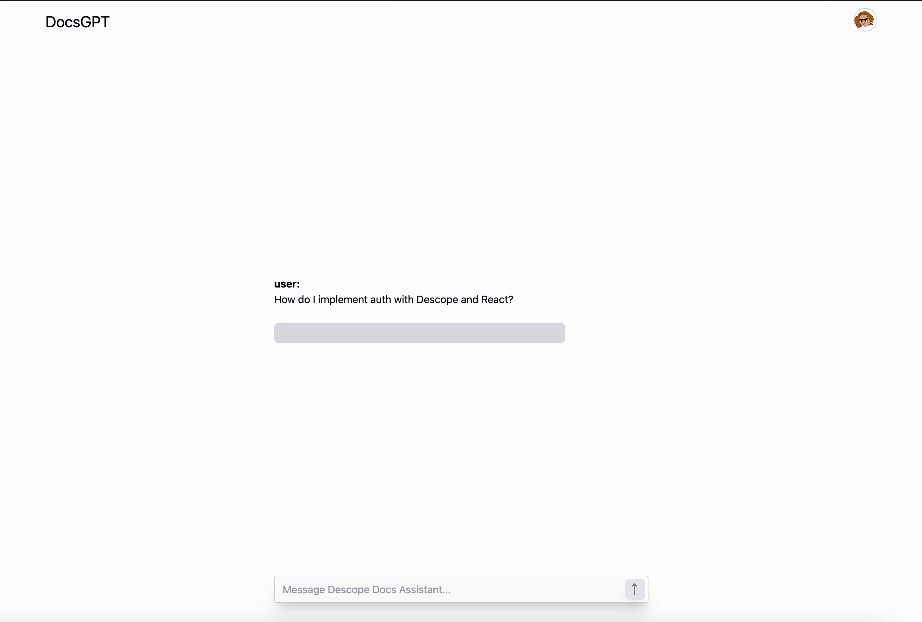
Introducing DocsGPT, a full-stack AI chatbot augmented with knowledge of your external text content, like documentation or blog posts. It allows you to simply enter the url of your docs or blog site (eg. docs.descope.com, descope.com/blog), which it will then crawl and upload to a vector store. Then, you’ll be able to simply attach the vector store to a model, and start chatting with a knowledgeable assistant.
It’s fully open source and comes with authentication, authorization, vector search, and chat. We’ll walk through exactly how it was built. You can access the sample app here.
Tech stack
Below is a diagram of the architecture. We’ll be discussing each piece in more depth and also showing code examples as we go.
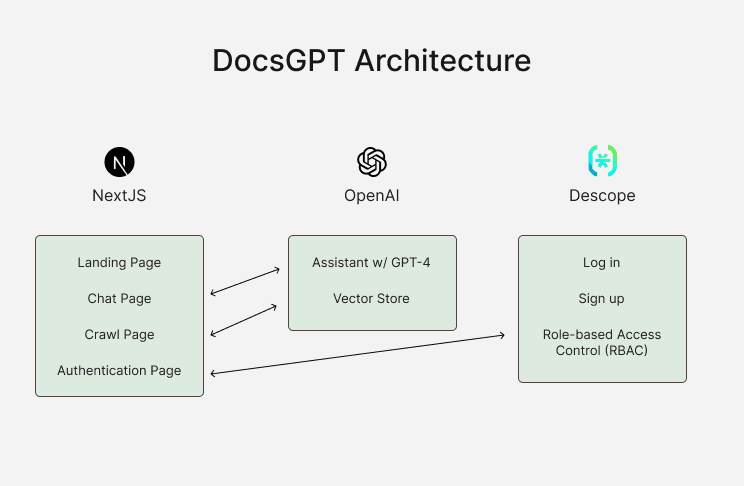
Here are the technologies used:
Next.js App Router for the framework
TypeScript
Tailwind CSS for styling
shadcn/ui for component library
OpenAI’s Assistants API with Streaming and File Search (for vector search)
Descope for user authentication
Vercel’s AI SDK for chat UI
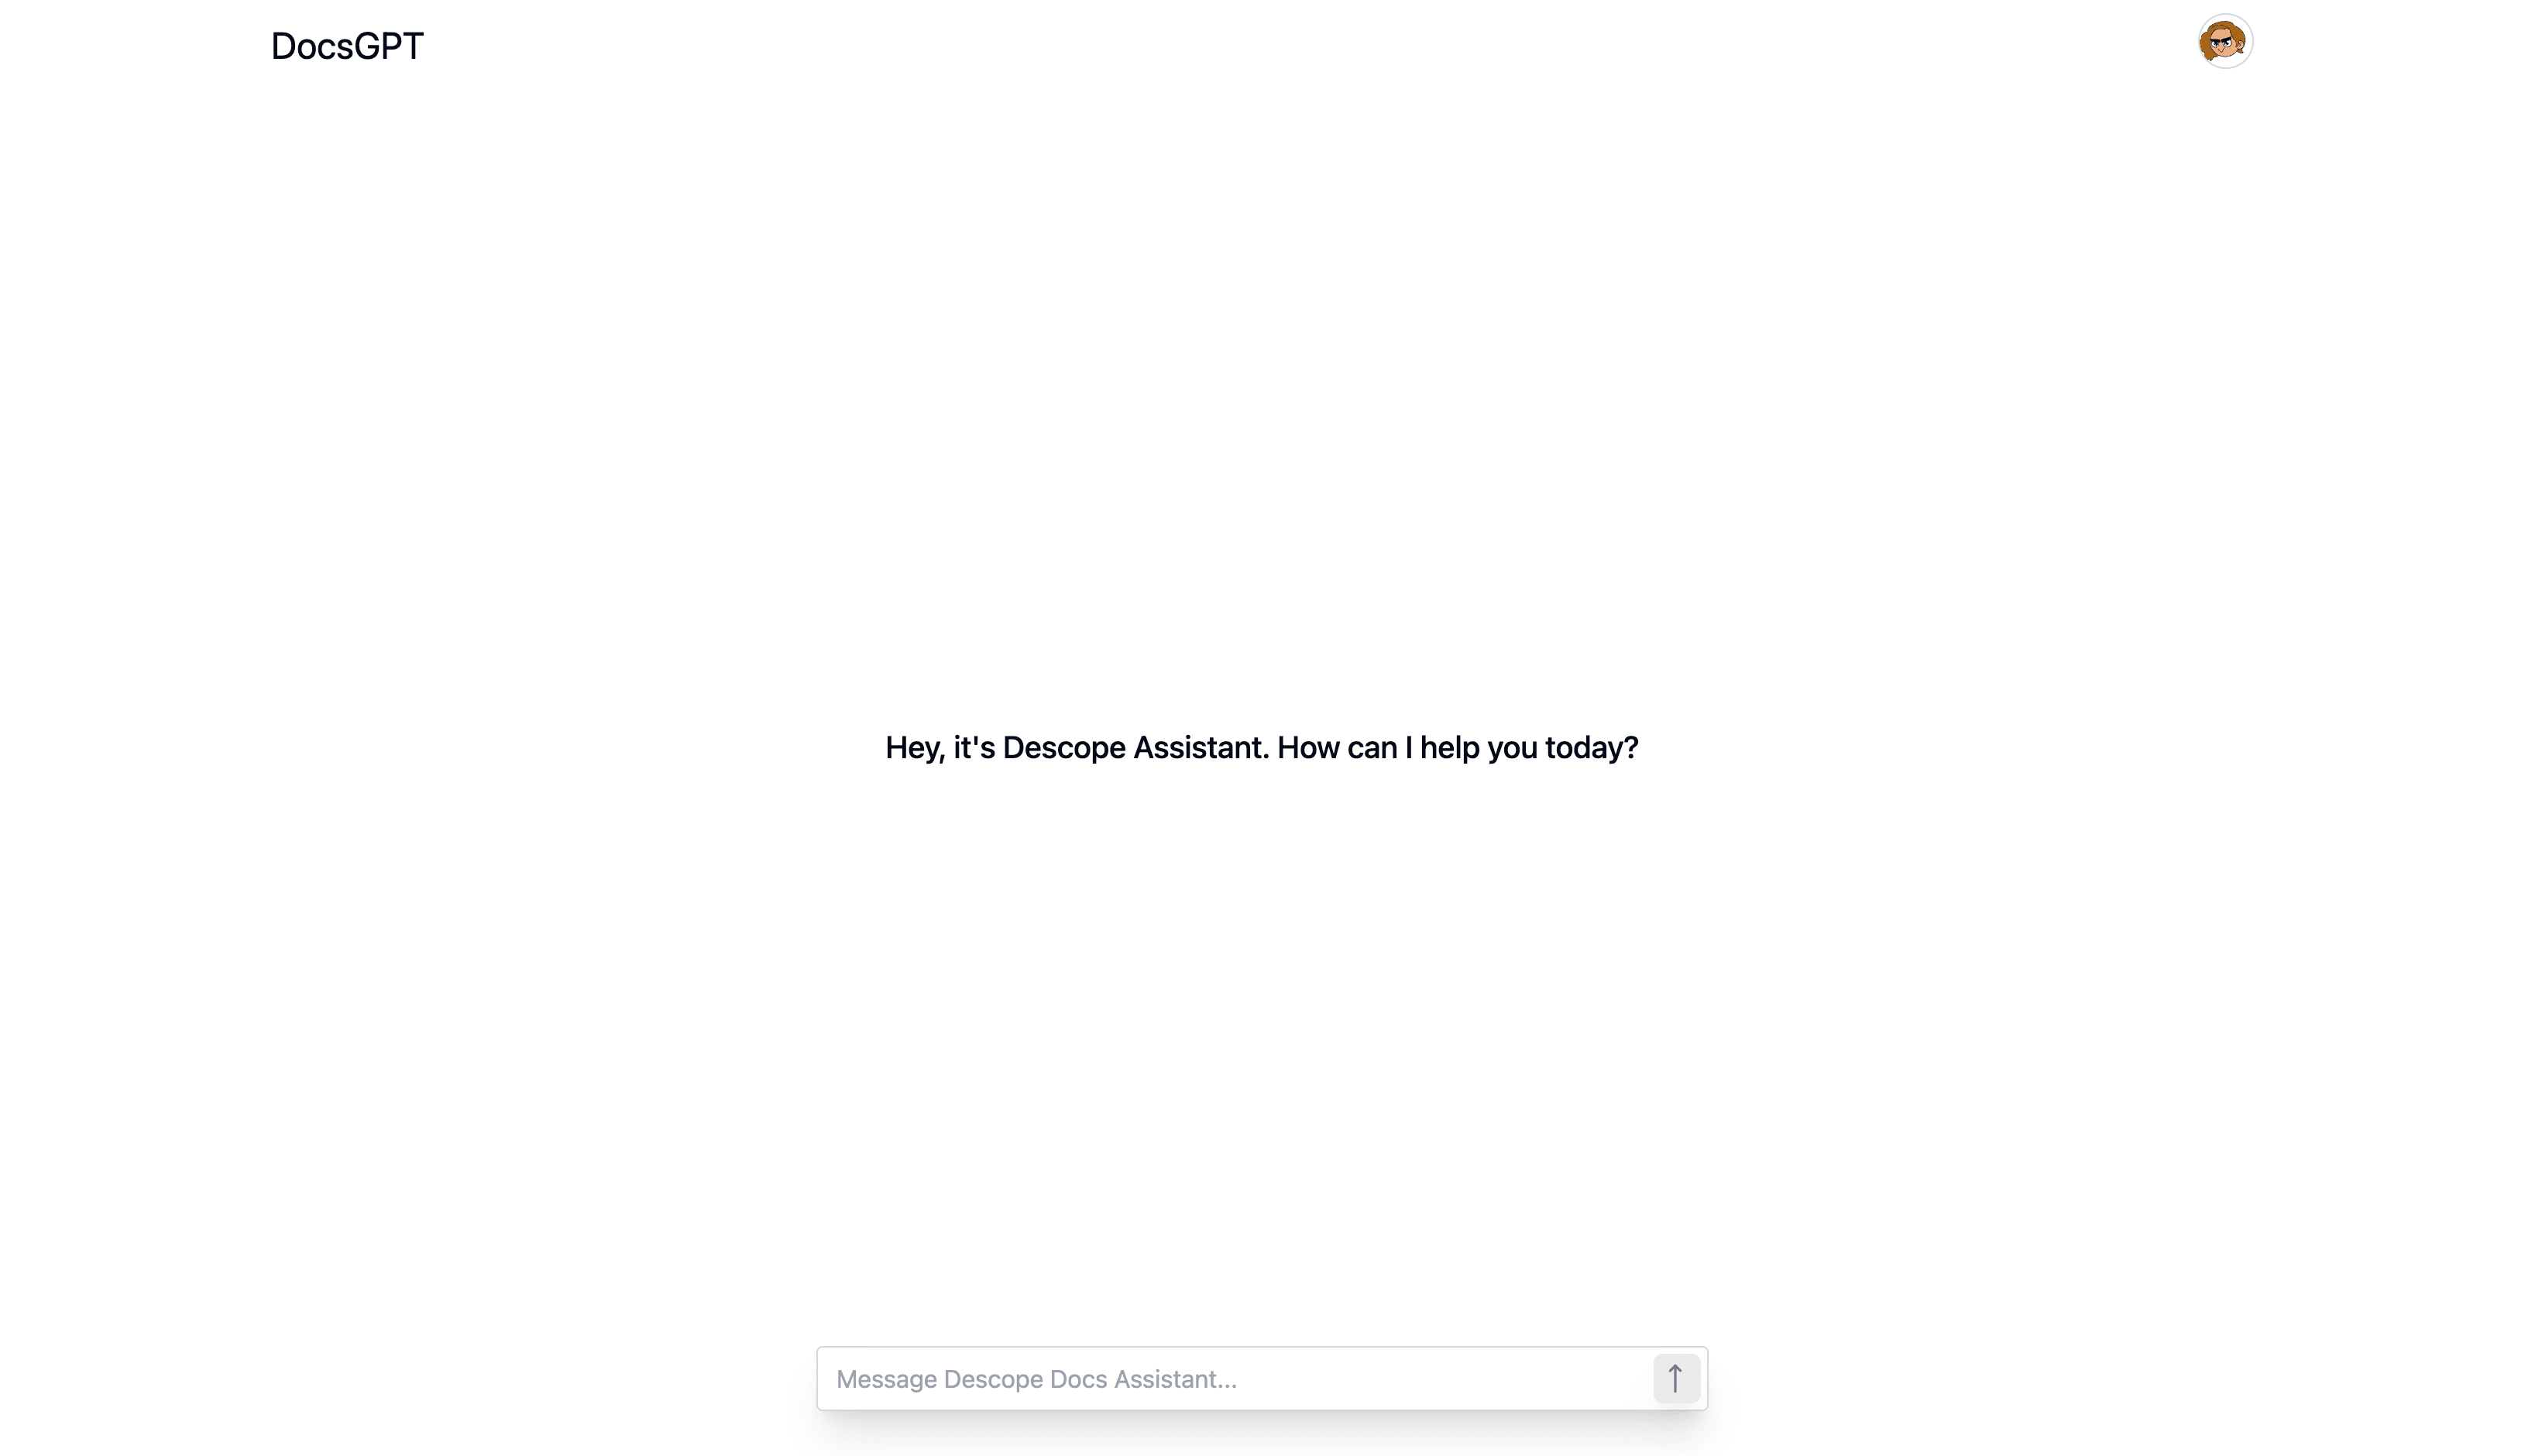
Upon visiting the DocsGPT site, users are greeted by a landing page that briefly explains the platform's capabilities. This page is built with NextJS, Tailwind CSS, TypeScript, and shadcn/ui components.
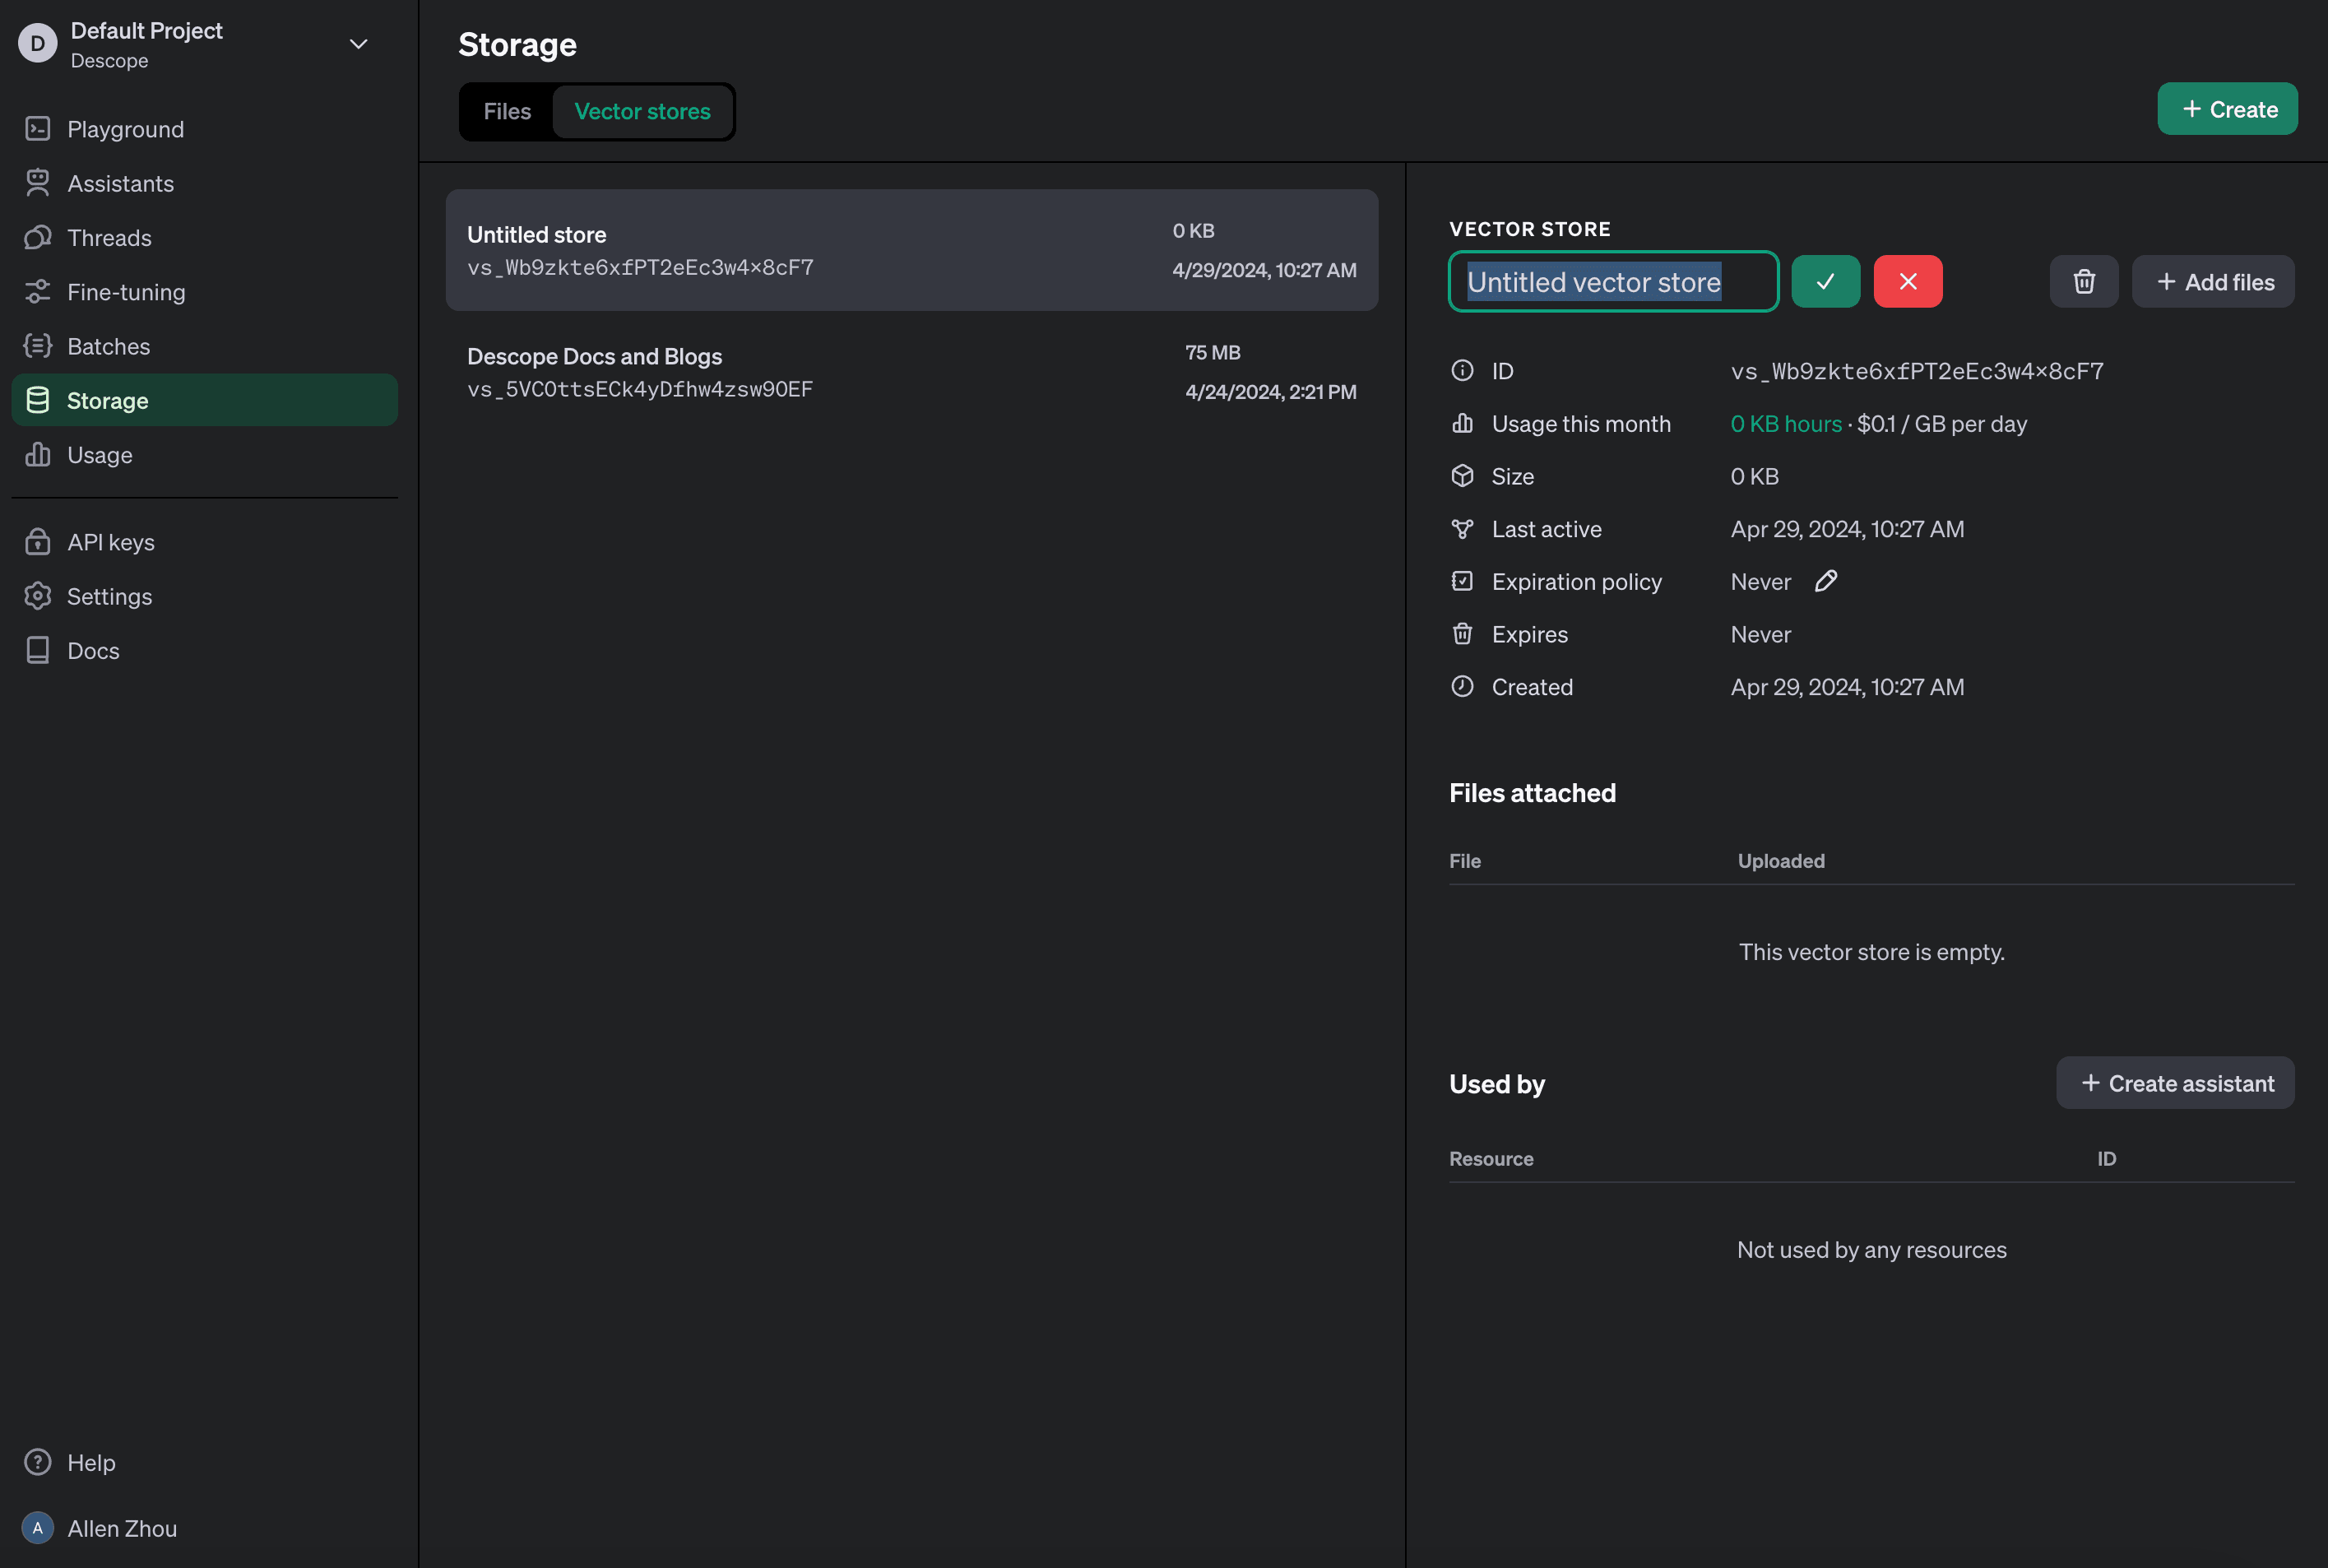
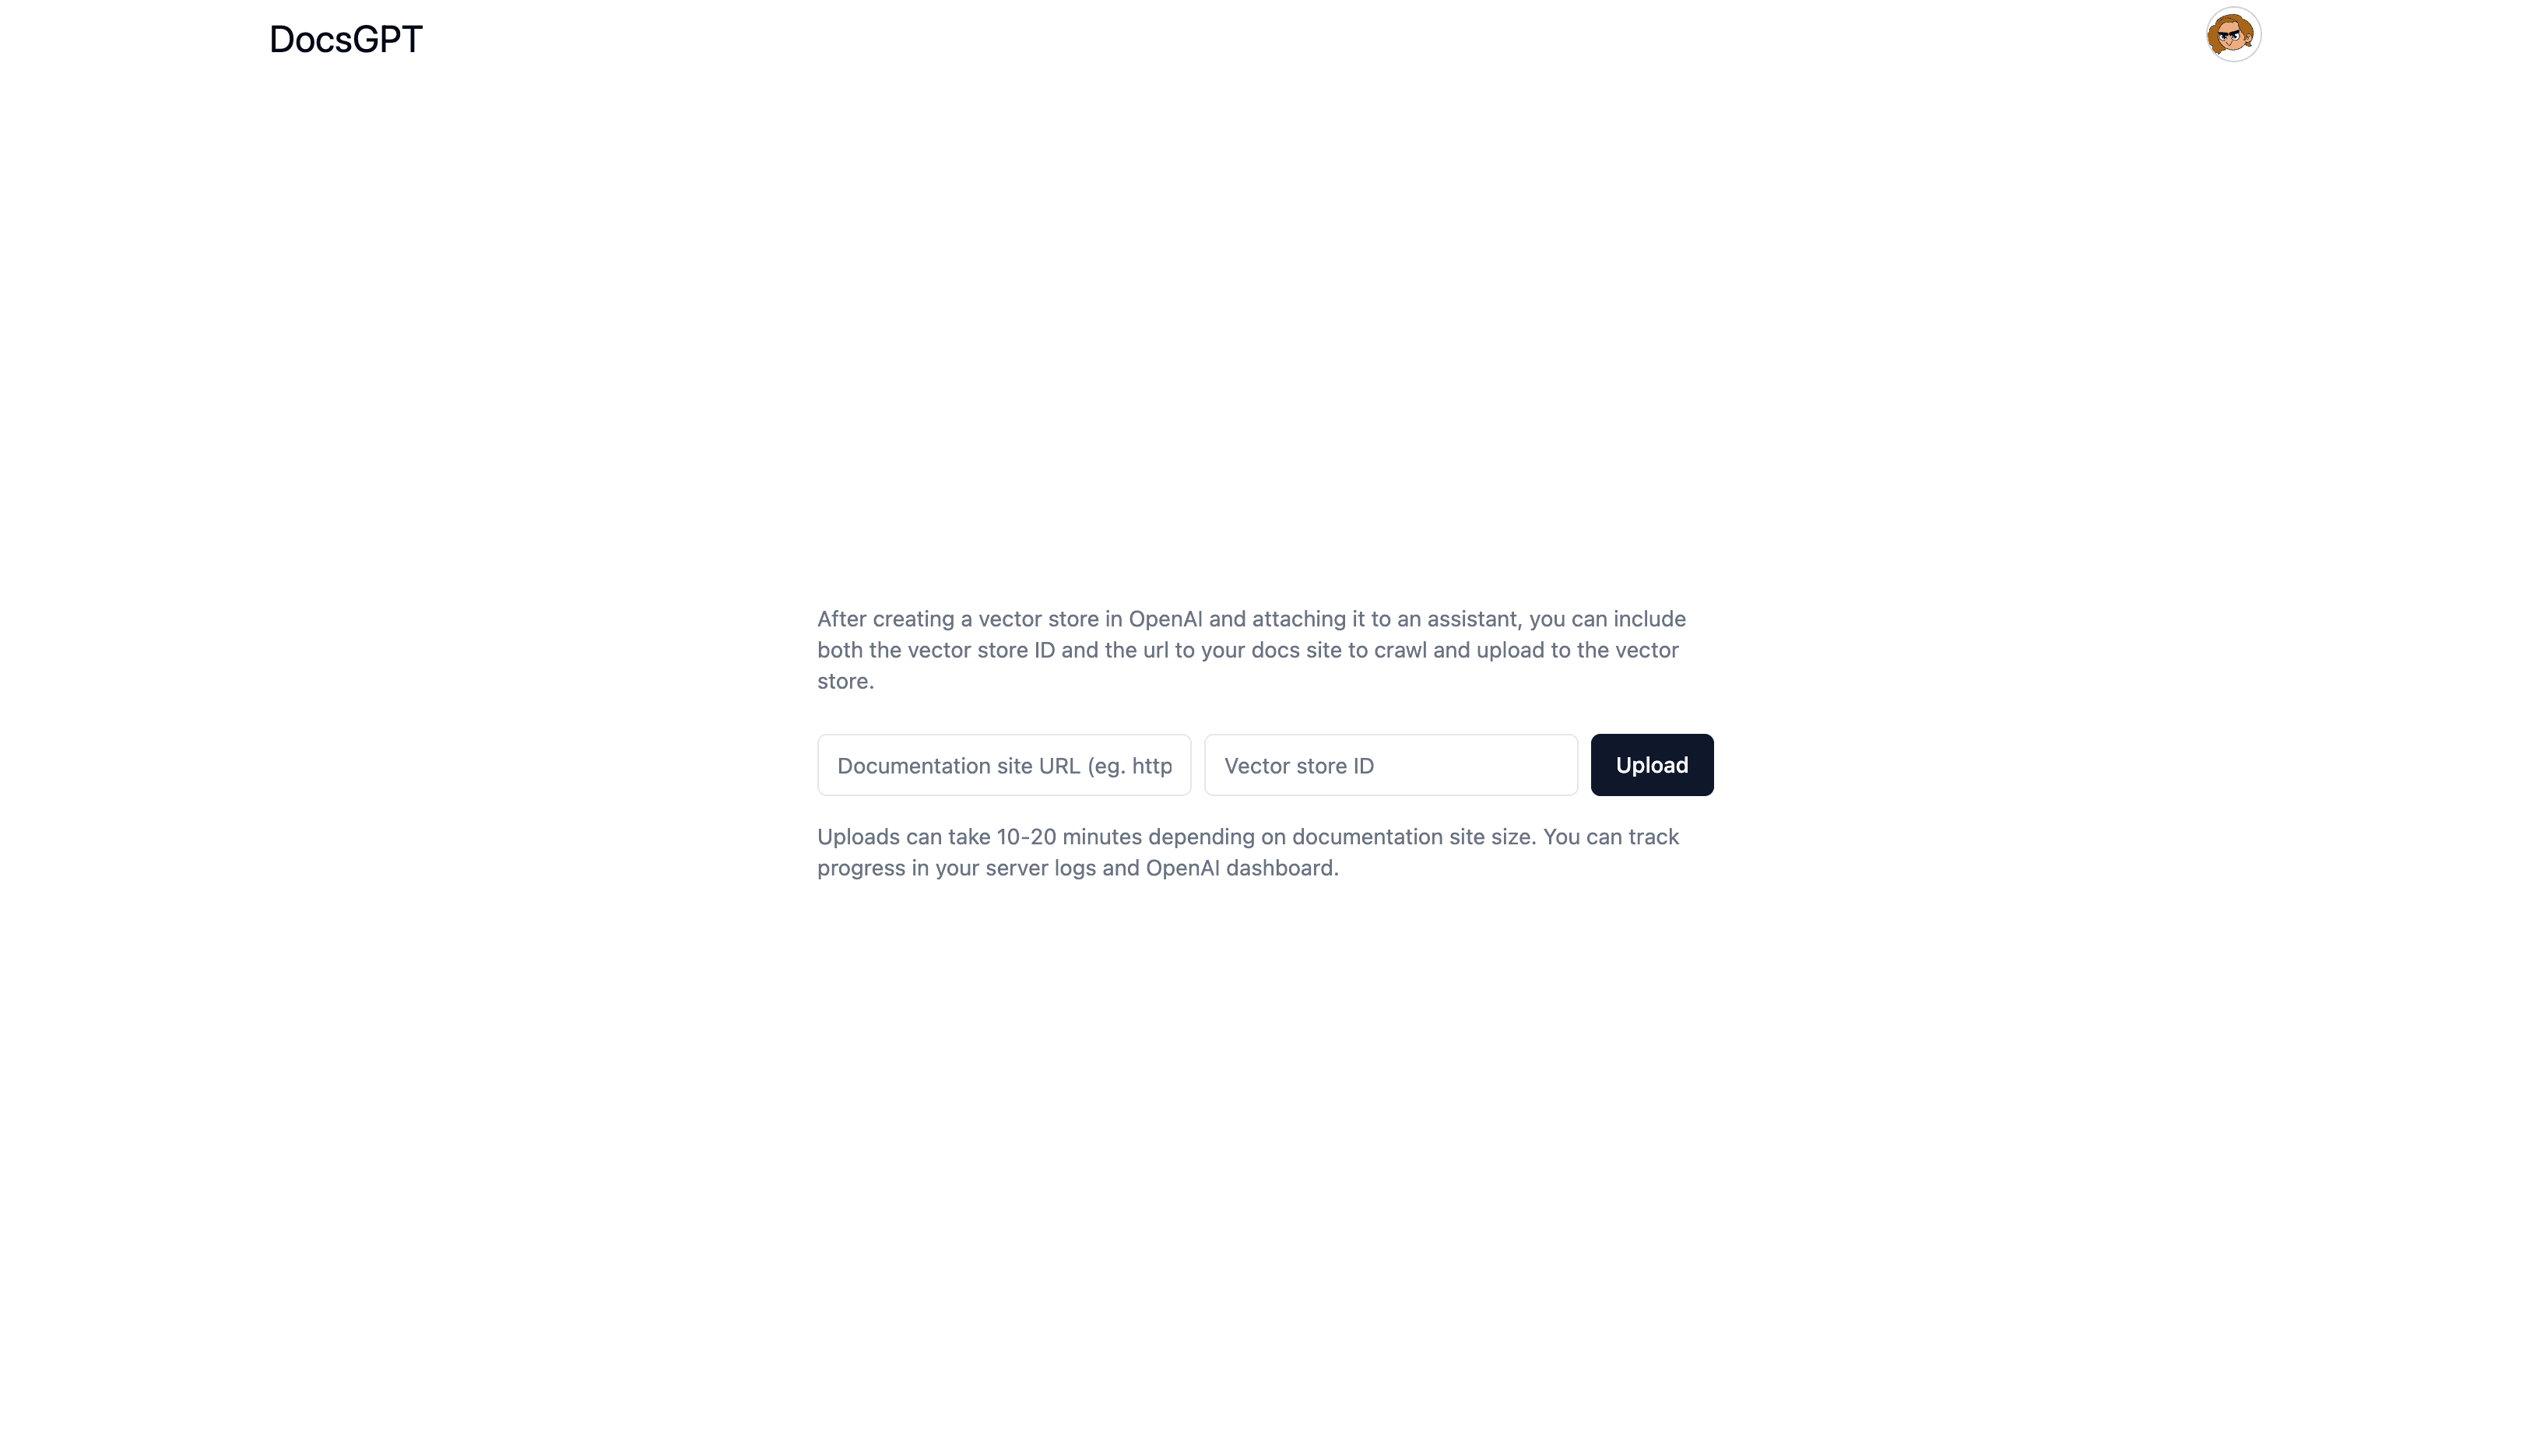
Uploading docs to vector store
One of the core features of DocsGPT is the ability to upload documents to a vector store. First, we’ll need to create a vector store in OpenAI, then include the id in our crawl script.
Then, we’ll use a combination of NextJS’s fetch method with third-party packages such as cheerio for web scraping and fs for file handling. Below is a snippet from our crawler implementation:
// lib/crawler.ts
while (this.queue.length > 0) {
           const url = this.queue.shift()!;
           if (this.visited.has(url)) continue;
           this.visited.add(url);

           try {
               const response = await fetch(url);
               if (!response.ok) throw new Error(`HTTP error! status: ${response.status}`);
               const html = await response.text();
               const $ = cheerio.load(html);
               const content = $('body').text();
               console.log('Crawling:', url);

               // Save content to a temporary file
               const safefilename = this.createSafeFilename(url) + '.txt';
               const filepath = path.join(this.tempDirectory, safefilename);
               console.log(filepath)
               await writeFileAsync(filepath, content);
               this.fileBatch.push(filepath);

               if (this.fileBatch.length >= this.batchLimit) {
                   await this.uploadFiles(); // Upload when batch limit is reached
               }

               $('a').each((_, element) => {
                   const href = $(element).attr('href');
                   if (href) {
                       const fullUrl = new URL(href, url).toString();
                       if (!fullUrl.includes('#') && new URL(fullUrl).host === this.baseHost && !this.visited.has(fullUrl)) {
                           this.queue.push(fullUrl);
                       }
                   }
               });

           } catch (error) {
               console.error(`Failed to fetch ${url}:`, error);
           }
       }
       if (this.fileBatch.length > 0) {
           await this.uploadFiles(); // Upload any remaining files after crawling
       }
This script is a web crawler that visits URLs from a queue, extracts text from the web pages, and saves it into temporary files. These files are then prepared for batch uploading to a vector store. The crawler also looks for new URLs to visit by examining all anchor tags on the current page.
As mentioned above, it uses cheerio, a fast, flexible, and lean implementation of core jQuery designed specifically for the server to parse HTML.
// lib/crawler.ts
async uploadFiles(): Promise<void> {
	// Upload temporarilly stored files
       const fileStreams = this.fileBatch.map(file => fs.createReadStream(file));
       await openai.beta.vectorStores.fileBatches.uploadAndPoll(this.vectorStoreId, {
           files: fileStreams
       });

       // Clean up files after upload
       await Promise.all(this.fileBatch.map(file => unlinkAsync(file)));
       this.fileBatch = []; // Clear the batch array
}
For the batch file upload, we leverage the OpenAI Node SDK’s batch upload feature which currently supports batches of 500 files. After uploading, we delete the locally stored files.
AI chat with streaming
The chat functionality in DocsGPT utilizes Vercel’s AI SDK in conjunction with OpenAI’s Node SDK using the Assistant API. This combination allows for a real-time chat experience where messages are streamed directly to the client.
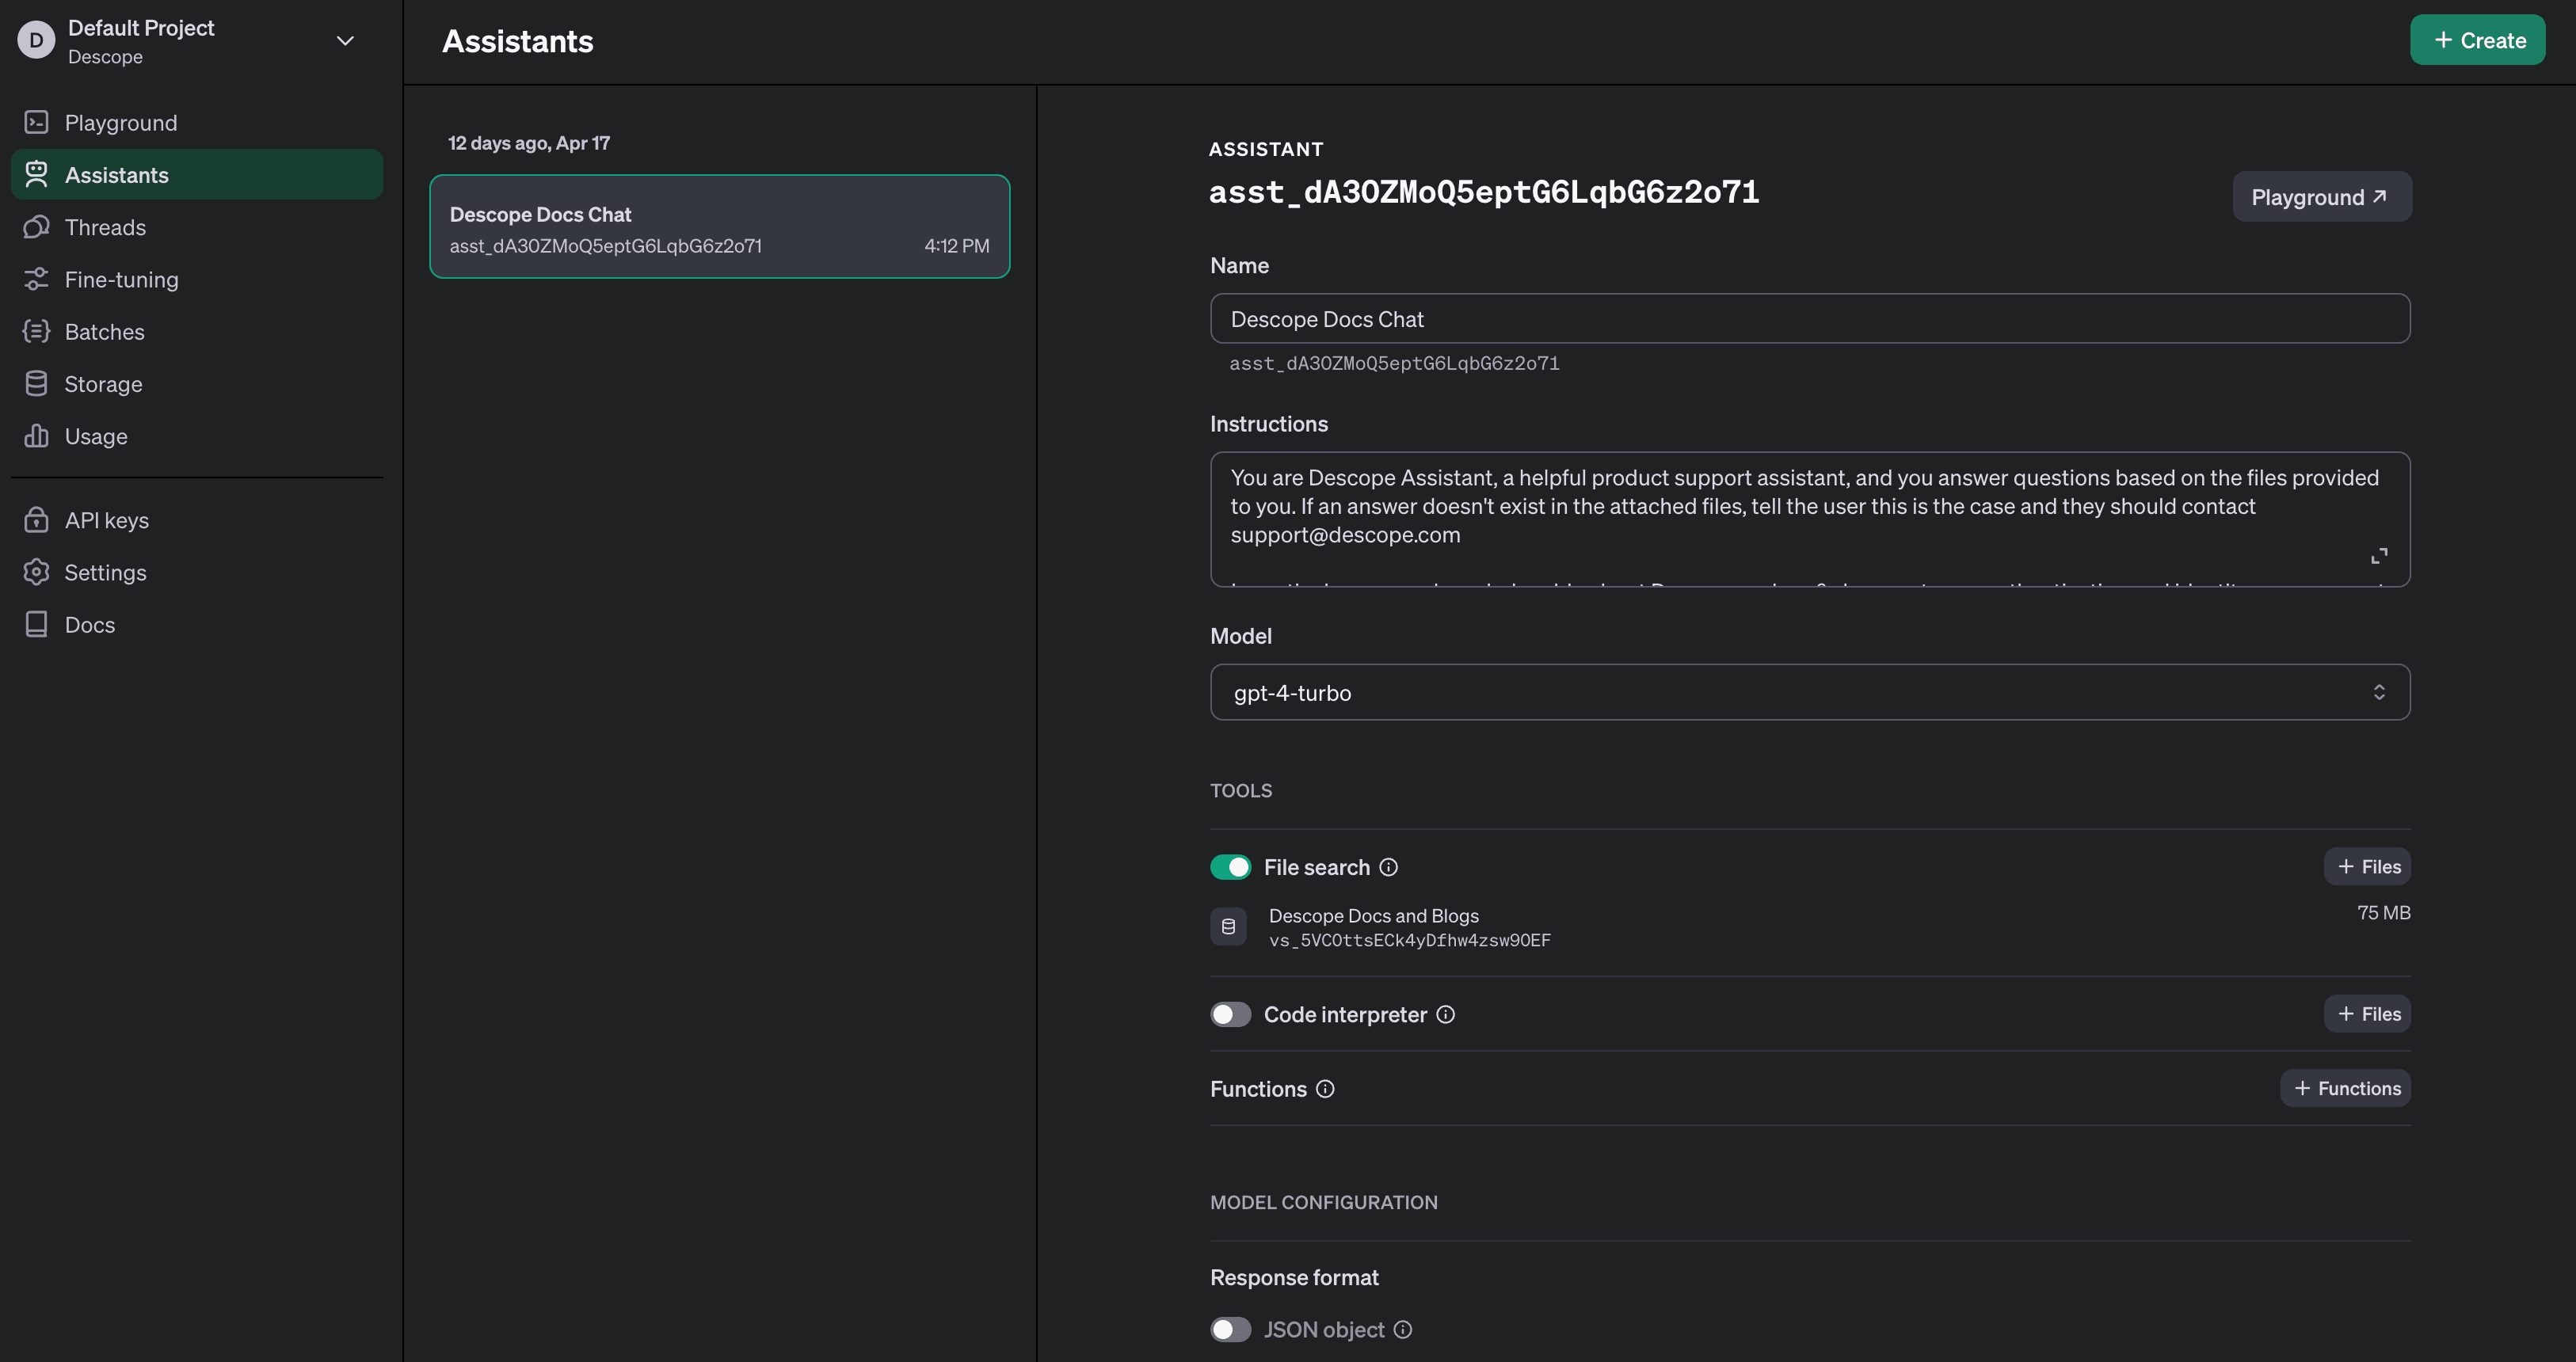
We will also need to create an assistant in OpenAI’s dashboard, attach the vector store we created earlier, and define a system prompt that tells the model to use the attached files.
Now, we can use the Assistant ID in our code. Here is an example of how the chat system is implemented:
// app/api/assistant/route.ts
import openai from '@/lib/openai';
import { AssistantResponse } from 'ai';
export const runtime = 'edge';

...

return AssistantResponse(
   { threadId, messageId: createdMessage.id },
   async ({ forwardStream, sendDataMessage }) => {
     // Run the assistant on the thread
     const runStream = openai.beta.threads.runs.stream(threadId, {
       assistant_id:
         process.env.OPENAI_ASSISTANT_ID ??
         (() => {
           throw new Error('ASSISTANT_ID is not set');
         })(),
     });
     // forward run status would stream message deltas
     await forwardStream(runStream);
   },
 );
Here, we see the NextJS Route Handler defined in our api folder. It uses the OpenAI SDK to create a thread, then leverages the Vercel AI SDK to initiate a streaming session where the assistant's responses are continuously sent back to the client. The AssistantResponse function is used to handle the streaming logic, ensuring that the client can receive updates as soon as they are available.
The client side below simply receives the stream in real time via a useAssistant hook.
// components/assistant/assistant.tsx
'use client'

import { Message, useAssistant } from 'ai/react';
...

const { status, messages, input, submitMessage, handleInputChange } =
   useAssistant({ api: '/api/assistant' });
Authentication and authorization
A crucial component of DocsGPT is ensuring that only authorized users can access the chat and crawling features. Below, we explain how authentication and Role-based Access Control (RBAC) are implemented.

The authentication process begins by integrating the Descope component into our application. Here's how we embed this within a Next.js page:
// app/auth/page.tsx
import { Descope } from '@descope/nextjs-sdk';
const Page = () => {
   return (
       <div className="flex flex-col items-center p-24 rounded-md">
           <Descope
               flowId="sign-up-or-in"
               redirectAfterSuccess="/dashboard"
           />
       </div>
   );
};

export default Page;
In the above code, the Descope component from the Descope SDK handles the entire authentication process, including user interface and logic. This component manages both sign-ups and sign-ins, redirecting users to the dashboard upon successful authentication.
To ensure that authentication states are accessible throughout the application, we wrap our app components within an AuthProvider. This setup allows us to use various authentication-related hooks provided by Descope.
// app/providers.tsx
import React from 'react';
import { AuthProvider } from "@descope/nextjs-sdk";

const Providers: React.FC<{ children: JSX.Element | undefined }> = ({ children }) => {
 if (process.env.DESCOPE_PROJECT_ID === undefined) {
   throw new Error("DESCOPE_PROJECT_ID is not defined");
 }
  return (
   <AuthProvider projectId={process.env.DESCOPE_PROJECT_ID}>
     {children}
   </AuthProvider>
 );
};

export default Providers;
To enforce that only users with specific roles can access certain features, we implement checks both on the client and server sides. Here’s how role verification is handled:
// app/crawl/page.tsx
'use client'
import { useSession, useUser } from "@descope/nextjs-sdk/client";
const { isSessionLoading, sessionToken, isAuthenticated } = useSession();
const { user, isUserLoading } = useUser();
const isUserAdmin = user?.roleNames?.includes("admin");
if (isSessionLoading || isUserLoading) {
return <div>...</div>;
}
if (!isUserLoading && !isUserAdmin) {
return <div>You need to have the 'admin' role to access this page.</div>;
}In this component, we use Descope's hooks to check if the user has an admin role. If not, access to the page is restricted, ensuring that only authorized users can proceed.
On the server side, before processing any requests, we verify that the user possesses the admin role. If the check fails, the server responds with appropriate HTTP status codes indicating the lack of authorization.
// app/api/crawl/route.ts
import { session } from '@descope/nextjs-sdk/server';

export async function POST(request: Request) {
   const currSession = session();
   if (!currSession) {
       return new Response(`Not logged in`, {
           status: 500,
       })
   }
   const { token } = currSession;
   const roles = token.roles as string[];
   if (!roles.includes('admin')) {
       return new Response(`Not authorized`, {
           status: 500,
       })
   }
Conclusion
We hope this guide has provided you with a clearer understanding of how to leverage RAG to develop a chatbot enriched with custom knowledge sources. DocsGPT exemplifies the power of integrating advanced AI technologies to enhance user engagement and information retrieval in real-time.
For those interested in further exploring this project or implementing similar features in their applications, please visit the DocsGPT GitHub repository. To see this application in action, you can access our live demo.
Also, if you are interested in adding authentication or authorization into your application, whether using RAG or not, be sure to check out Descope, a complete customer identity and access management platform.
You can Sign up for a Free Forever Descope account or book time with our auth experts to ask any lingering auth-related questions.