
Hello, fellow Descopers! In this tutorial, we will learn how to add Descope authentication to your Django app by creating a Quillbot Clone! By the end of this tutorial, you will have a Django web app with full authentication capabilities, custom admin login, and text summarizer example page.
If you’re looking for a text summarization app alternative, stick around! 😉
Prerequisites
All the code for the tutorial will be in the GitHub Repository at django-descope sample app. Instructions on the installation are on the readme.
If you're a total beginner or getting started with Descope, feel free to follow along! Visit the Descope website to sign up for a Free Forever account. There’s also the Descope Get Started Docs, and the Django Quick Start guide to help you get a general understanding.
Overview
We are going to learn how to integrate Descope authentication in Django by building a Quillbot clone.
Quillbot is a writing tool that can check grammar, paraphrase, text summarize, and a number of other things. As a student, text summarization is important in quickly grasping topics and weeding out the not-so-relevant information! So we’re going to learn to integrate Descope authentication by building a text summarization app in Django. For the text summarization, we will be using summa, a TextRank-based algorithm. The final product will also feature a custom admin login page.
This tutorial will be in four parts:
Setup
Routes
Views + Text summarization
Templates
Let’s get building!
Setup
In the setup process, we will learn to set up a Django project, install Descope, modify our settings file, and enable styles and templates.
You can create a new Django project using the command
django-admin startproject mysiteTo add Descope to your project you can use pip or poetry
poetry add django-descope
OR
pip install django-descope
Now let’s add some important variables and dependencies to our settings.py file:
Add django_descope to INSTALLED_APPS in your settings.py file.
Add Descope Middleware after the AuthenticationMiddleware and SessionMiddleware.
We will be storing our HTML templates in a folder called templates so let’s add the path to the DIRS.
Add your DESCOPE_PROJECT_ID.
INSTALLED_APPS = [
   ...
   'django_descope',
]

MIDDLEWARE = [
   ...
   'django.contrib.sessions.middleware.SessionMiddleware',
   'django.contrib.auth.middleware.AuthenticationMiddleware',
   ...
   'django_descope.middleware.DescopeMiddleware',
]

DESCOPE_PROJECT_ID="YOUR_PROJECT_ID"

STATICFILES_DIRS = [
    BASE_DIR / "static",
]
Code block: mysite/settings.py file
Our setup is complete! Make sure to migrate the changes and then run the server.
Routes
We have four paths: home, logout, auth, and admin.
from django.urls import path
from django.conf.urls import include
from django.contrib import admin
from django.views.generic import TemplateView
from .views import Logout, Summary

descope_admin_site = admin.site

# override the login template with our own
descope_admin_site.login_template = "admin_login.html"


urlpatterns = [
    path("", TemplateView.as_view(template_name="descope_login.html"), name="index"),
    path('summary/', Summary.as_view(), name='summary'),
    path('logout/', Logout.as_view(), name='logout'),
    path('auth/', include('django_descope.urls')),
    path('admin/', descope_admin_site.urls),
]
Code block: mysite/urls.py
To customize Django’s default admin login template, create a variable called descope_admin_site and set it to the admin site. This inherits all the URLs and functionality of Django’s default admin site. Then, to override Django’s login page template, set login_template to our custom admin login template at admin_login.html.
In our url_patterns we have five paths.
The first path will be the root page and it renders the descope_login.html template view. Our HTML templates are available in the templates folder.
Our second path will be our text summarizer page.
Next is the logout view to log us out. In our views.py file, we have the Logout class that calls a logout function.
The auth path is from the django_descope SDK and will allow us to authenticate when we log in.
The admin path will route to our custom admin site.
Next, let’s look at our views.
Views + Text summarization
Looking at our imports, we import a TextForm from our forms.py file and the summarizer function from the summa python library.
import logging

from django.contrib.auth import logout
from django.http import HttpRequest, HttpResponseRedirect
from django.urls import reverse
from django.views import View
from django.contrib.auth.mixins import LoginRequiredMixin
from django.shortcuts import render
from .forms import TextForm

from summa import summarizer


logger = logging.getLogger(__name__)


class Logout(View):
    def get(self, request: HttpRequest):
        logout(request)
        return HttpResponseRedirect(reverse("index"))


class Summary(LoginRequiredMixin, View):
    login_url = "/"
    template_name = "summary.html"
    form = TextForm()

    def summarize(self, text: str) -> str:
        return summarizer.summarize(text)

    def get(self, request: HttpRequest):
        return render(request, self.template_name, {'summary_form': self.form, 'summary': ""})

    def post(self, request: HttpRequest):
        form = TextForm(request.POST)

        if form.is_valid():
            form_text=form.cleaned_data['sum_form']
            summary = self.summarize(form_text) or "Text too short!"

        return render(request, self.template_name, {'summary_form': form, 'summary': summary})
Code block: mysite/views.py
The views.py file contains two views: Logout and Summary. The Logout view logs the user out. Let’s look at Summary which makes up the bulk of our views.
Five key pieces make up our Summary class:
The LoginRequiredMixin protects our route from unauthorized users and requests. We specify the login_url, which directs the user to our descope_login.html template containing the Descope authentication flow.
The template for this view is summary.html, and the TextForm form that we send and display to our frontend is from the forms.py file.
We use the summarizer.summarize function provided by summa to return the summarized text.
In our get method where we handle GET requests, we return our template with the form and the summary which is an empty string.
Last is our post method that handles POST requests. First, we populate our TextForm with the incoming request which contains the text that the user inputted. We check if the form is valid and then get the text from our sum_form field. Then, we summarize our text by calling the summarize function earlier and passing the summary data to our template through the summary_form and summary object.
NOTE: The TextForm in our forms.py file contains one field, sum_form, which allows us to input text.
from django import forms


class TextForm(forms.Form):
    sum_form = forms.CharField(widget=forms.Textarea(attrs={'class': "sum-form"}), label="")
Code block: mysite/forms.py
The final step is to see how we show our Descope authentication flow and handle our form and summary in the templates. Let’s start with the admin login template.
Templates
Let’s create a template that will be used for our shiny new admin login. In the project, you will notice that we use a base template which is why our file extends the base.html file.
{% extends "base.html" %}
{% load static %}
{% load descope %}

{% block content %}
<h1 class="title">Django Sample App</h1>
{% if user.is_authenticated %}
...
{% else %}
{% descope_flow "sign-up-or-in" "/" %}
{% endif %}
{% endblock content %}
Code block: mysite/template, descope_login.html
Two important things to notice in the code:
At the top, we load descope which allows us to use custom Descope template tags.
In the body of our HTML file, we render the custom template tag descope_flow which renders the Descope authentication flow. The descope_flow accepts two parameters: flow ID and the success redirect path. We set our flow ID to sign-up-or-in and the redirect URL to the root home page.
The descope_login.html template follows the same concepts, so give that a look for a challenge!
Now for the summary template, where we render our form and summary that was passed in from our view.
{% extends "base.html" %}

{% block content %}
    ...
    <input class="submit-btn" form="sum_form" type="submit" value="Summarize">
    <div class="flex-row">
        <form id="sum_form" class="flex-col sum" method="POST" action="{% url 'summary' %}">
            <p class="sum-label">Text</p>
            {% csrf_token %}
            {{ summary_form }}
        </form>
        <div class="flex-col sum" id="sum-text">
            <p class="sum-label">Summarized Text</p>
            <p class="sum-text">
                {{ summary }}
            </p>
        </div>
    </div>
{% endblock content %}
Code block: mysite/template, summary.html
We output our summary_form and summary with the double braces which allows us to render variables sent from our view.
We wrap our summary_form in a form that will POST to our summary route (the current route), where in our view we handle the POST request. The CSRF token is inside our form because we want to ensure secure requests. In our view, we validate the form, generate the summary, and send it back to our template to be shown.
How do we manage Roles?
Since we are not relying on Django’s built-in authentication to set the is_staff and is_superuser roles, we can instead use the Descope console to manage our users and set our roles.
Navigate to the Descope console in your project and create the two roles is_staff and is_superuser. Then navigate to Users and edit your user to add the role.
Styles
All styles and templates can be found in the repo.
Show time!
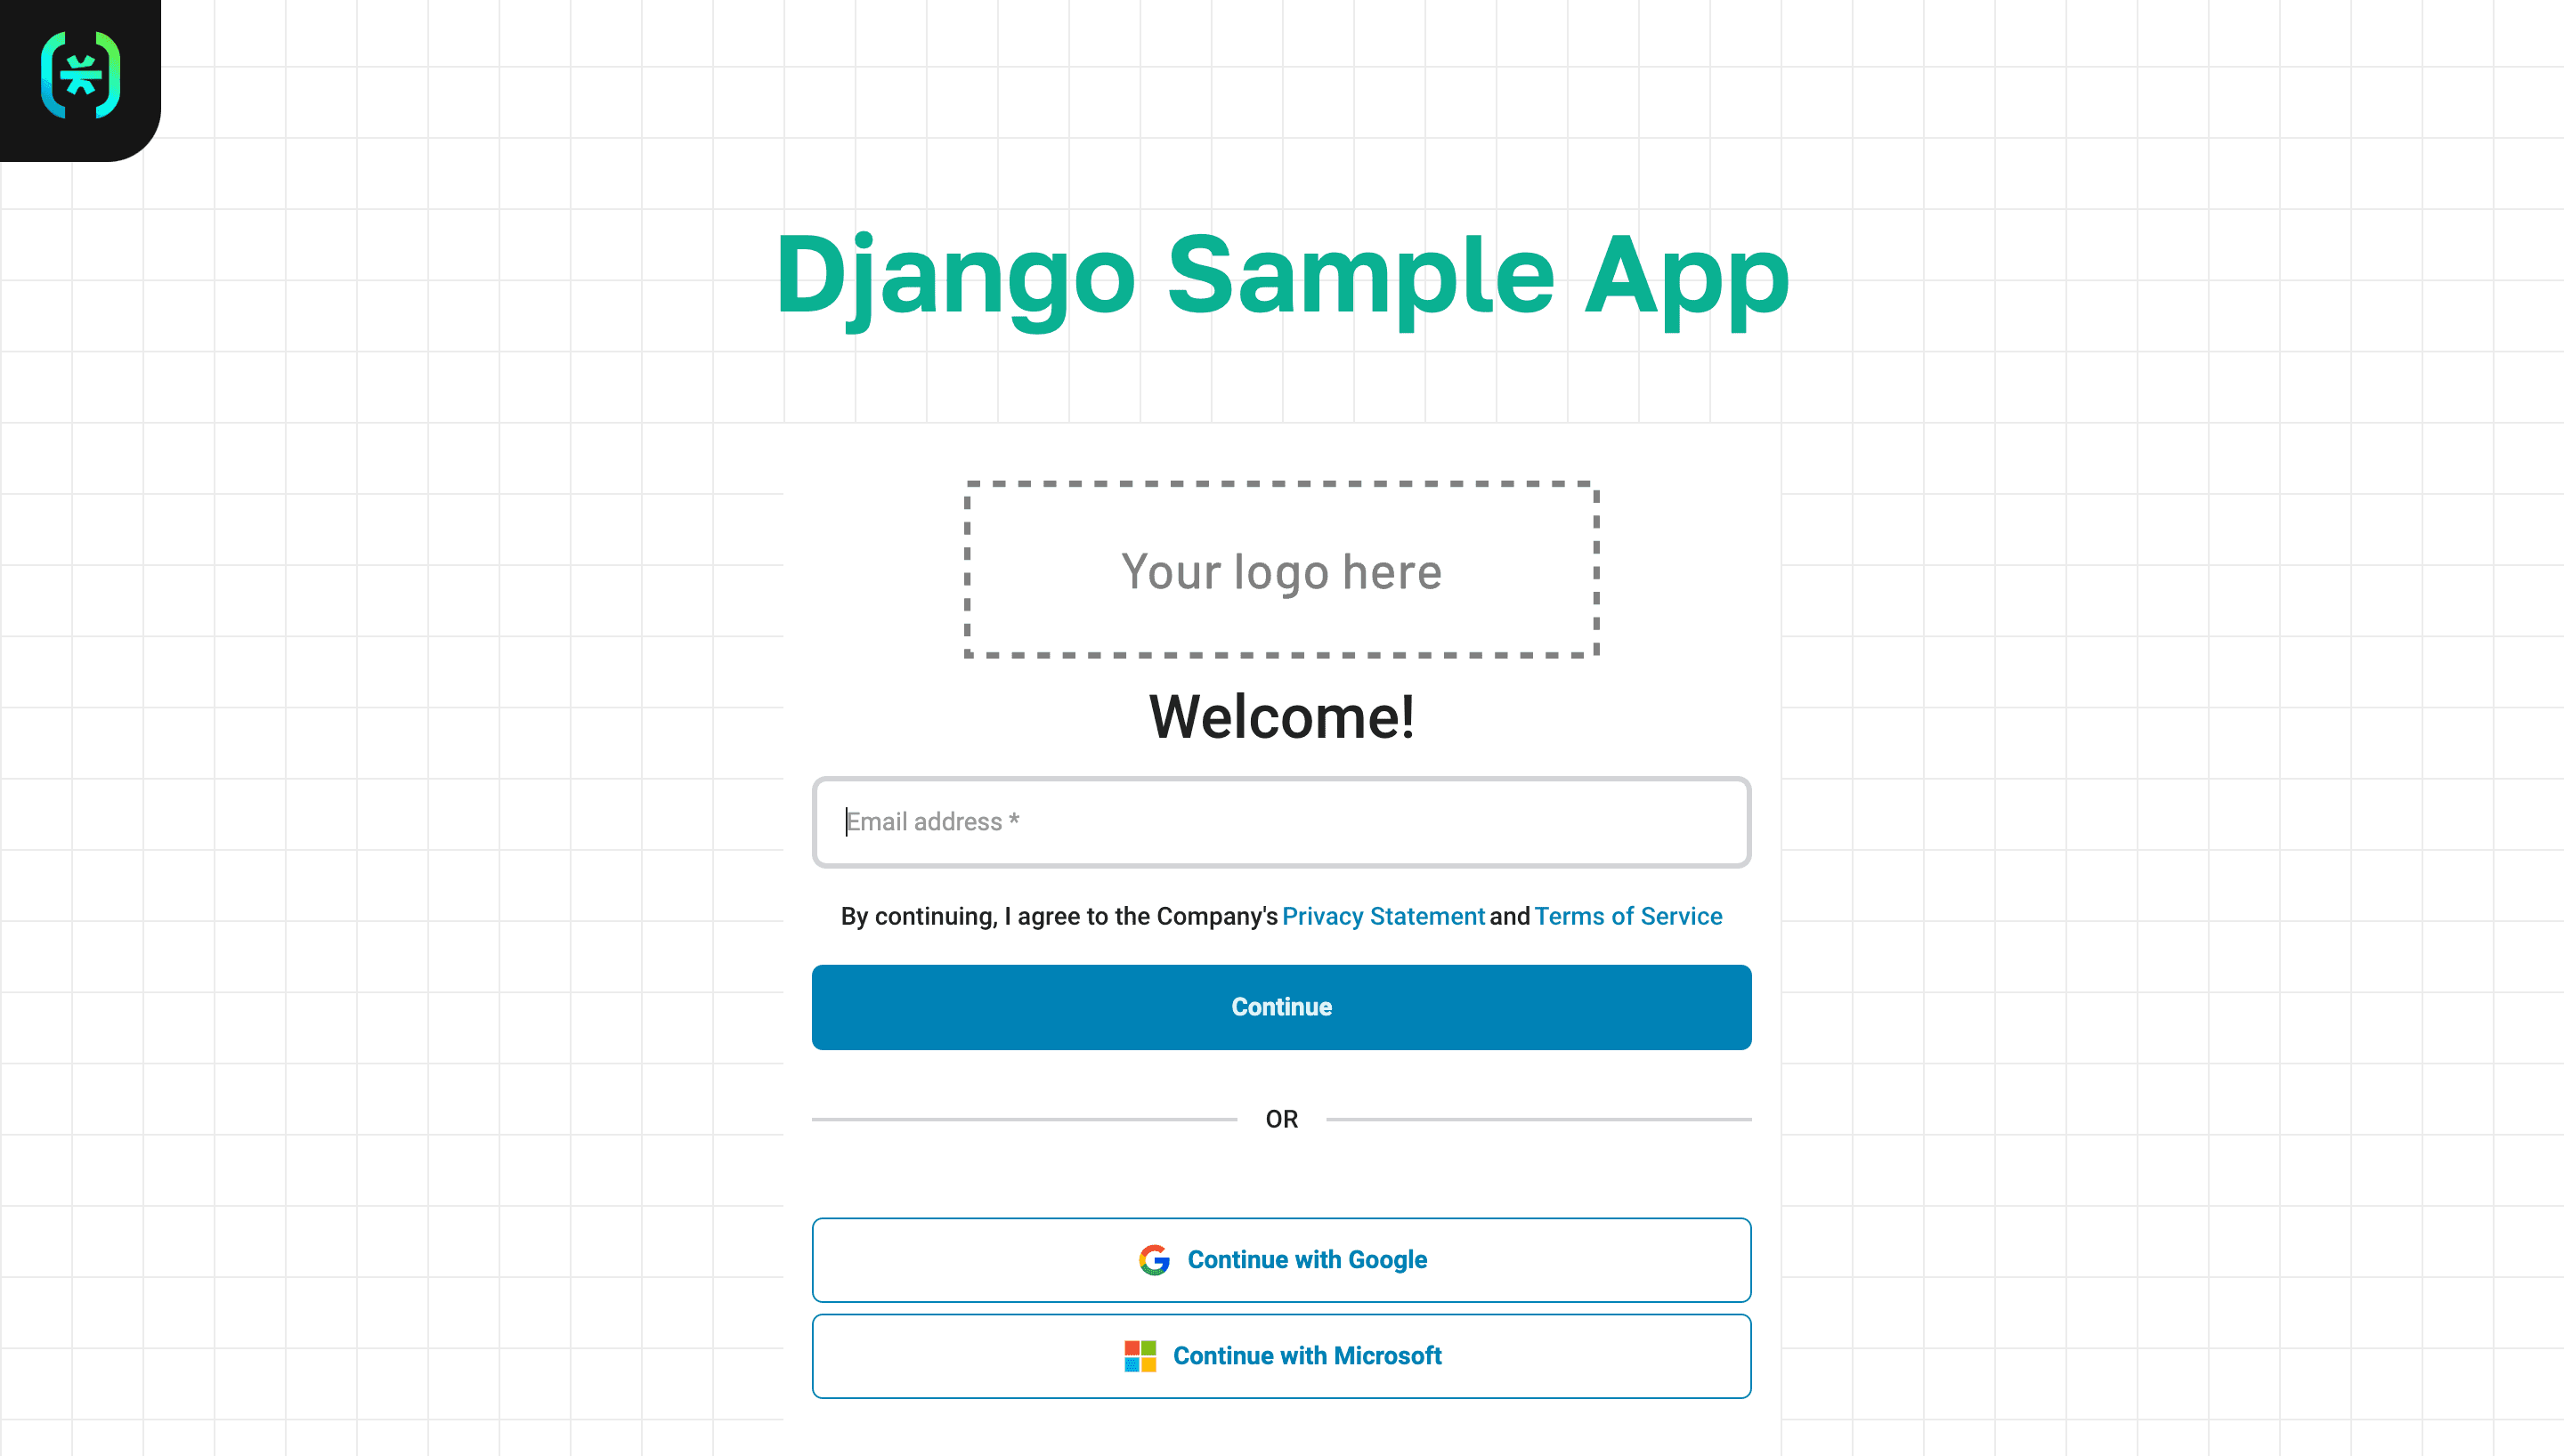
Now for the demo! Upon running the application you will be faced with your Descope authentication flow.
After logging in, you will be able to see the different links and routes.
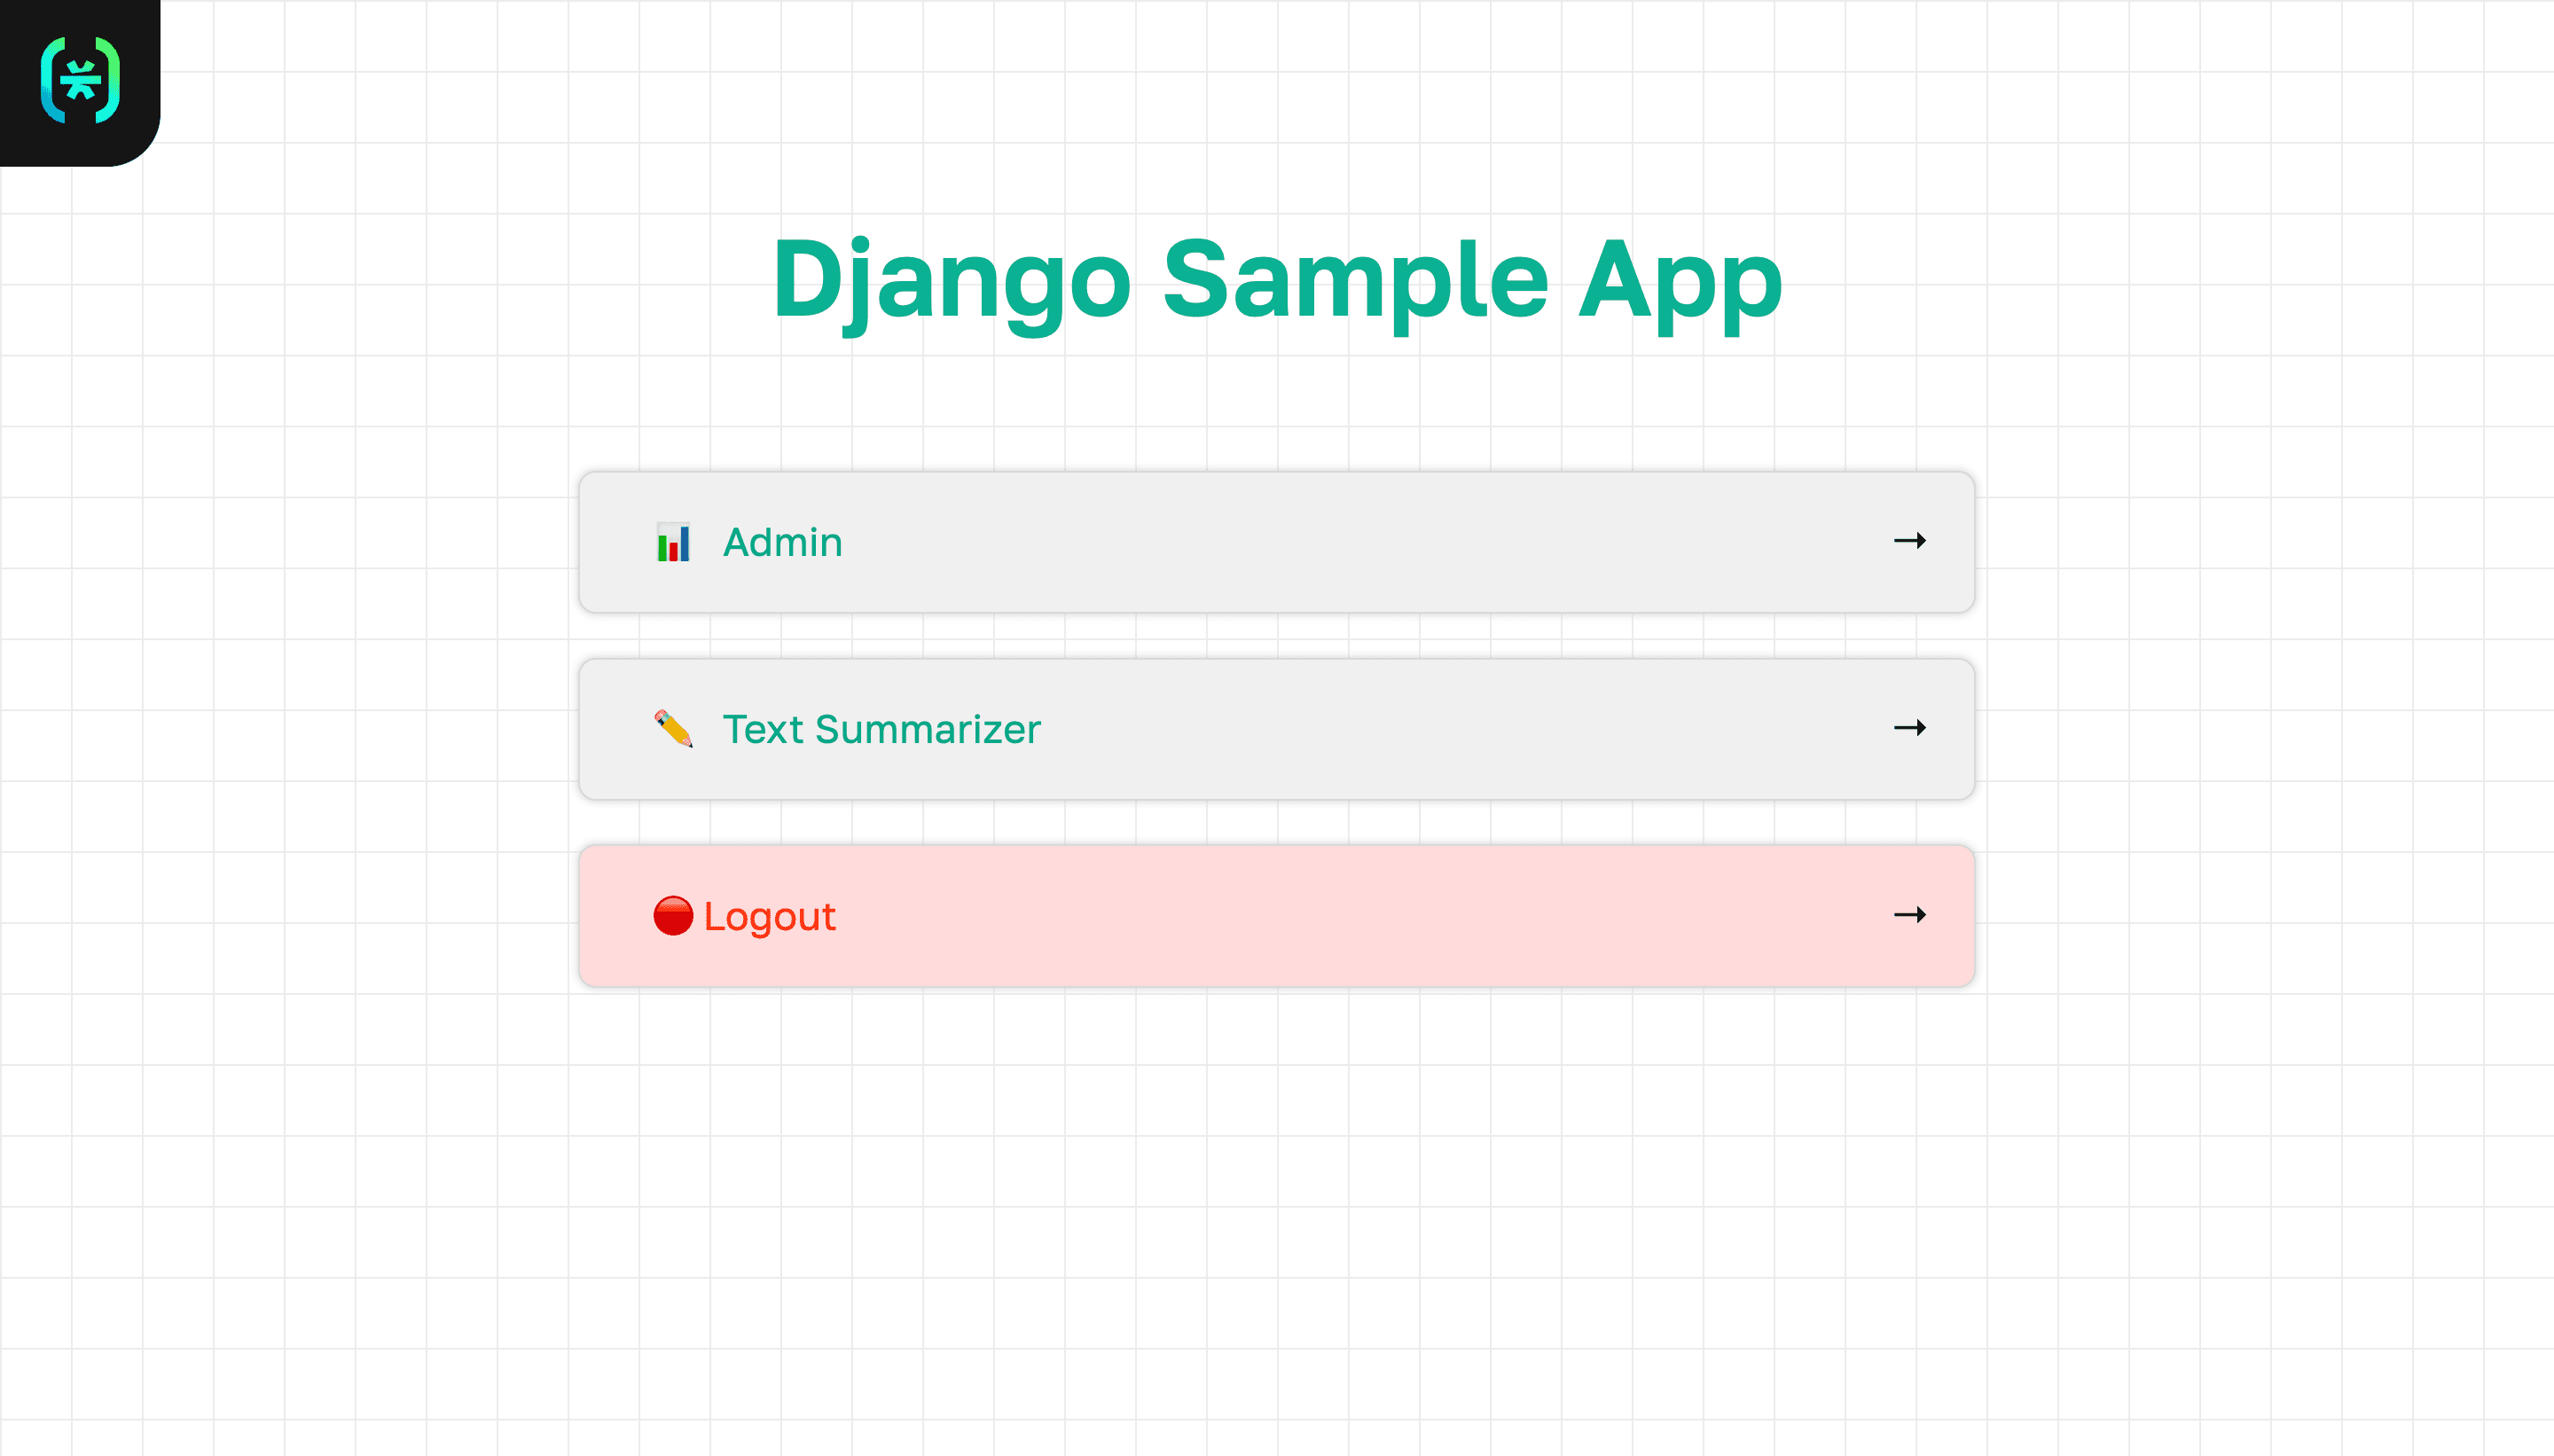
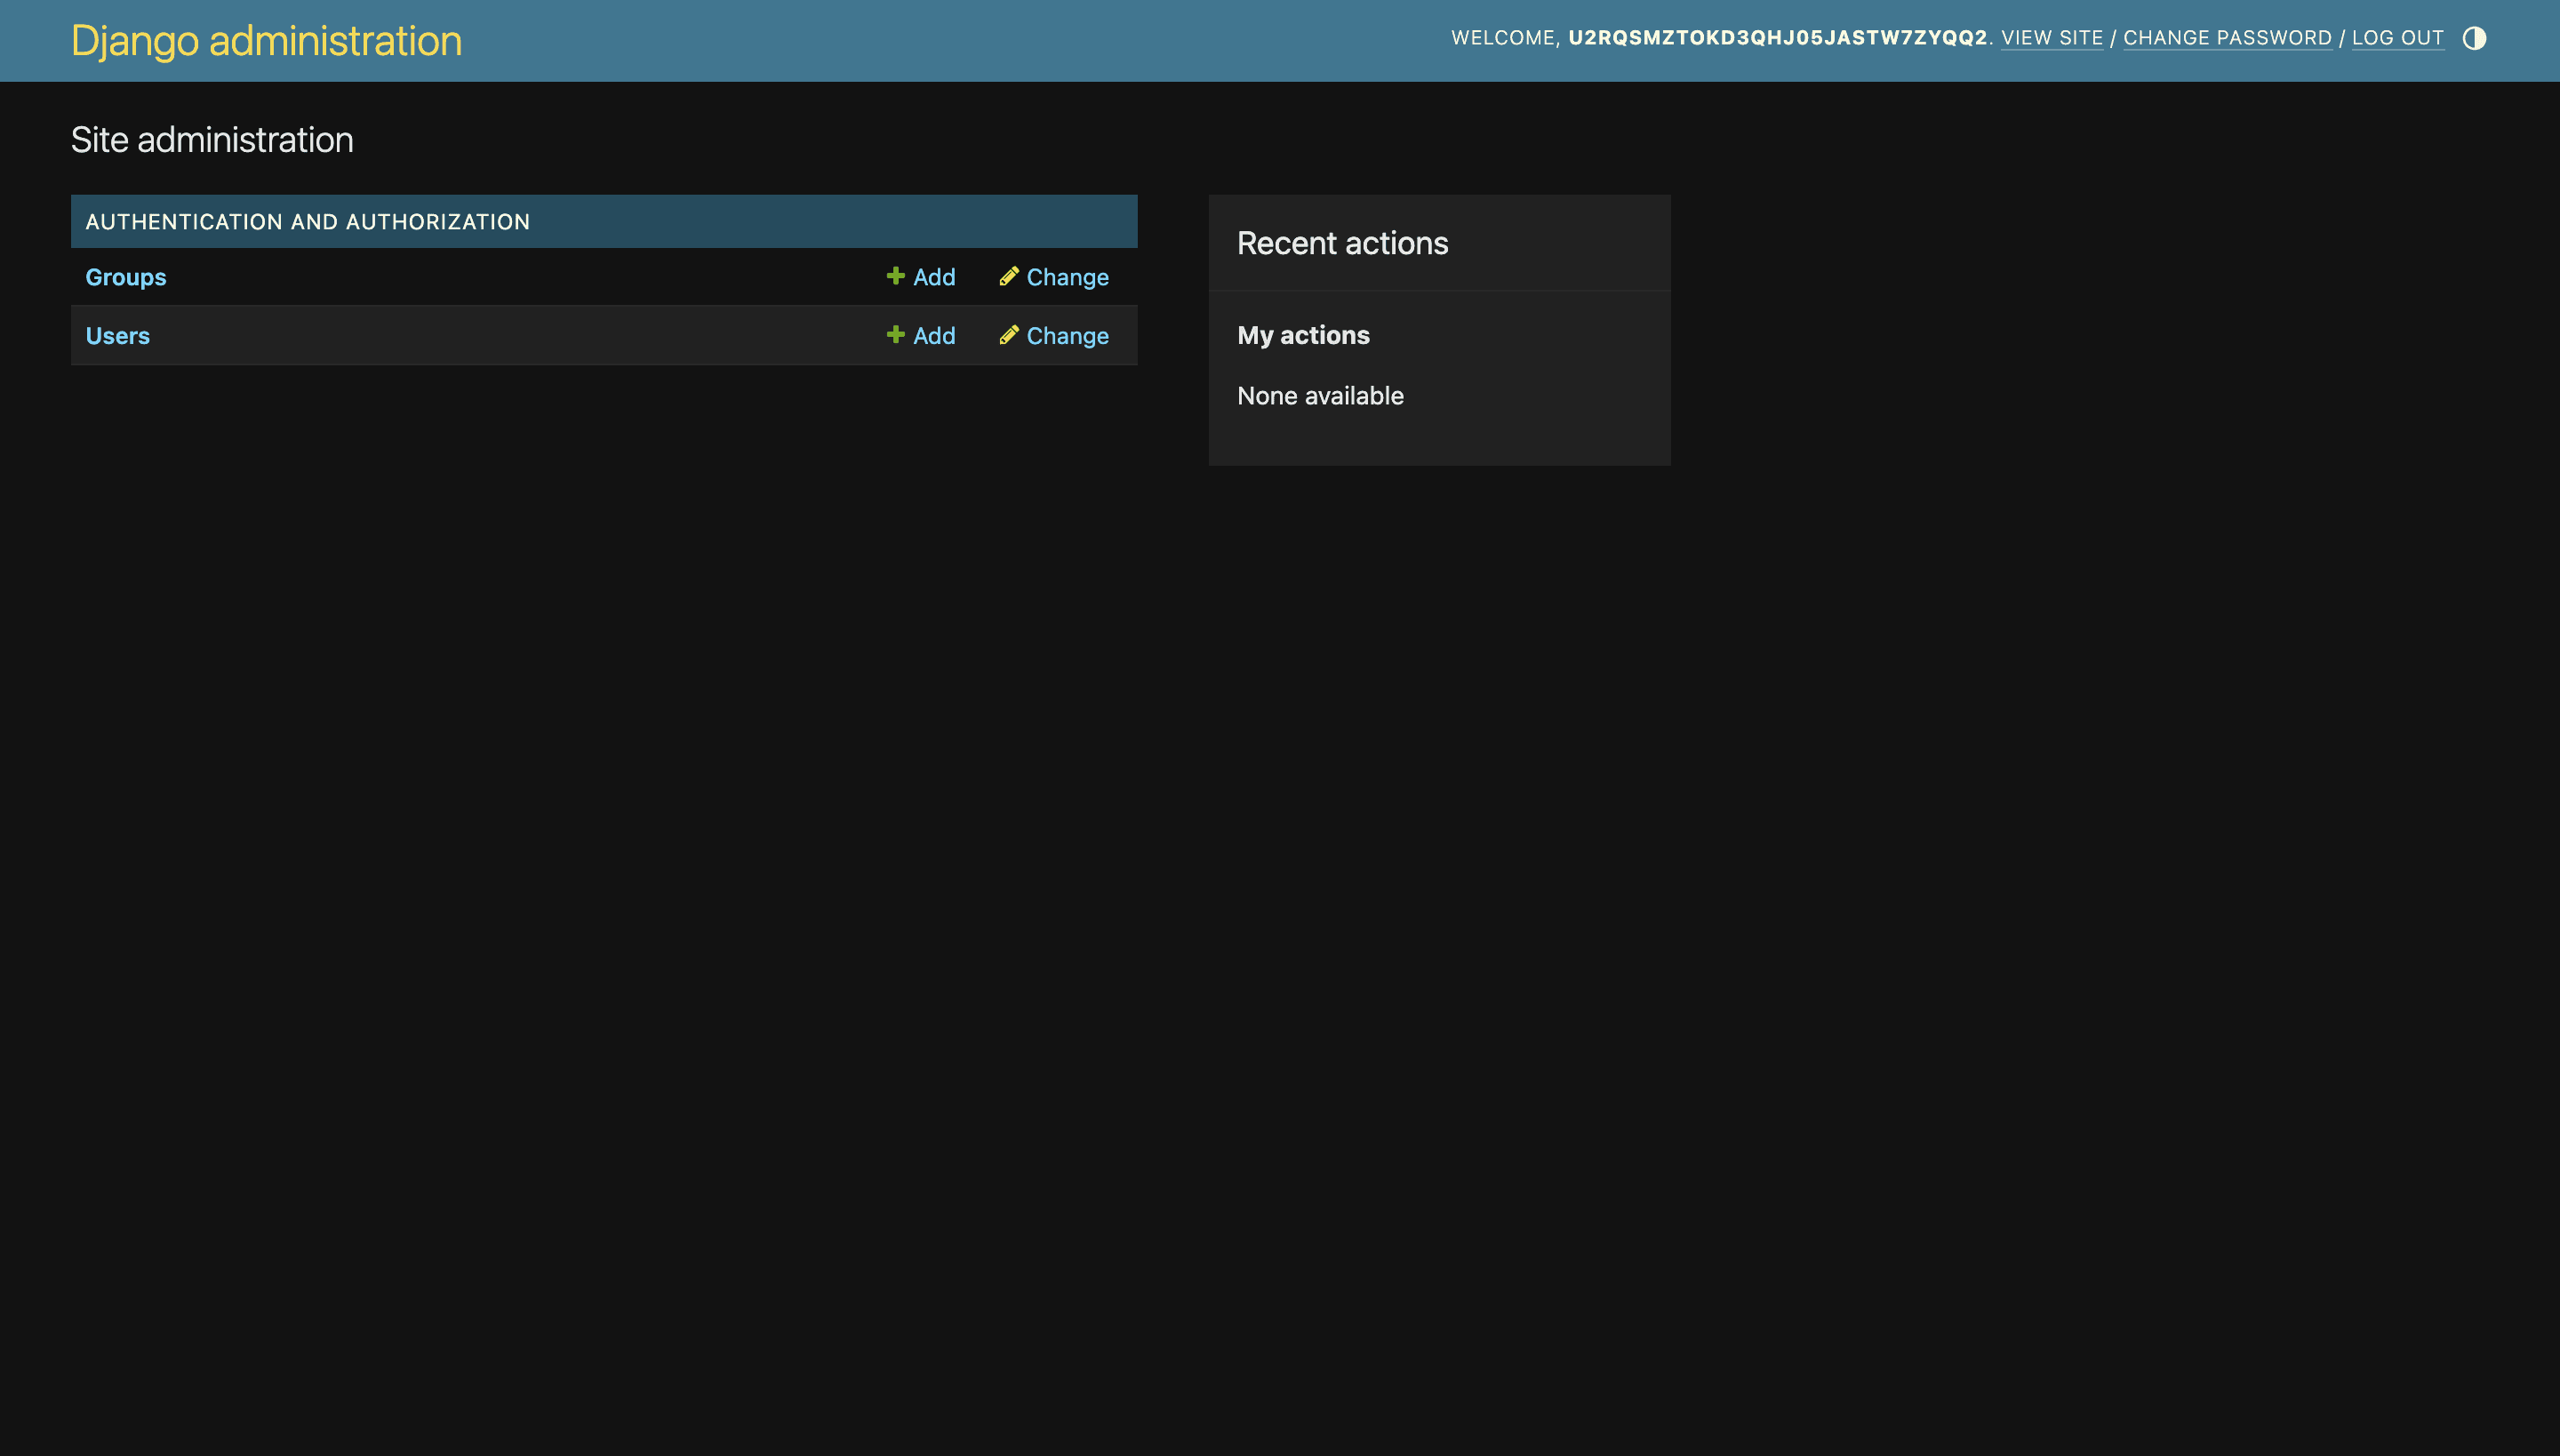
You will only be able to access the admin page if you have the is_superuser role.
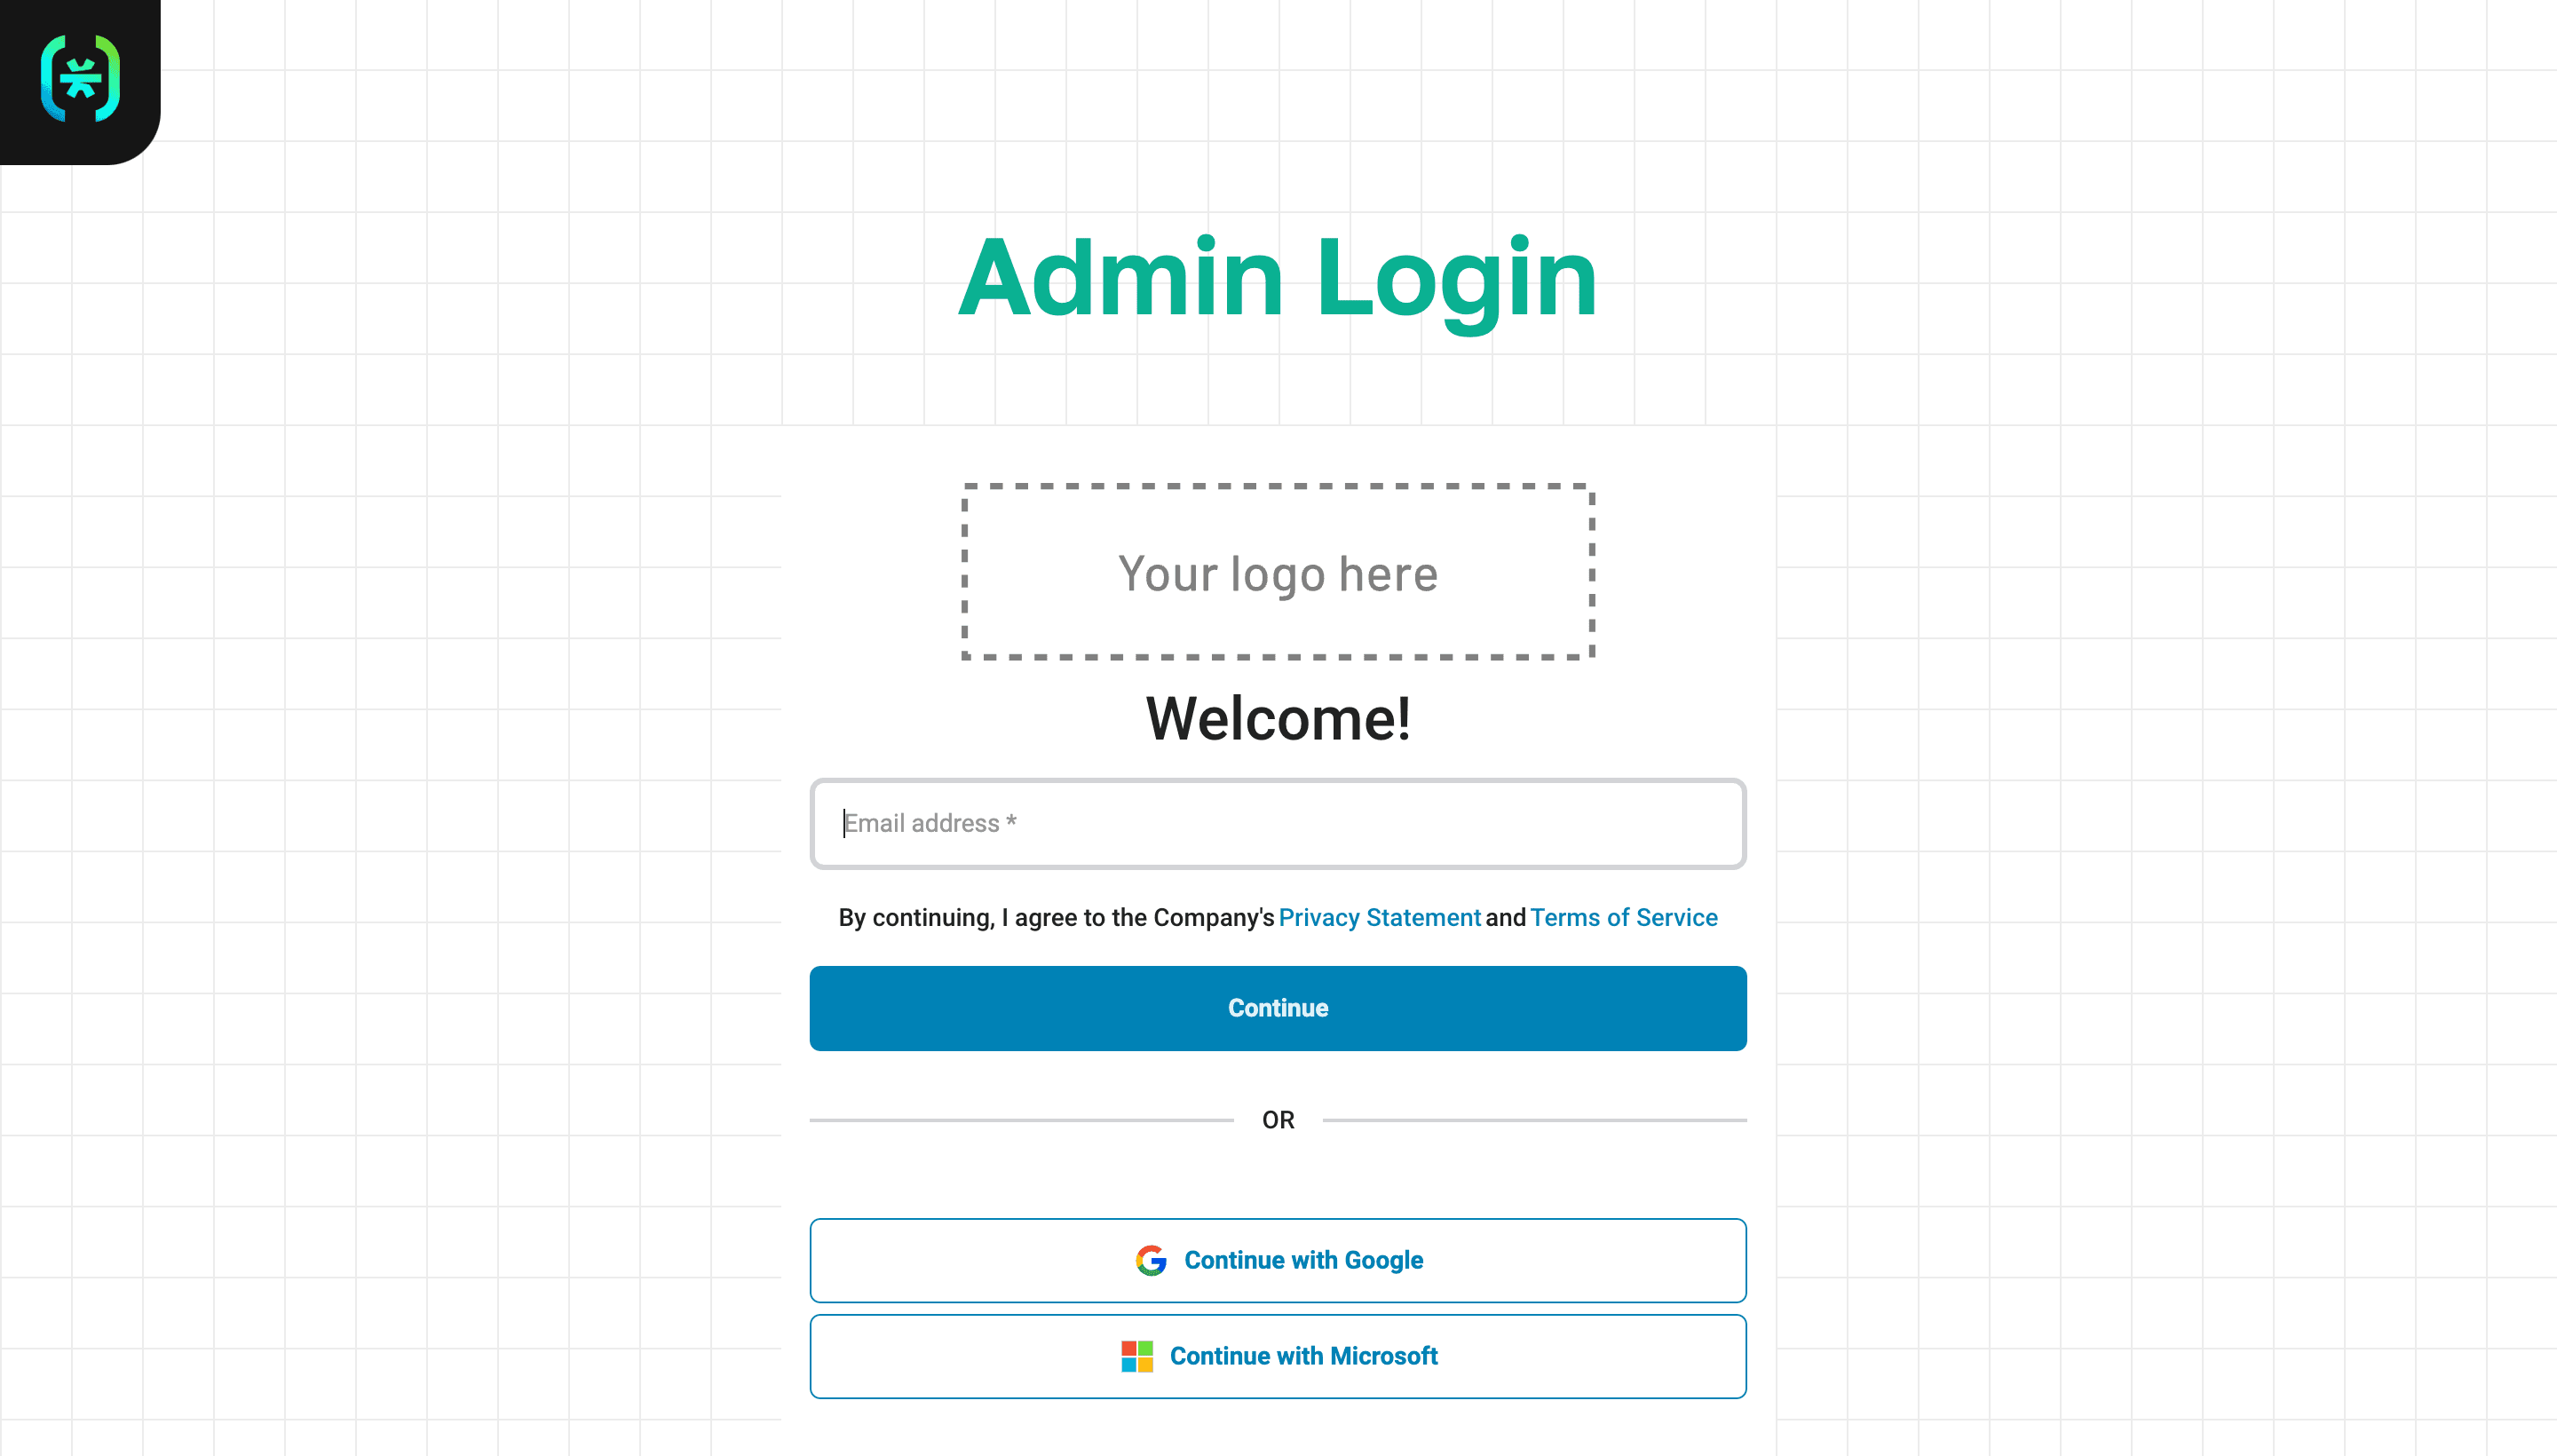
There’s also our custom admin login page for when you log out from the admin dashboard or go to /admin/login.
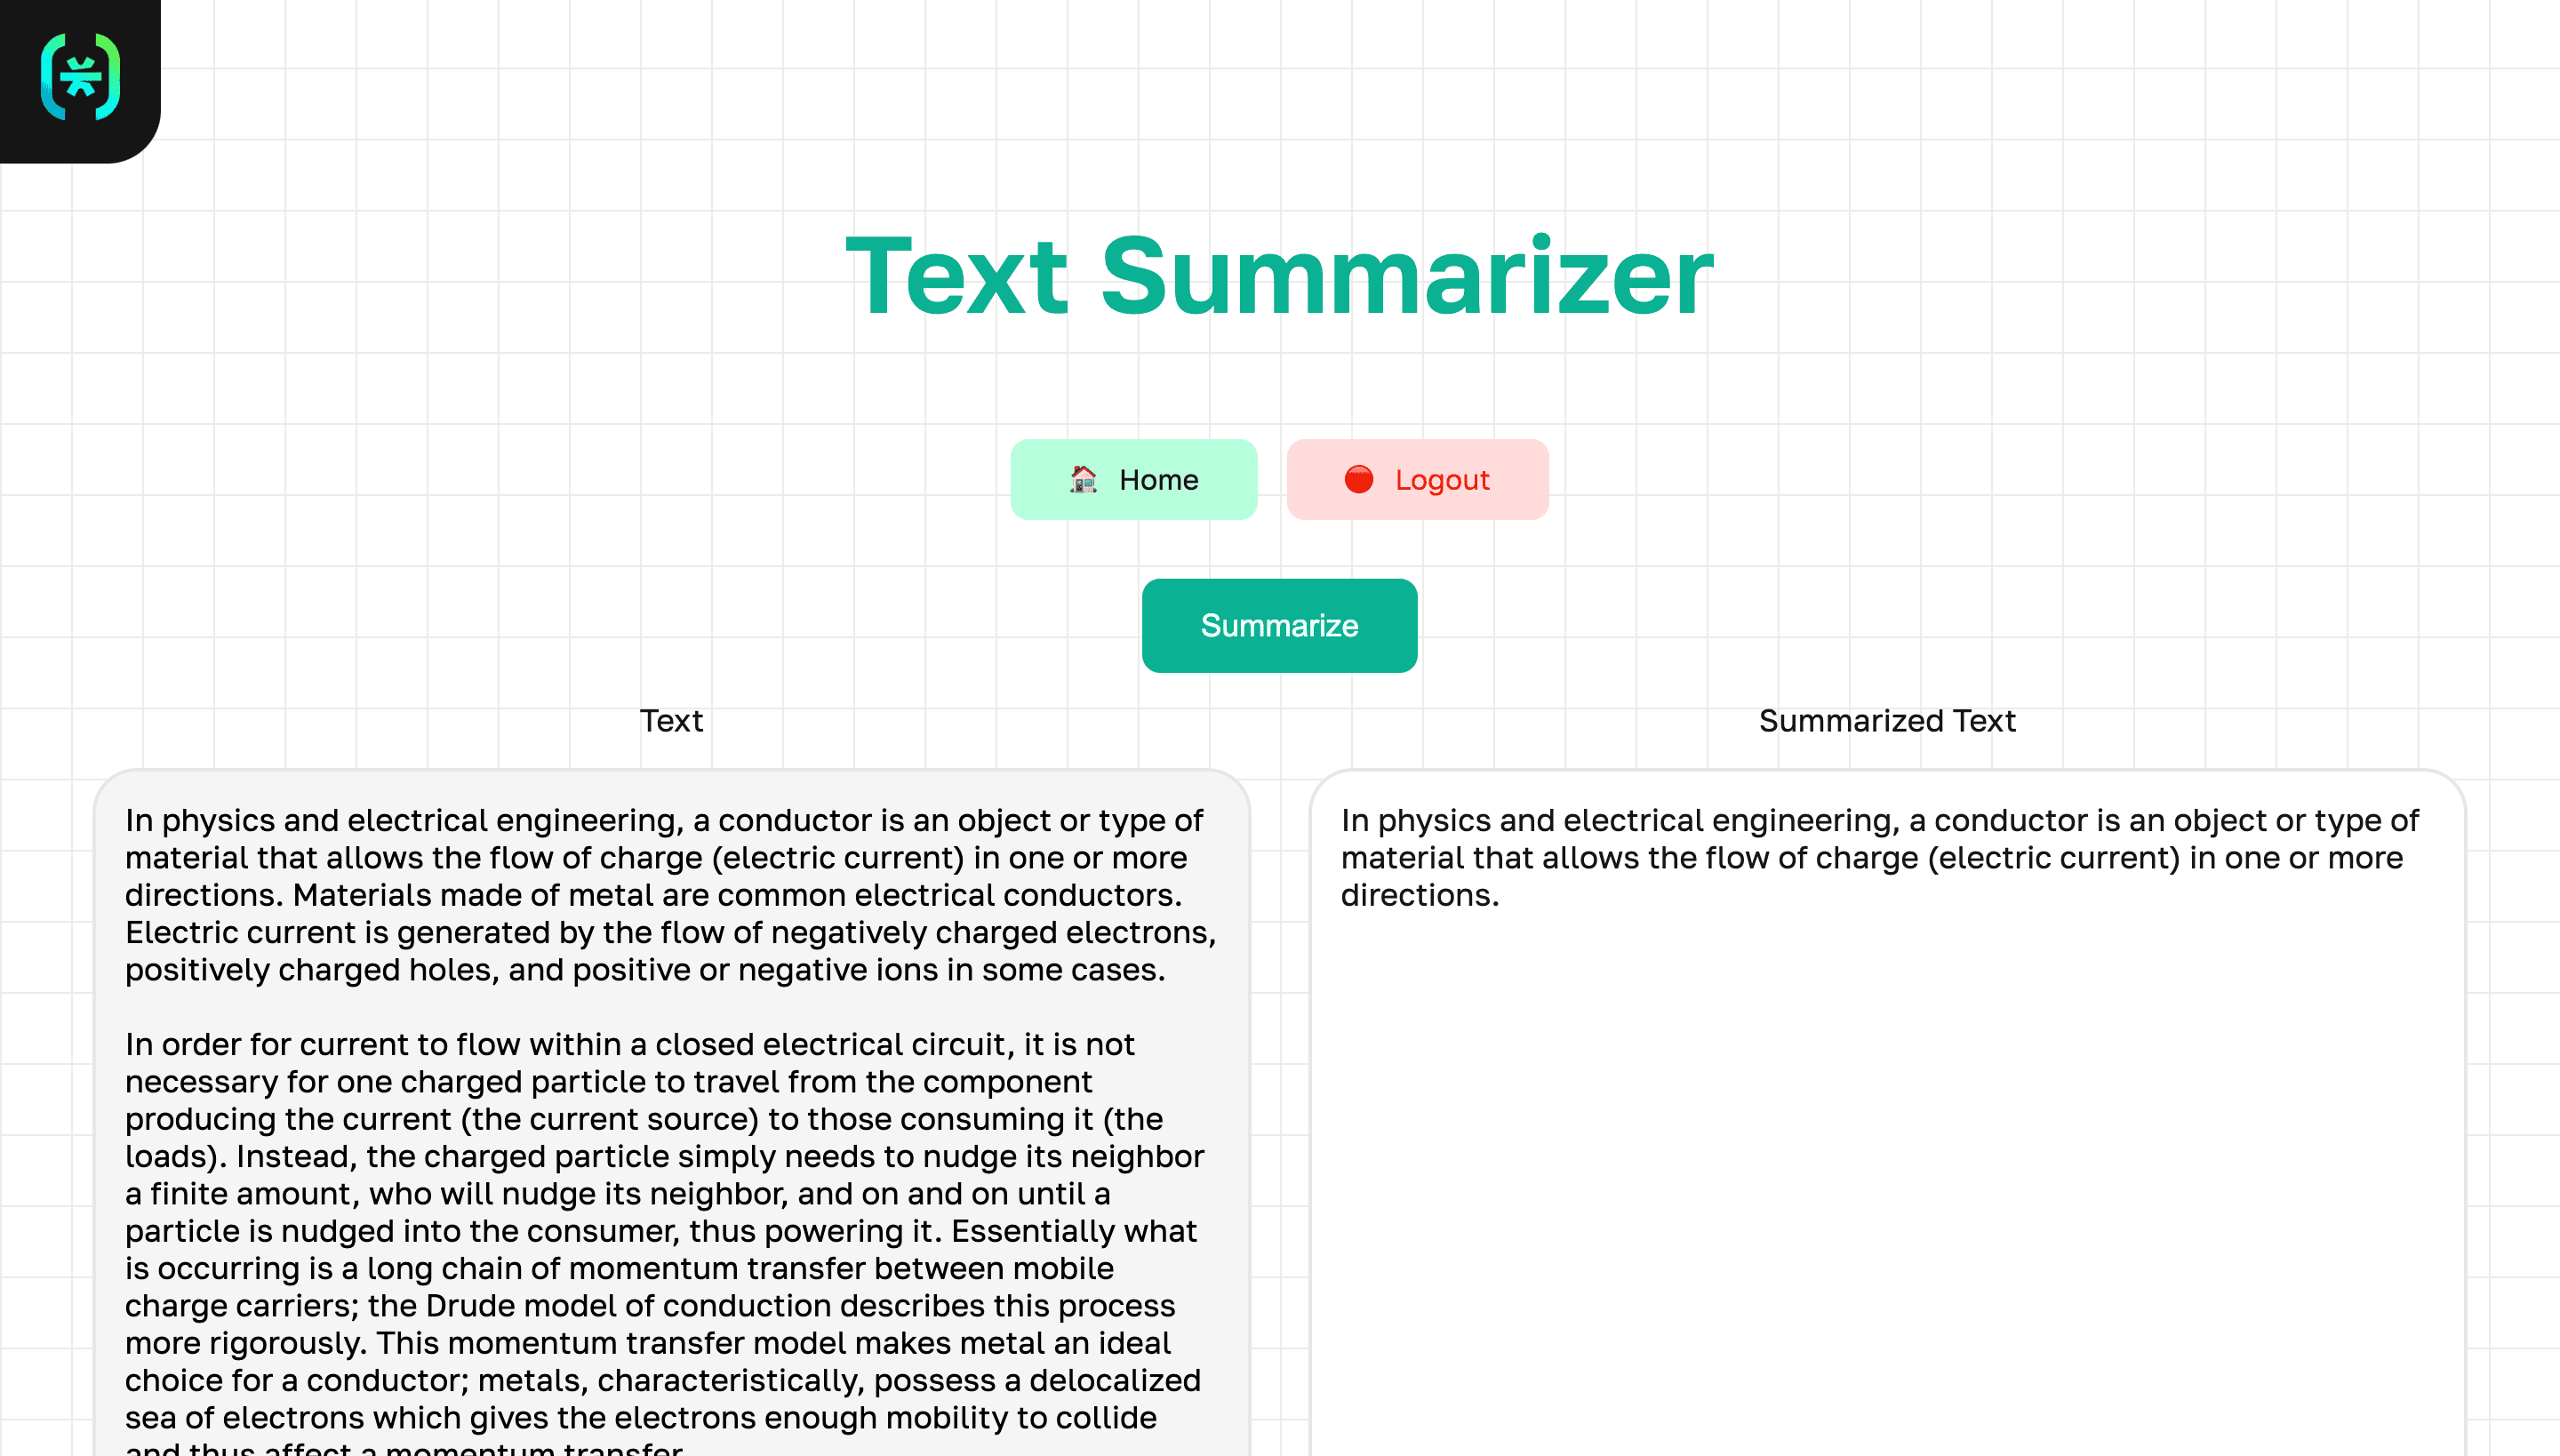
Finally, there’s our text summarizer where you can input text, hit summarize, and get the summary!
Conclusion
That’s all folks! In this tutorial, you have learned how to add Descope authentication to your Django project along with a customized admin page. This tutorial and project can also be the starting points that allow you to further customize the authentication flow to suit your needs.
If you want to start your Descope journey, sign up for a Free Forever account. If you have questions about Django authentication, join AuthTown, our open user community for developers to learn about the world of identity and authentication.