


Table of Contents
Don't have the time to read the entire post? Our human writers will be sad, but we understand. Summarize the post with your preferred LLM here instead.
Looking to add authentication to your Next.js app using NextAuth? You can add authentication to a Next.js app by configuring NextAuth (now part of Auth.js) with Descope, then protecting pages and API routes by reading the session. Descope also offers a managed alternative that adds login, passkeys, and MFA to a Next.js, React, or Node.js app with far less code than wiring up NextAuth by hand.
In this tutorial, we’ll walk through how to integrate Descope, a drag & drop customer and agentic identity platform, into a Next.js project using Auth.js v5 (the current major version of NextAuth). To make this hands-on and practical, we’ll build a hackathon-ready web app that demonstrates real-world usage of authentication, protected routes, and server/client components in the Next.js App Router.
Whether you’re a hacker, developer, or organizer looking to spin up a modern site for your next hackathon, this tutorial is for you.
At a glance
You will build a Next.js app with a custom login page, a protected dashboard, and protected API routes, using NextAuth for session handling and Descope as the authentication backend.
The stack is the current Next.js version with the App Router, NextAuth (now Auth.js v5), and the Descope SDK.
You will learn how to configure the auth provider, sign users in, read the session on the server, and protect API routes with a JWT session.
NextAuth handles the session and the JWT, while Descope handles the actual authentication, including passwordless and social login.
If you would rather not wire this up by hand, the Descope SDK adds the same login and session handling to a Next.js, React, or Node.js app with far less code.
What you’ll build
Descope + NextAuth authentication using the official Descope provider
Protected pages and API routes
A fully customizable landing page with About, Speakers, Sponsors, and FAQ sections
A Team page and personalized Dashboard for attendees
Airtable backend for form submissions and acceptance statuses
Fully responsive UI (mobile, tablet, computer) built with modern Next.js App Router conventions
Let’s dive in and explore how Next.js and NextAuth work together with Descope to power secure, scalable authentication in just a few lines of code.
Prerequisites
Before we start adding Descope authentication to our Next.js app with NextAuth, make sure you’ve got the basics covered: a current Next.js project using the App Router, Node.js 20.9 or later, and a free Descope project.
All the code for this tutorial lives in our GitHub repository: next-hackathon-template. You’ll find setup instructions in the README.md file to help you get started quickly.
What is NextAuth (now Auth.js)?
NextAuth is an open-source authentication library for Next.js that manages sessions and tokens for you rather than acting as an identity provider itself. The project was renamed Auth.js as it expanded beyond Next.js to support other frameworks like SvelteKit, Qwik, and Express, and the current major version, installed as next-auth@beta, uses a different API from the older NextAuth v4. It’s commonly paired with a provider, such as Descope, that handles the actual sign-in and identity verification.
Since Auth.js joined Better Auth in September 2025, it's worth noting that Auth.js itself is still maintained, with security patches and critical fixes continuing, so an existing Auth.js setup is not urgent to change. The Better Auth team recommends Better Auth for new projects going forward, but this tutorial uses Auth.js since it remains a fully supported, widely deployed option and the one most existing NextAuth tutorials and codebases are built on.
Tutorial overview: Next.js + NextAuth via Descope
In this tutorial, we’ll explore how to integrate Descope authentication into a Next.js app using NextAuth with Descope as an official provider. Along the way, we’ll build a fully functional hackathon site using the App Router.
Here’s what we’ll cover:
Setting up NextAuth with Descope
Creating a custom sign-in page
Building a protected dashboard with server-side session handling
Validating and protecting API routes
Walking through a live demo of the finished hackathon template
Before jumping into the code, we’ll start with the fundamentals of authentication in Next.js and how Auth.js v5 fits into the picture.
How to add authentication to your Next.js app
Step 1: Set up the backend with Descope
Create a free Descope project. You’ll need your Project ID from the project settings page, and an access key from the Access Keys section, to connect Descope to NextAuth in the next step.
Step 2: Configure NextAuth (Auth.js)
To handle authentication in our Next.js app, we’re using NextAuth.js, now part of the framework-agnostic Auth.js project. It’s a great fit because:
It supports a wide range of authentication providers out of the box, including an official Descope provider
It’s fully compatible with Next.js and the App Router
Since Descope is an OIDC provider and an official Auth.js provider, integrating it takes just a few lines of configuration. A complete NextAuth.js setup for this tutorial touches three files: the auth.ts config at the project root, the catch-all route handler under app/api/auth/[...nextauth]/, and your .env.local file holding the Descope credentials. Everything else in the app—the sign-in button, the protected dashboard, and the API route —reads from the session that these three pieces establish.
Install the current version of NextAuth:
npm install next-auth@betaThen create an auth.ts file at the root of your project:
import NextAuth from "next-auth"
import Descope from "next-auth/providers/descope"

export const { handlers, signIn, signOut, auth } = NextAuth({
  providers: [Descope],
})
Next, create a route.ts file in the following directory: app/api/auth/[...nextauth]/route.ts
import { handlers } from "@/auth"

export const { GET, POST } = handlers
Here’s what’s happening:
The
[...nextauth]directory creates a catch-all route: any requests to/api/auth/*are handled here.The
auth.tsfile initializes NextAuth with the Descope provider and exports thehandlers,signIn,signOut, andauthfunctions we’ll use throughout the app.The route handler re-exports those handlers for both
GETandPOST, which is required in Next.js App Router route handlers.
Behind that single Descope line, the provider is still doing everything the old custom OAuth config used to spell out by hand: it points to Descope’s OIDC discovery document, requests an ID token alongside the access token, talks to Descope’s authorization server to verify consent, and enables PKCE checks to protect the code exchange. The official provider just means you no longer have to configure those pieces yourself.
Add your Descope credentials as environment variables in .env.local:
AUTH_DESCOPE_ID=<your Descope Project ID>
AUTH_DESCOPE_SECRET=<your Descope access key>
AUTH_DESCOPE_ISSUER=<your Descope issuer URL>
AUTH_SECRET=<generate with npx auth secret>
NEXT_PUBLIC_APP_URL=<your app's base URL, e.g. http://localhost:3000>
Auth.js v5 infers most of what it needs from request headers, so AUTH_DESCOPE_ID, AUTH_DESCOPE_SECRET, and AUTH_DESCOPE_ISSUER are automatically picked up by the Descope provider without extra configuration. NEXT_PUBLIC_APP_URL is just there for our own Dashboard-to-API fetch call, not something Auth.js itself requires.
You can generate AUTH_SECRET, the random value NextAuth uses to encrypt tokens, by running:
npx auth secretThis sets the stage for Descope authentication in a secure and standards-compliant way. Next up, we’ll wire up the sign-in button on the frontend.
Step 3. Build the sign-in page
Now that Descope is configured as a provider in NextAuth, it’s time to trigger the sign-in flow from the frontend of our Next.js app. Unlike a traditional Next.js login page built from scratch with your own form fields and password handling, this one only needs a single button, since Descope’s hosted flow handles the actual credential collection and verification.
We’ll do this using the signIn function exported from our auth.ts file. In our case, it’s wired to a button inside the Navbar component:
import { signIn } from "@/auth"

export default function Navbar({ Logo }: { Logo: string }) {
    return (
        <form
          action={async () => {
            "use server"
            await signIn("descope", { redirectTo: "/dashboard" })
          }}
        >
          <button
            type="submit"
            className="text-[#e9e9e9] bg-[#262d3b] py-2 px-7 border-[#45546e] border-4"
          >
            Apply
          </button>
        </form>
    )
}
The signIn function takes two arguments:
descoperefers to the authentication provider ID we configured inauth.ts.redirectTotells NextAuth where to send users after a successful login, in this case, the Dashboard page.
Once users click the Apply button, they’ll be redirected to Descope’s hosted login page. After authentication, they’ll land on a protected dashboard we’ll set up next.
Step 4. Build a protected dashboard with server-side session handling
Once a user is signed in with Descope and NextAuth in Next.js, we’ll direct them to a protected dashboard page. This page uses server-side session handling via the auth() function exported from auth.ts to validate access.
The Dashboard page has two main functions:
getDatafetches data from our Airtable API routeDashboardis the main page component that renders content based on the user’s application status
We’re using Airtable as our backend to store hacker applications and acceptance status. Here’s the code:
...
const getData = async () => {
    const session = await getServerSession(authOptions)
    const email = encodeURIComponent(session?.user?.email || "")

    const res = await fetch(`${process.env.NEXTAUTH_URL}/api/airtable?email=${email}&secret=${process.env.SECRET_TOKEN}`)
    const data = await res.json()

    return data.body
}


export default async function Dashboard() {
    const session = await getServerSession(authOptions)
    if (!session) {
        redirect("/api/auth/signin?callbackUrl=/dashboard")
    }

    const airtableRecord = await getData()

    return (
        <div className='page space'>
            <div className="w-[90%]">
                <Header />
                {airtableRecord ?
                    <>
                        <Status accepted={airtableRecord['Accepted']} />
                        {airtableRecord['Accepted'] &&
                            <Info data={AnnouncementsList} />
                        }
                        <Application application={airtableRecord} />
                    </>
                    :
                    <Form />
                }
            </div>
        </div>
    )
}
Code block: app/dashboard/page.tsx
Within the fetch request of the getData function are two parameters:
email: We get the user’s email from theauth()session above. The email is passed in the query to identify the user data we are fetching.secret: The secret token acts as the API key that we get from our environment variables as a way for the API to validate the request. Here’s an example from the Next.js docs.
The Dashboard component is made up of three key parts:
To protect the Dashboard page, we call
auth()to get the session and check if it exists. If not, we redirect to the sign-in page with the callback URL set to the Dashboard page.The
getDatafunction is called, and the response is an object that can contain anAcceptedfield to indicate whether the hacker has been accepted into the hackathon.In the return statement, we first check if user data exists in our Airtable. If it doesn’t, we display the Form component. If it does, we display the Status component and Application Component. If the user is accepted, we display the Info component.
NOTE: Since the Dashboard component is a server component, you can’t use the client-side useSession hook. Instead, we call the server-side auth() function to access the session and fetch the user’s email securely.
Step 5. Set up and protect your API routes
In this final step, we’ll create a backend API route that securely fetches data from Airtable. This route will be used by our dashboard to retrieve user-specific information after authenticating with Next.js and NextAuth.
Here’s the API route:
import { NextResponse } from 'next/server'
import type { NextRequest } from 'next/server'
import Airtable from 'airtable'


export async function GET(request: NextRequest) {
    const { searchParams } = new URL(request.url)
    const email = searchParams.get('email')

    if (searchParams.get('secret') !== process.env.SECRET_TOKEN) {
        return NextResponse.json("Unauthorized", { status: 401 })
    }

    ...

    const res = [{
        "fields": {
            "Name": 'Descope',
            "University": 'University of Waterloo',
            "What year are you?": 'First year',
            "Email": 'example@descope.com',
            'Why AuthHacks?': "Authentication is a fundamental part of any startup, SaaS, or business. The workshops and connections I'll make will profoundly broaden my knowledge of good security practices and industry leaders.",
            'Accepted': true
        }
    }]

    return NextResponse.json(
        {
            body: res[0].fields,
        },
        {
            status: 200,
        },
    );
}
Code block: app/api/airtable/route.ts
Here’s a list of steps we take to protect and get data:
Next.js uses HTTP methods as the route identifier. The
GETmethod is triggered when we call aGETrequest to/api/airtable.We use JavaScript’s built-in URL class to parse the incoming request and get the query parameters:
emailandsecret.We get the secret from the
searchParamsand check it against our secret token that we have stored as an environment variable. If it does not match, we return an unauthorized response.The
resvariable contains our hackathon dummy data, which we send to the client in the response body.
With this API route in place, our dashboard can securely fetch user-specific records from Airtable once authentication is complete.
How JWT sessions work in this setup
NextAuth uses a JWT session strategy by default, which is why this same pattern comes up whenever developers ask how to add JWT auth to a Next.js app. Here’s how the token flows through the setup we just built:
When a user signs in through Descope, NextAuth issues a signed JWT and stores it in an HTTP-only cookie in the browser.
On every subsequent request, that cookie is sent automatically, and NextAuth verifies the token’s signature before trusting anything inside it.
Server-side code, like the
auth()call in our Dashboard component, reads and validates that JWT to reconstruct the session without a database lookup.API routes can apply the same validation before returning protected data, which is what the secret-token check in our Airtable route is standing in for at a smaller scale.
Because the session is a signed, self-contained JWT rather than a reference to server-side storage, this setup scales cleanly across serverless functions and edge runtimes without needing a shared session store.
That said, self-contained also means the JWT can’t easily be invalidated the moment a user’s access should end. If you need to revoke a session immediately, such as when a user is suspended, you either need to keep expiration times short so a revoked JWT stops working quickly on its own, or switch NextAuth to a database session strategy, which trades that scalability for the ability to delete a session record on demand.
Also Read: JWT vs Bearer Token
Adding the same auth to a React or Node.js app
The pattern in this tutorial isn’t unique to Next.js. The same flow—a frontend that handles login and holds a session token, and a backend that validates that token on protected requests—applies to a plain React single-page app backed by a Node.js API, just without NextAuth’s Next.js-specific conventions.
Add JWT auth to a React app
A React single-page app handles the login redirect, receives the session token, and stores it on the client rather than relying on NextAuth’s server-rendered session handling. The Descope React SDK wraps your app in an AuthProvider, then gives you useSession and useUser hooks to check authentication state and attach the session token to outgoing API requests, all without writing token storage or refresh logic by hand.
Add JWT auth to a Node.js app
A Node.js backend validates the JWT on every request before serving protected routes, checking the token’s signature and claims rather than trusting it outright. The Descope Node.js SDK provides a validateSession function that does exactly this: pass it the session token from the request’s Authorization header, and it verifies the signature and returns the authenticated user’s information.
NextAuth vs Descope: which should you use?
NextAuth is a free, open-source session library you configure and maintain yourself, while Descope is a managed authentication platform that adds login methods, passkeys, MFA, and session handling through SDKs and visual flows with less code to maintain. As this tutorial shows, the two are often used together: NextAuth handles the session and cookie plumbing, while Descope handles the actual identity verification behind it.
NextAuth | Descope | |
|---|---|---|
What it is | An open-source session and token library for Next.js and other frameworks | A managed authentication platform (CIAM) |
What you maintain | Provider configuration, session callbacks, and token refresh logic | Login screens and flows are configured visually, with far less custom code |
Login methods included | None built in; requires a separate identity provider like Descope | Passwordless, passkeys, social login, MFA, and SSO built in |
Best for | Teams that want a lightweight, self-managed session layer in front of an existing provider | Teams that want login, security, and session handling covered by one platform |
Choosing between them isn’t really an either/or question. If you’re already using NextAuth and want a provider that handles the identity side without you building your own auth server, Descope fits directly into the setup in this tutorial. If you’d rather skip configuring NextAuth entirely, the Descope Next.js SDK integrates natively without an intermediate session library. Descope’s own comparison of NextAuth vs. native Next.js integration goes deeper on when each approach makes sense.
Demo day
Here are some screenshots from the hackathon template. You can also check out the live preview here: https://nextjs-hackathon-template.descope.com/
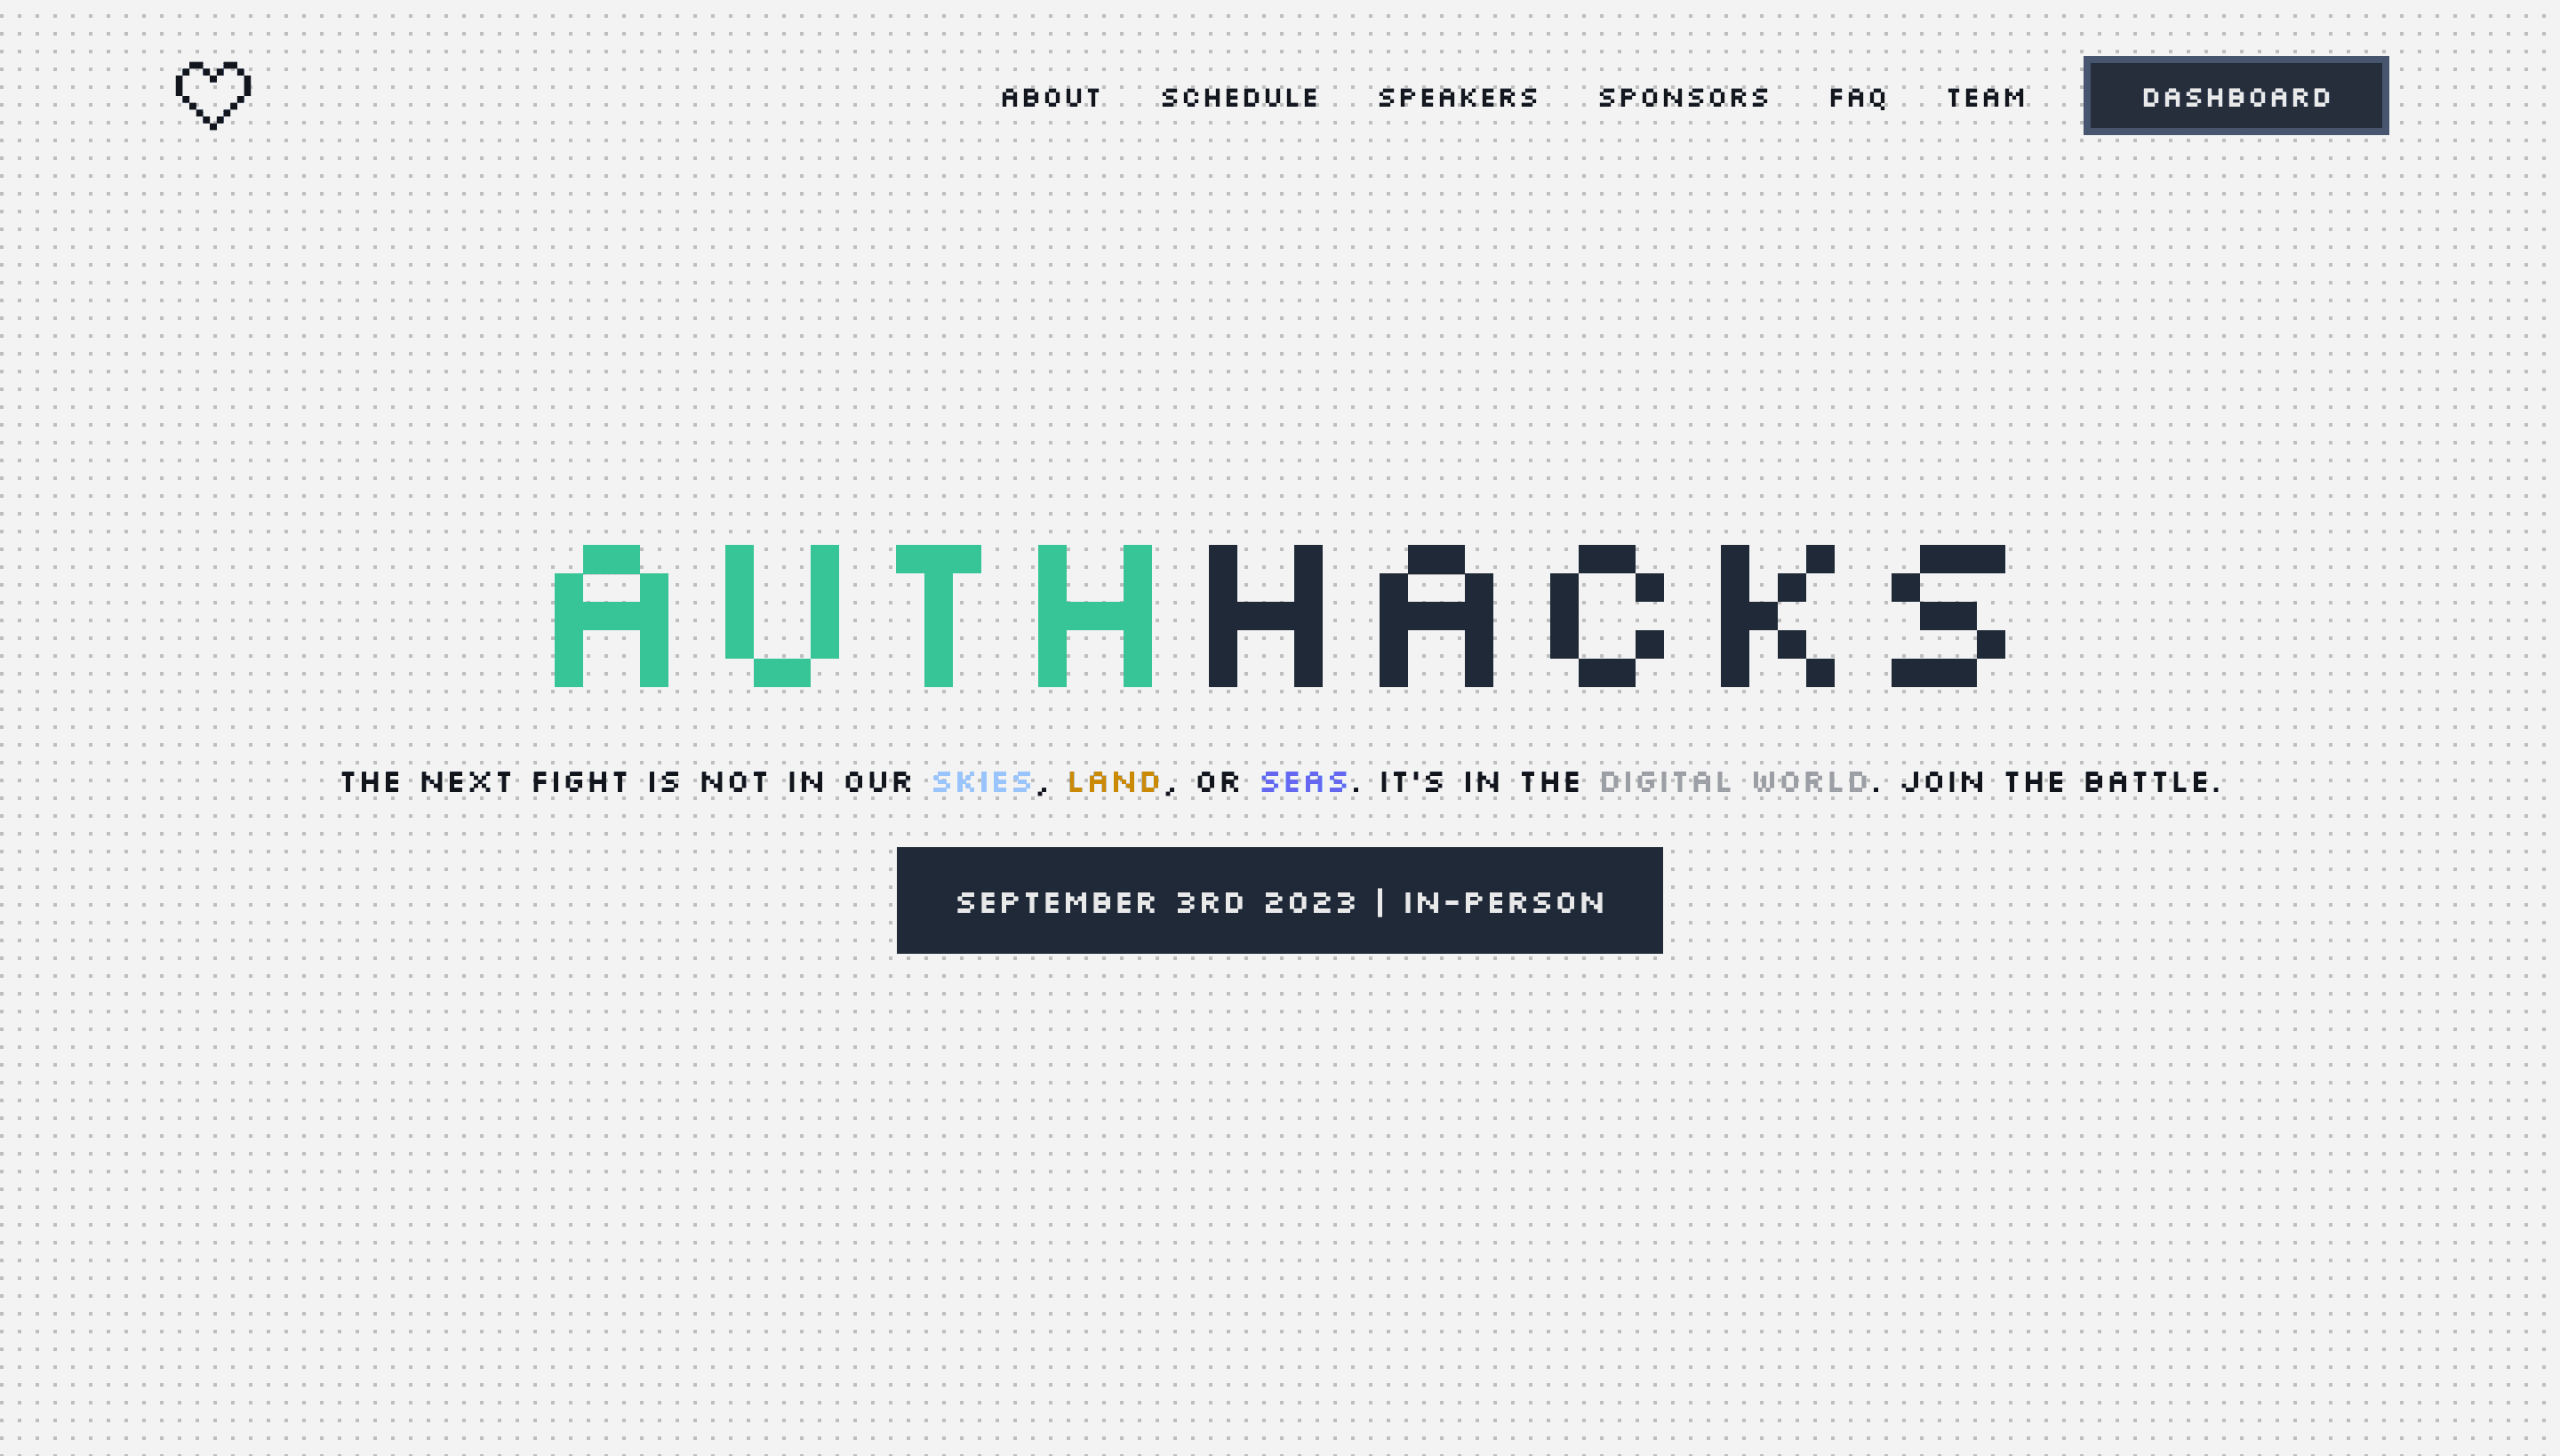

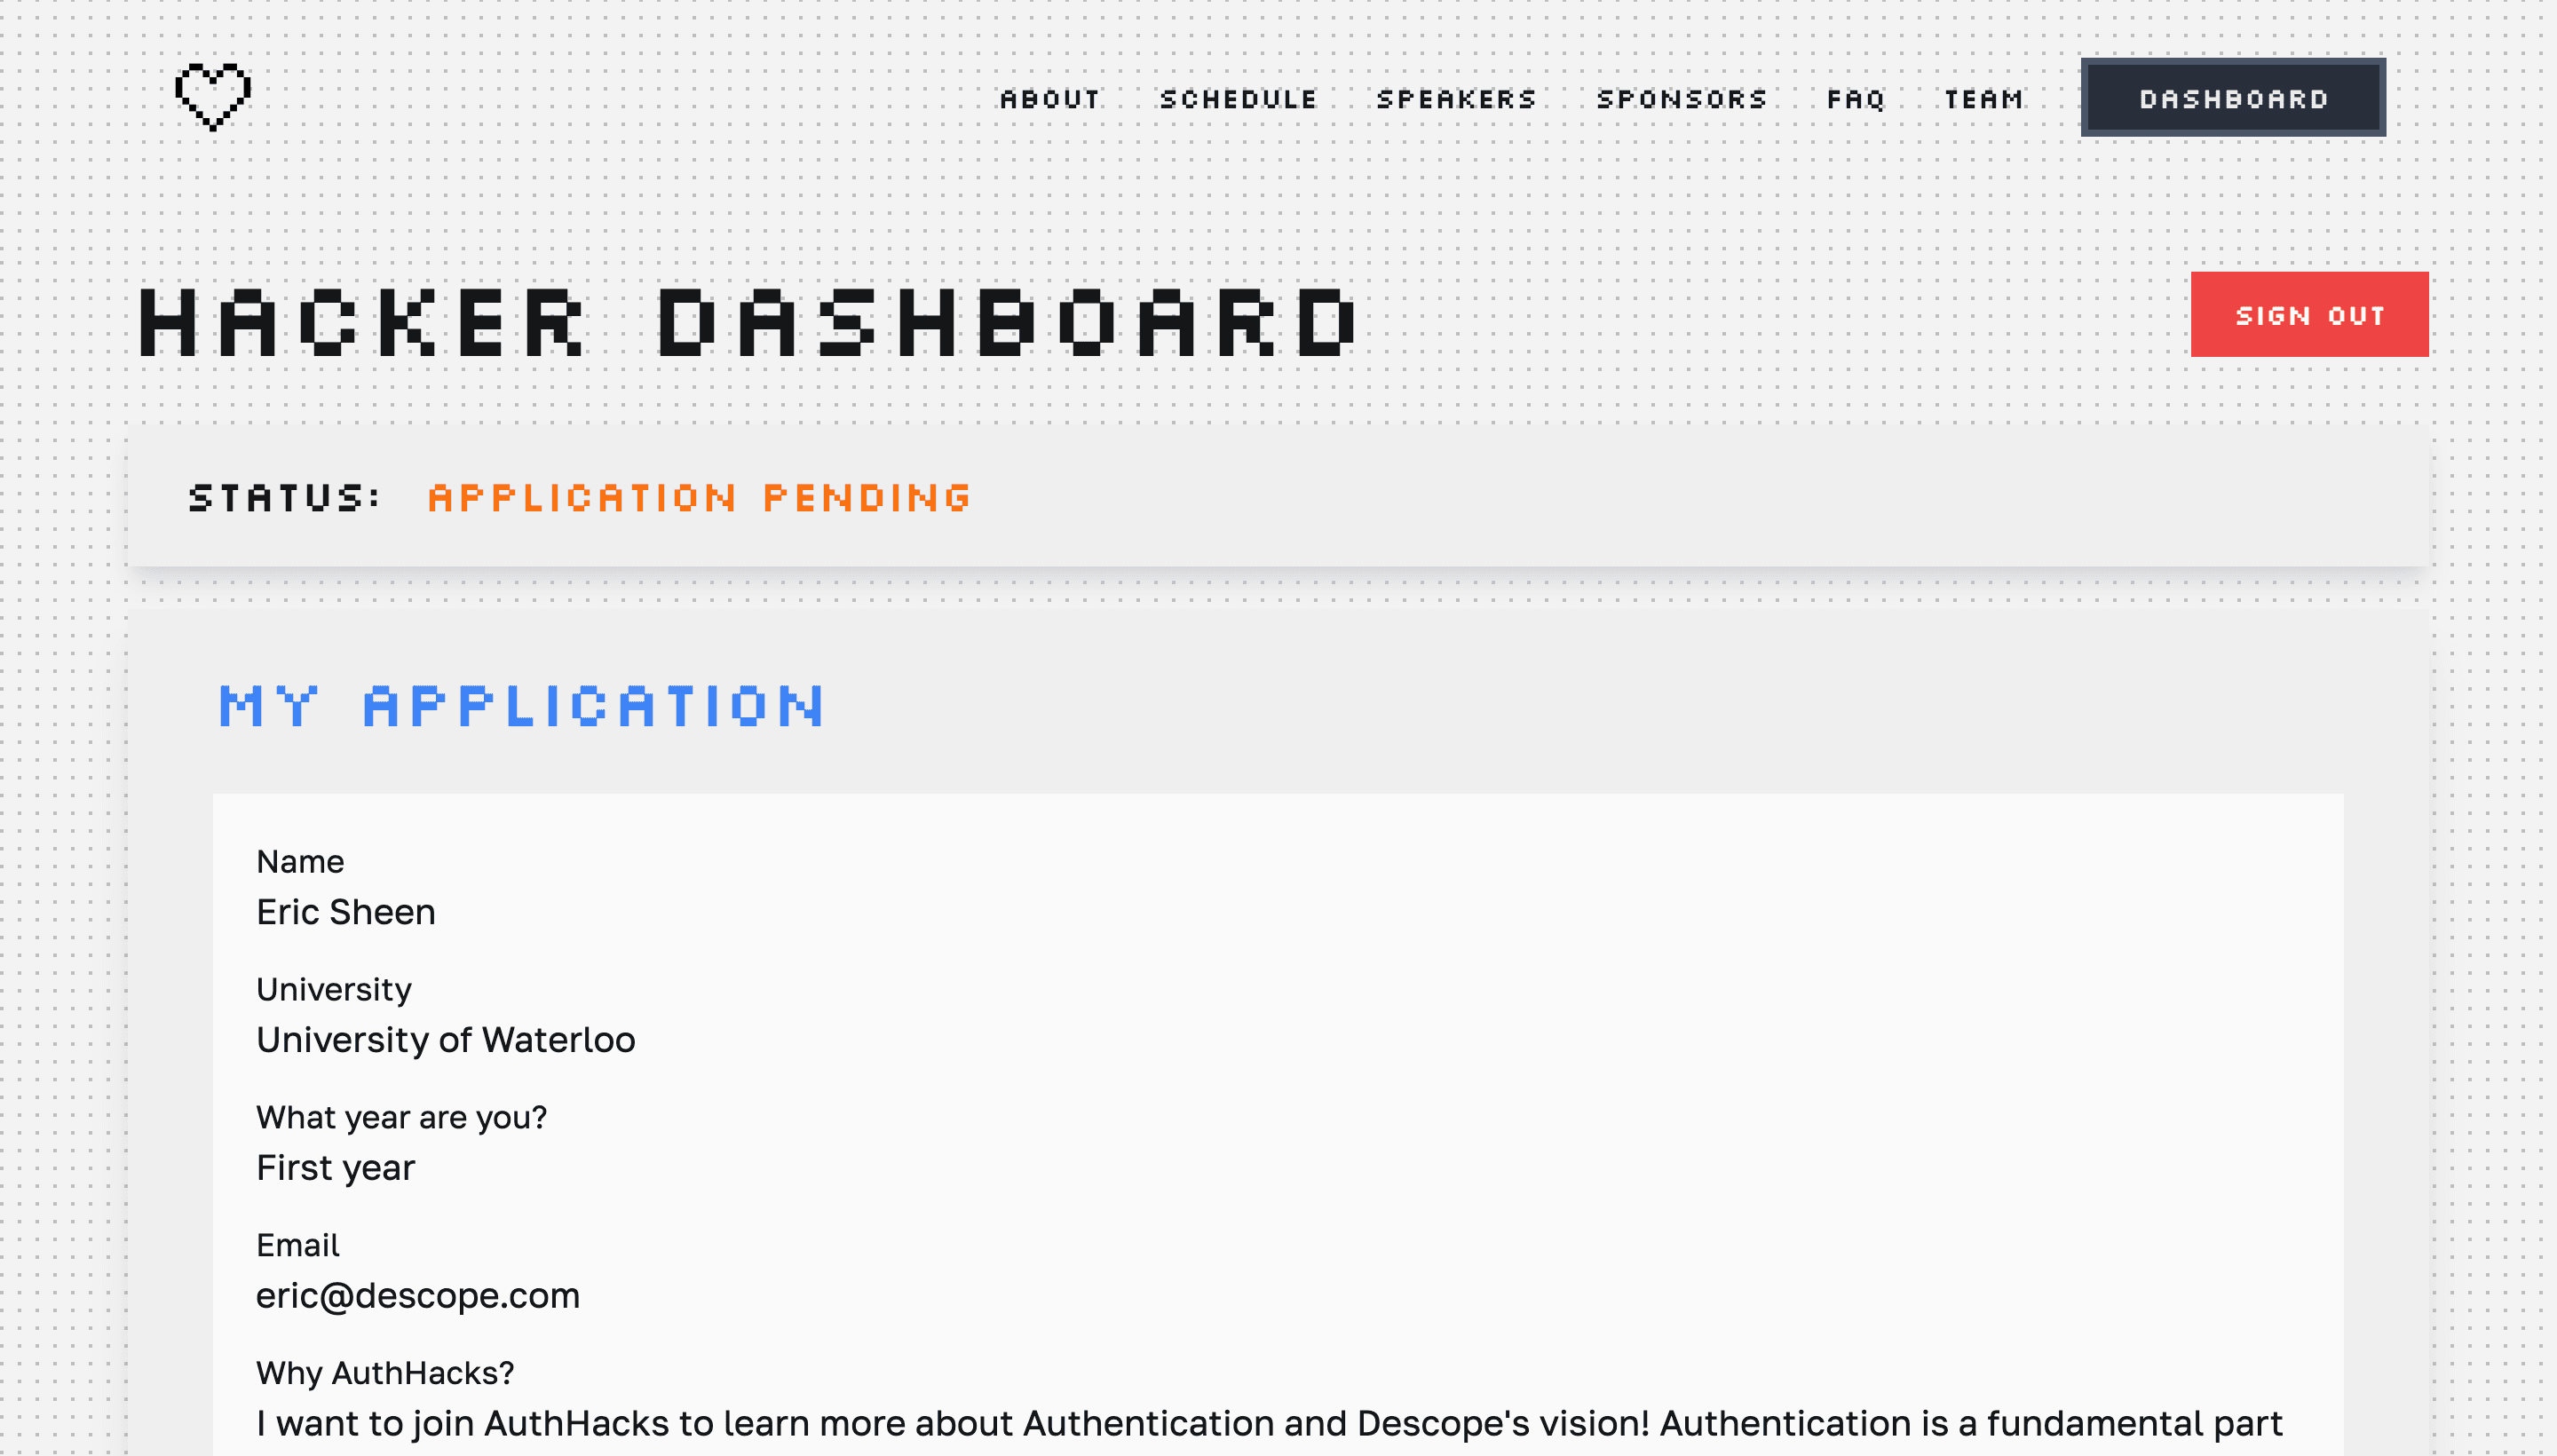
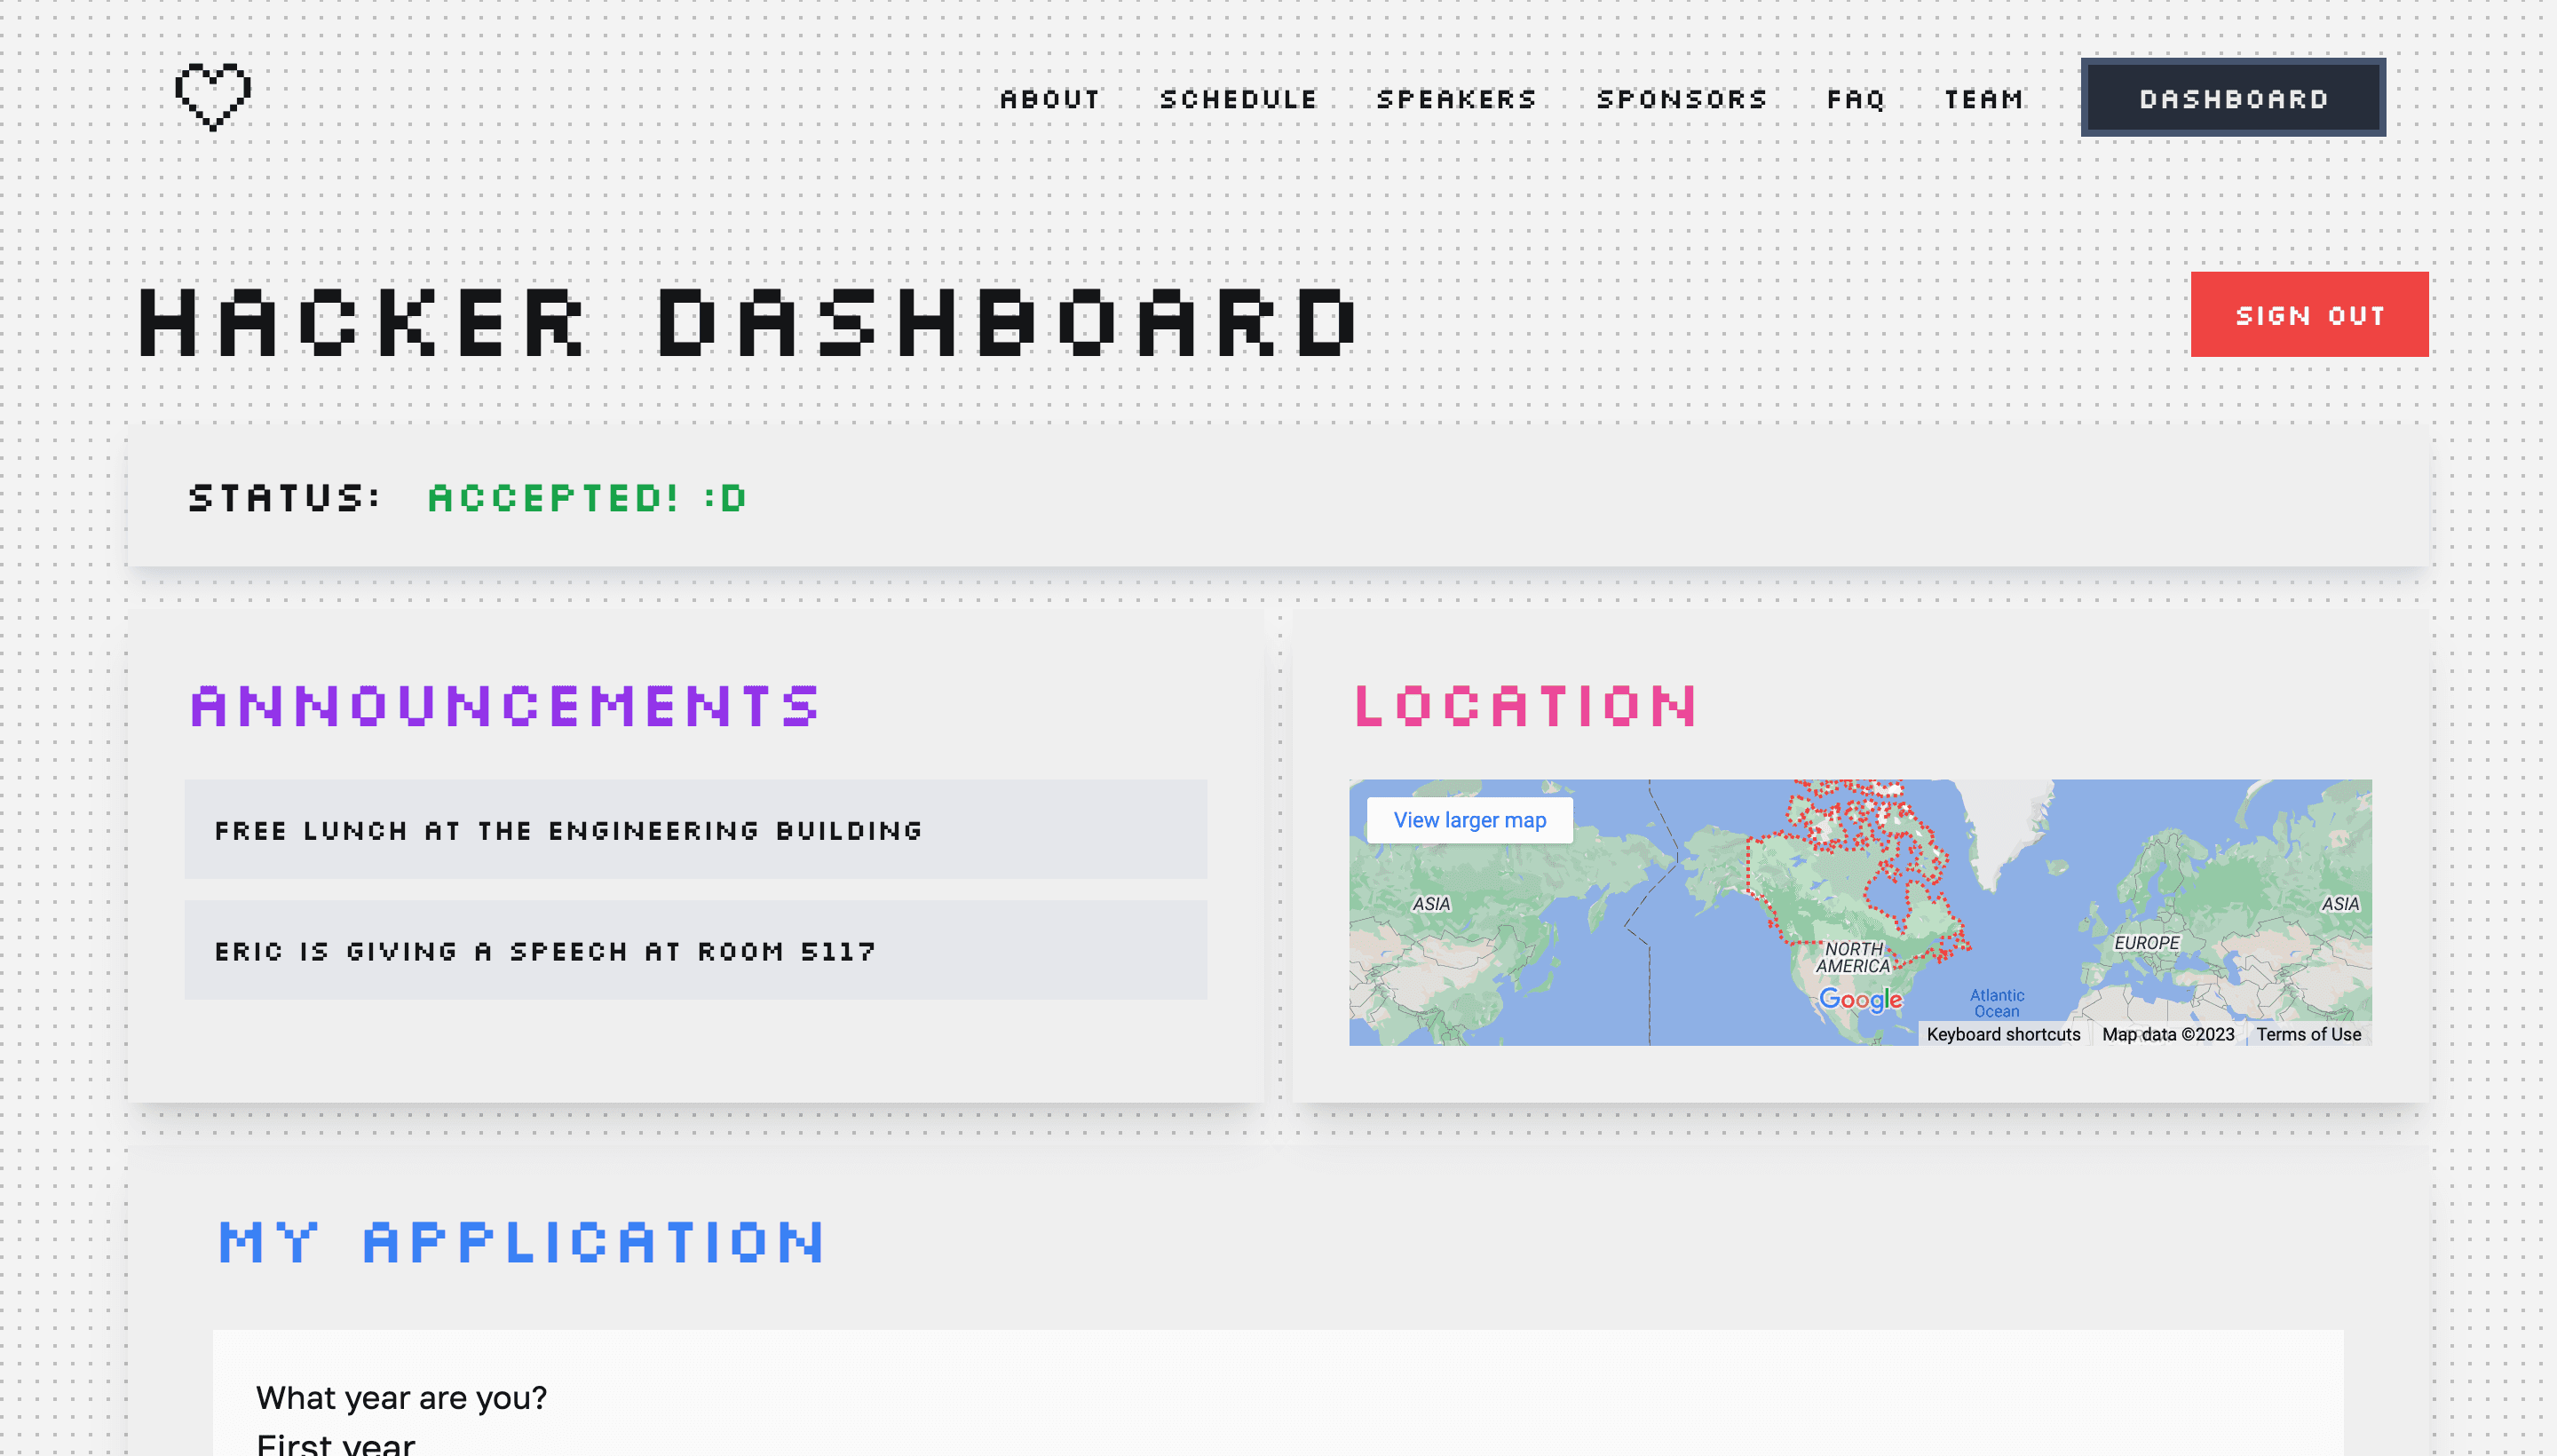
All the code used in this project is available in the GitHub repository. Feel free to clone, remix, and customize it for your own event or app.
Build Next.js authentication faster with Descope
Descope adds login, passkeys, MFA, and session handling to a Next.js, React, or Node.js app through an SDK and visual flows, so you don’t have to configure NextAuth, write provider callbacks, or manage token refresh logic by hand. Sign up for a Free Forever account to get started, or check out the Next.js SDK quickstart to see the native integration path.
To learn more about Descope and showcase what you’re building, join hundreds of developers in our AuthTown community.