
Table of Contents
Don't have the time to read the entire post? Our human writers will be sad, but we understand. Summarize the post with your preferred LLM here instead.
Passkeys are taking the spotlight in the world of identity management, and it’s easy to see why. With major players like Google, Apple, and Microsoft announcing full passkey support across their ecosystems, this (relatively) new authentication method is about to become mainstream. But what if your app isn’t one of the tech giants? Don’t worry—we’ve got you covered.
If you’re using Auth0 and want to implement passkeys, this guide will walk you through integrating passkey authentication with Auth0, using Descope as your OIDC Provider. The best part? You don’t have to overhaul your entire system to add this modern, secure authentication method.
Say hello to passkeys
Passkeys are the future of passwordless authentication. Forget about remembering passwords or worrying about credentials getting stolen in a data breach. Passkeys eliminate the need for passwords entirely by using device-based biometrics—think fingerprints, face scans, or PINs. This not only boosts security but also offers a smoother and more seamless login experience for your users.
In short: no credentials to steal = no brute-force or credential stuffing attacks. It’s a win for both security and user experience. And with no passwords to manage or forget, users no longer have to deal with the hassle of resetting credentials.
So, how can you get in on this action? Let’s walk through how you can implement passkeys with Auth0.
Check out: Passkey Authentication in Action
How this Auth0 passkeys integration works
The beauty of using Descope as a federated IdP is that you can seamlessly add passkey authentication to your app without disrupting your current system. With Descope acting as the OpenID Connect (OIDC) Service Provider (SP), your app can swap out traditional username/password logins for passkeys, while still using Auth0 as your identity provider (IdP) and user management solution.
Learn more: Descope vs Auth0 | CIAM platform comparison
Here's a quick rundown of the key concepts:
OIDC: A simple identity layer built on top of OAuth 2.0 that allows your app to verify user identity and obtain basic profile information.
IdP: The system responsible for creating, maintaining, and managing user identities. As your IdP, Descope will handle passkey authentication while Auth0 manages your users.
The diagram below illustrates how this process works:
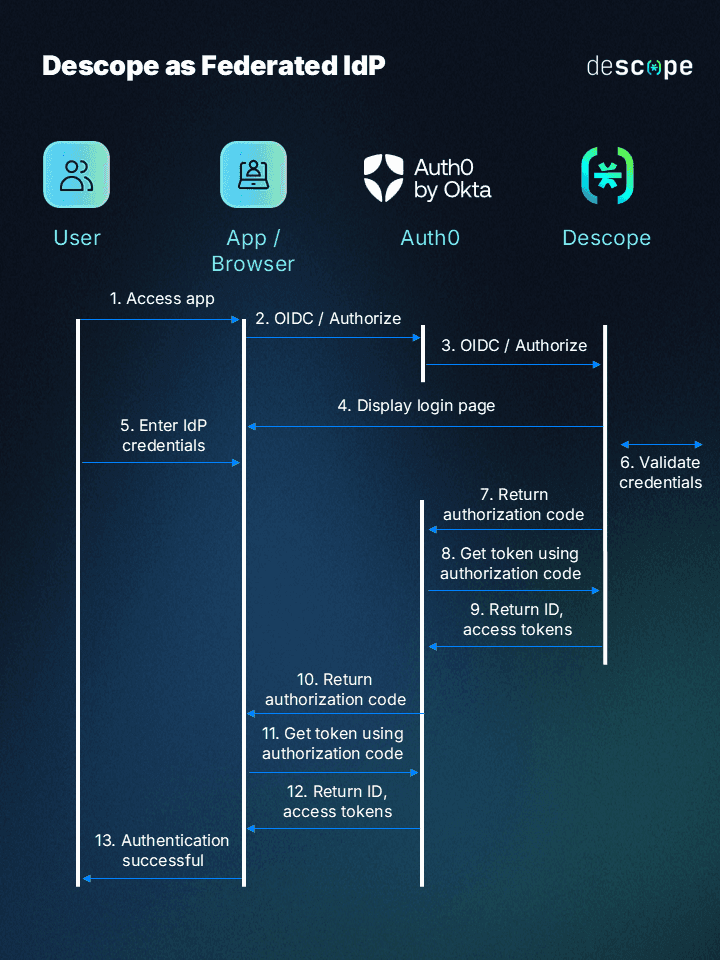
By using Descope as your IdP, your Auth0-powered app can now benefit from passkey authentication without any major changes to your existing system.
Setting up Descope as your IdP
Let’s get things set up! The first step is configuring Descope as your OIDC IdP in Auth0. All you need is:
A Descope account: Sign up for a Free Forever account.
Access to an Auth0 account that supports Enterprise External Connections.
Once you’ve got those, follow along with this guide to learn how to integrate passkeys with your app using Descope and Auth0.
Setting up your Descope Flow
Descope Flows are minimal-code drag-and-drop workflows that make building authentication a breeze. For this setup, we’re using an OIDC Flow designed specifically to handle passkey authentication.
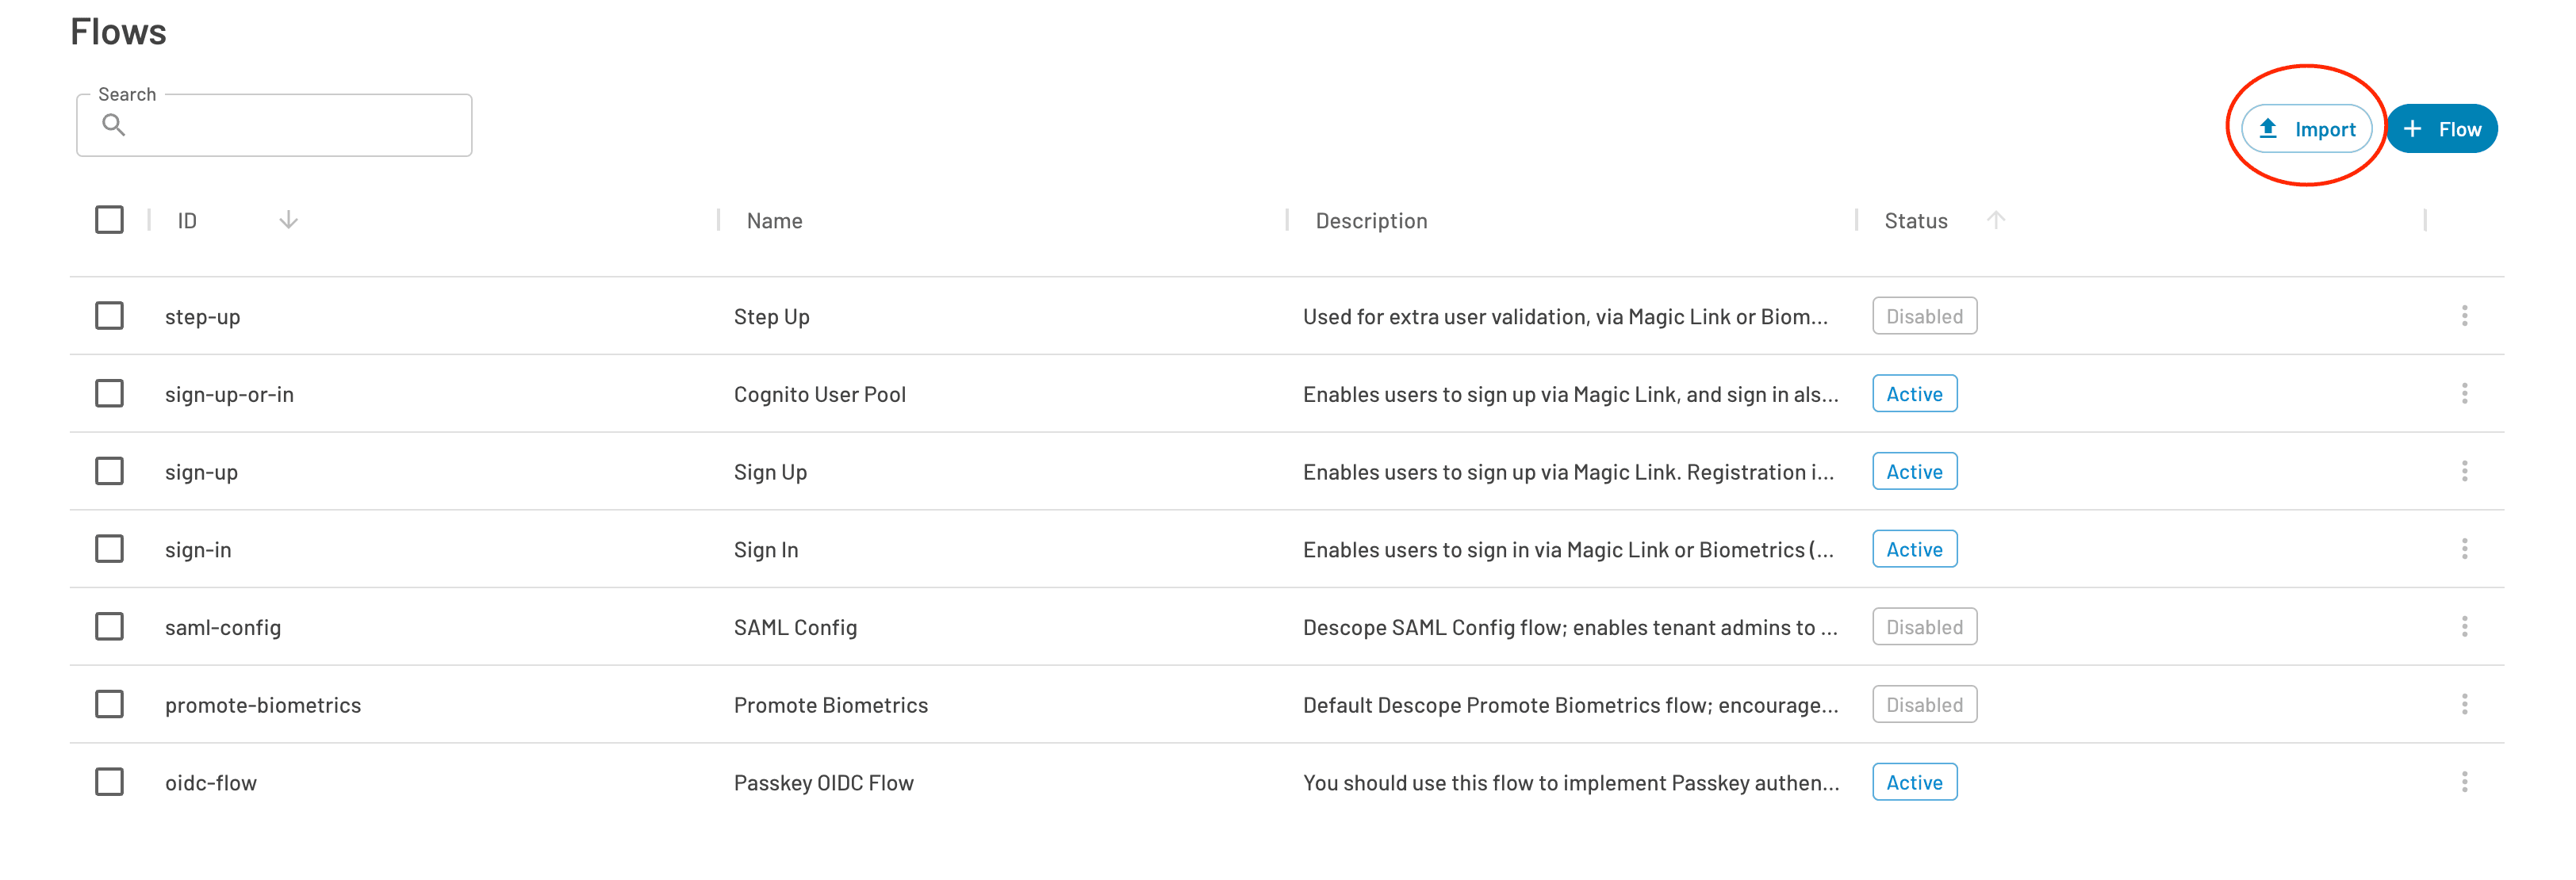
In our sample app repository, you can download the oidc-flow JSON, which you can import into your own project. This flow ensures that user emails are always verified when using passkeys, providing an extra layer of security.
To complete the setup, you’ll need to embed the Flow component in your application using either React or an HTML Web Component. Be sure to specify the correct hosting URL in the Descope Console because Auth0 will need to know where to redirect users once they select Login with Passkeys.
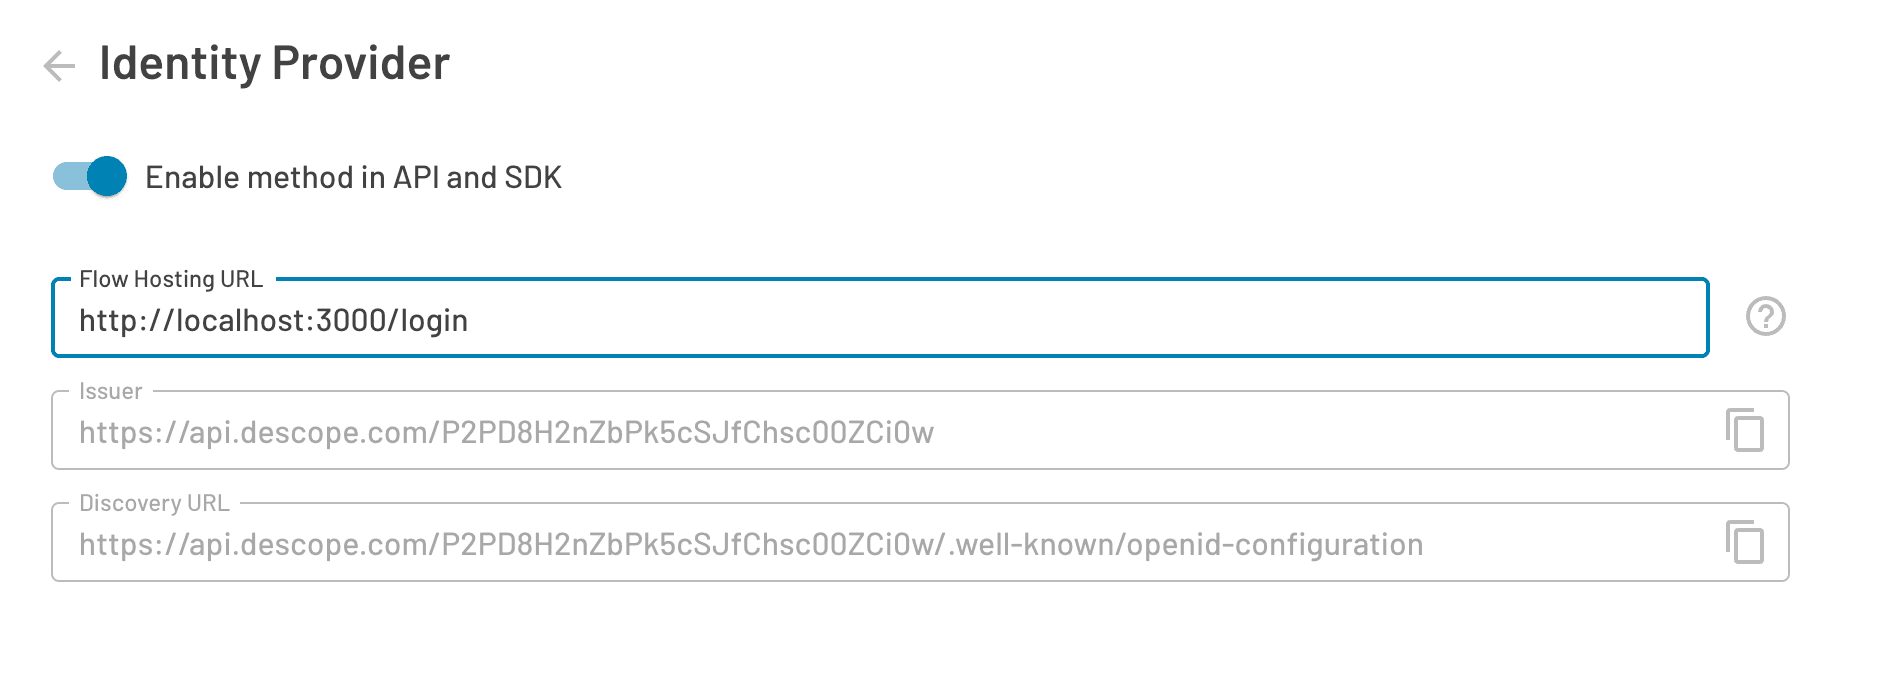
Note: Keep this page open, as you’re going to need this information for the next steps.
If you would like to edit the UI of the passkey login screen, you can do that in the Flow Editor. Once your flow is complete and your login redirect has been configured, you’ll need to connect your flow to Auth0 by setting Descope up as an Enterprise OIDC connection.
Descope as an Enterprise Connection
Let’s connect Descope to Auth0 as an Enterprise OIDC connection. To do this, navigate to Authentication > Enterprise in your Auth0 admin dashboard and add a new OIDC connection.
Here’s the info you’ll need, followed by screenshots of where to find it:
Connection Name: Name it Descope.
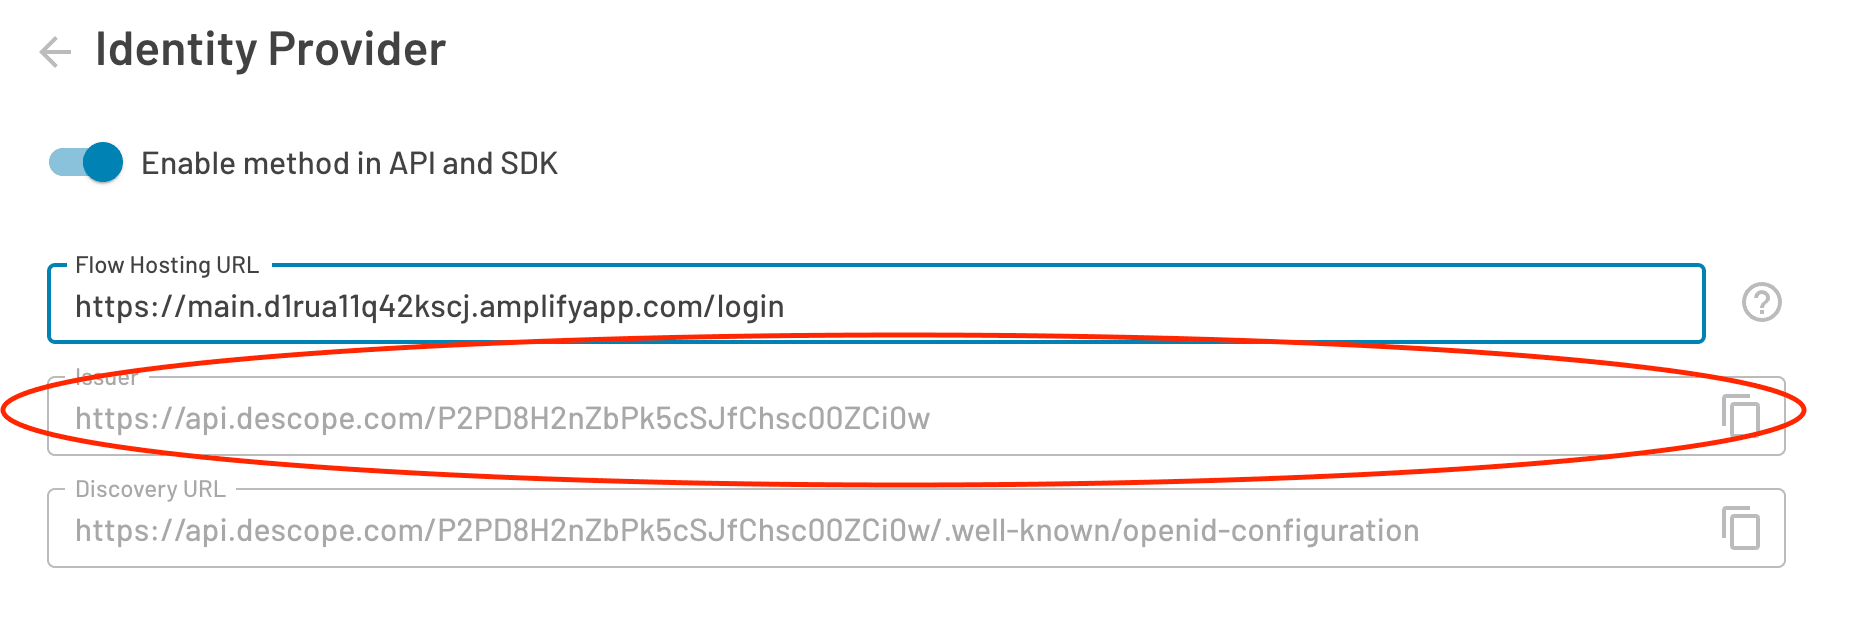
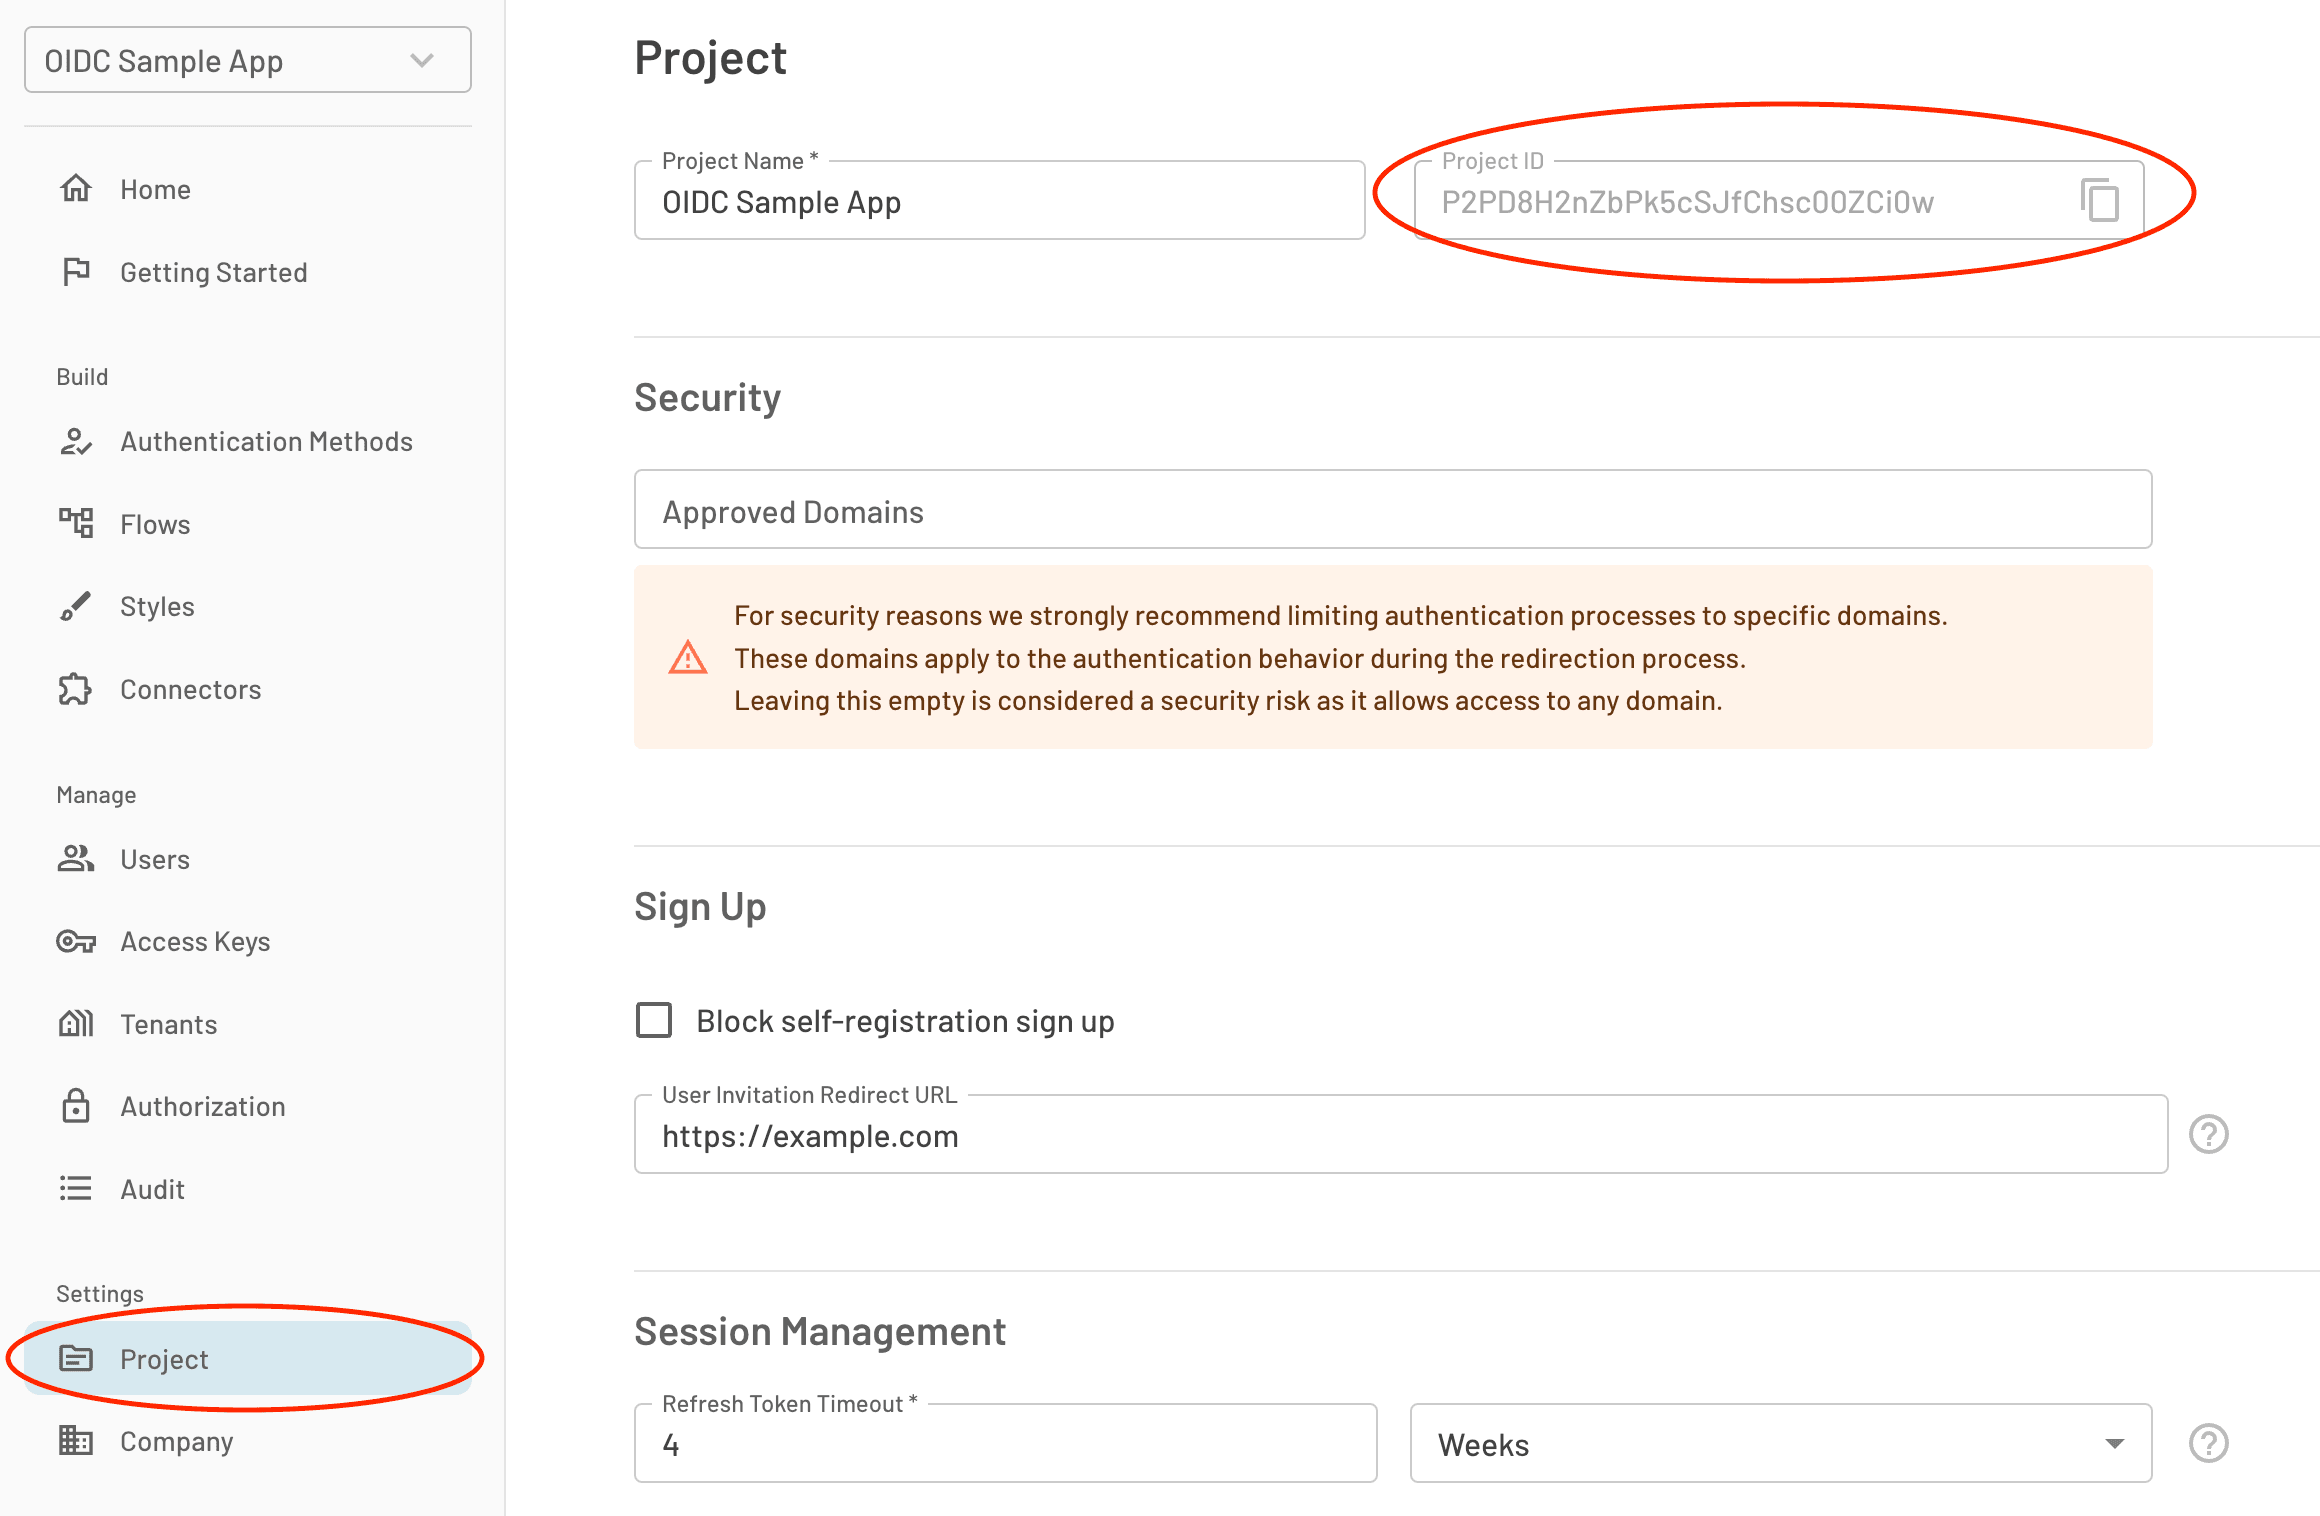
Issuer URL: This is found in your Descope SSO configuration settings.
Client ID: Your Descope Project ID.
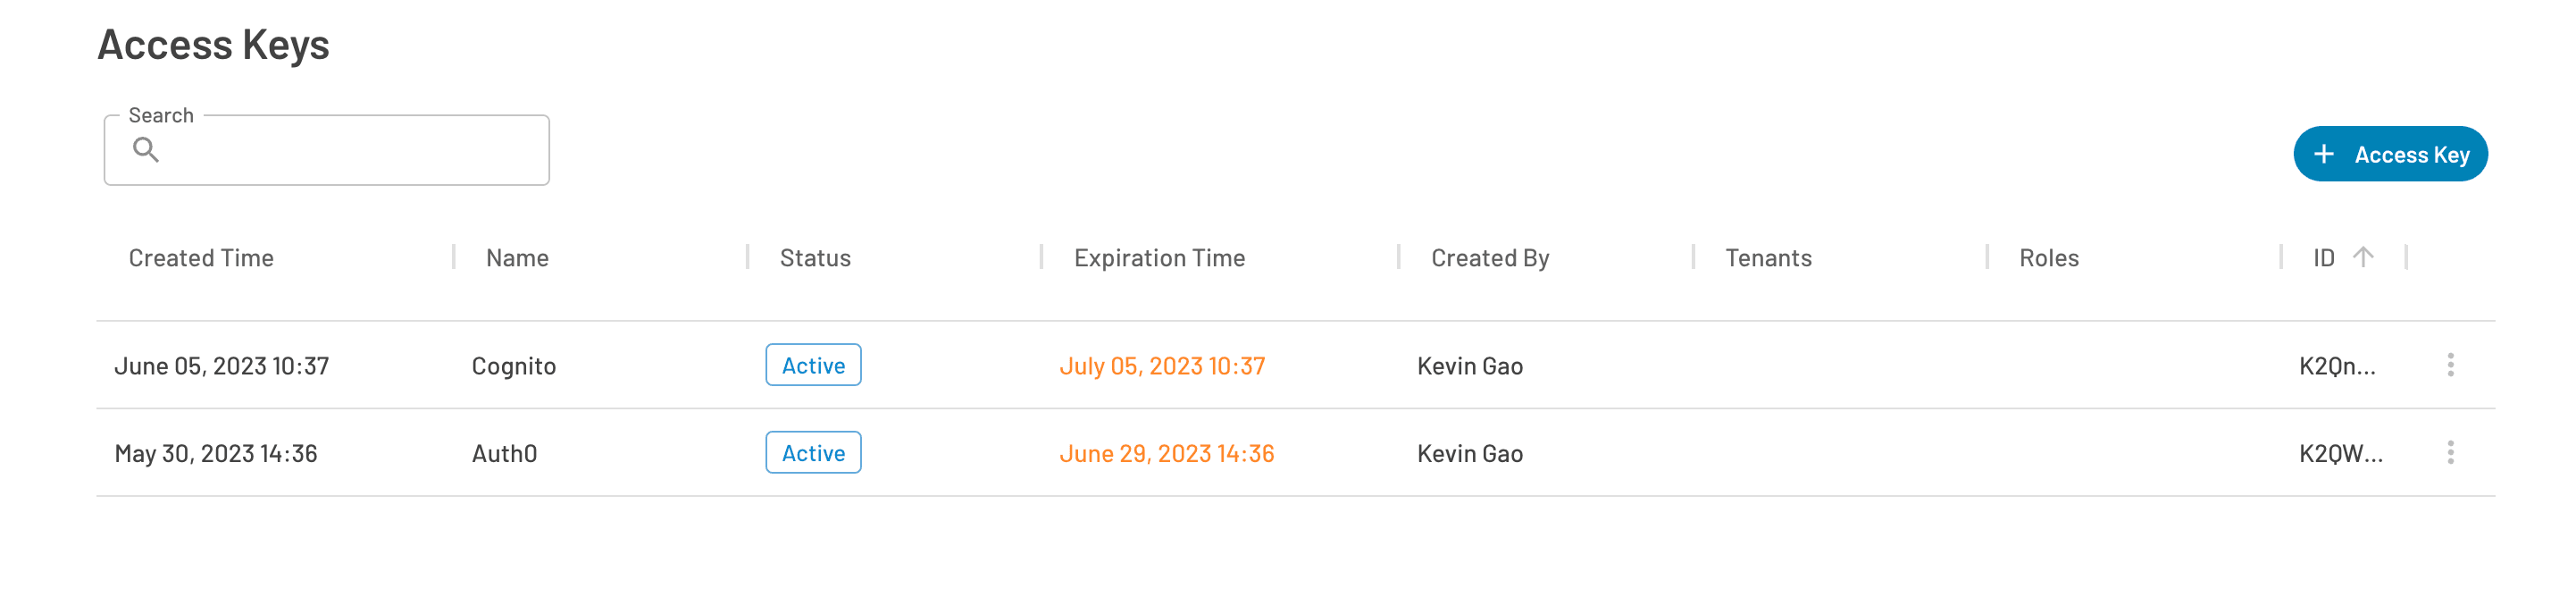
Client Secret: API key generated under Access Keys in the Descope Console.
Once you’ve gathered everything, put it in the configuration panel as shown below:
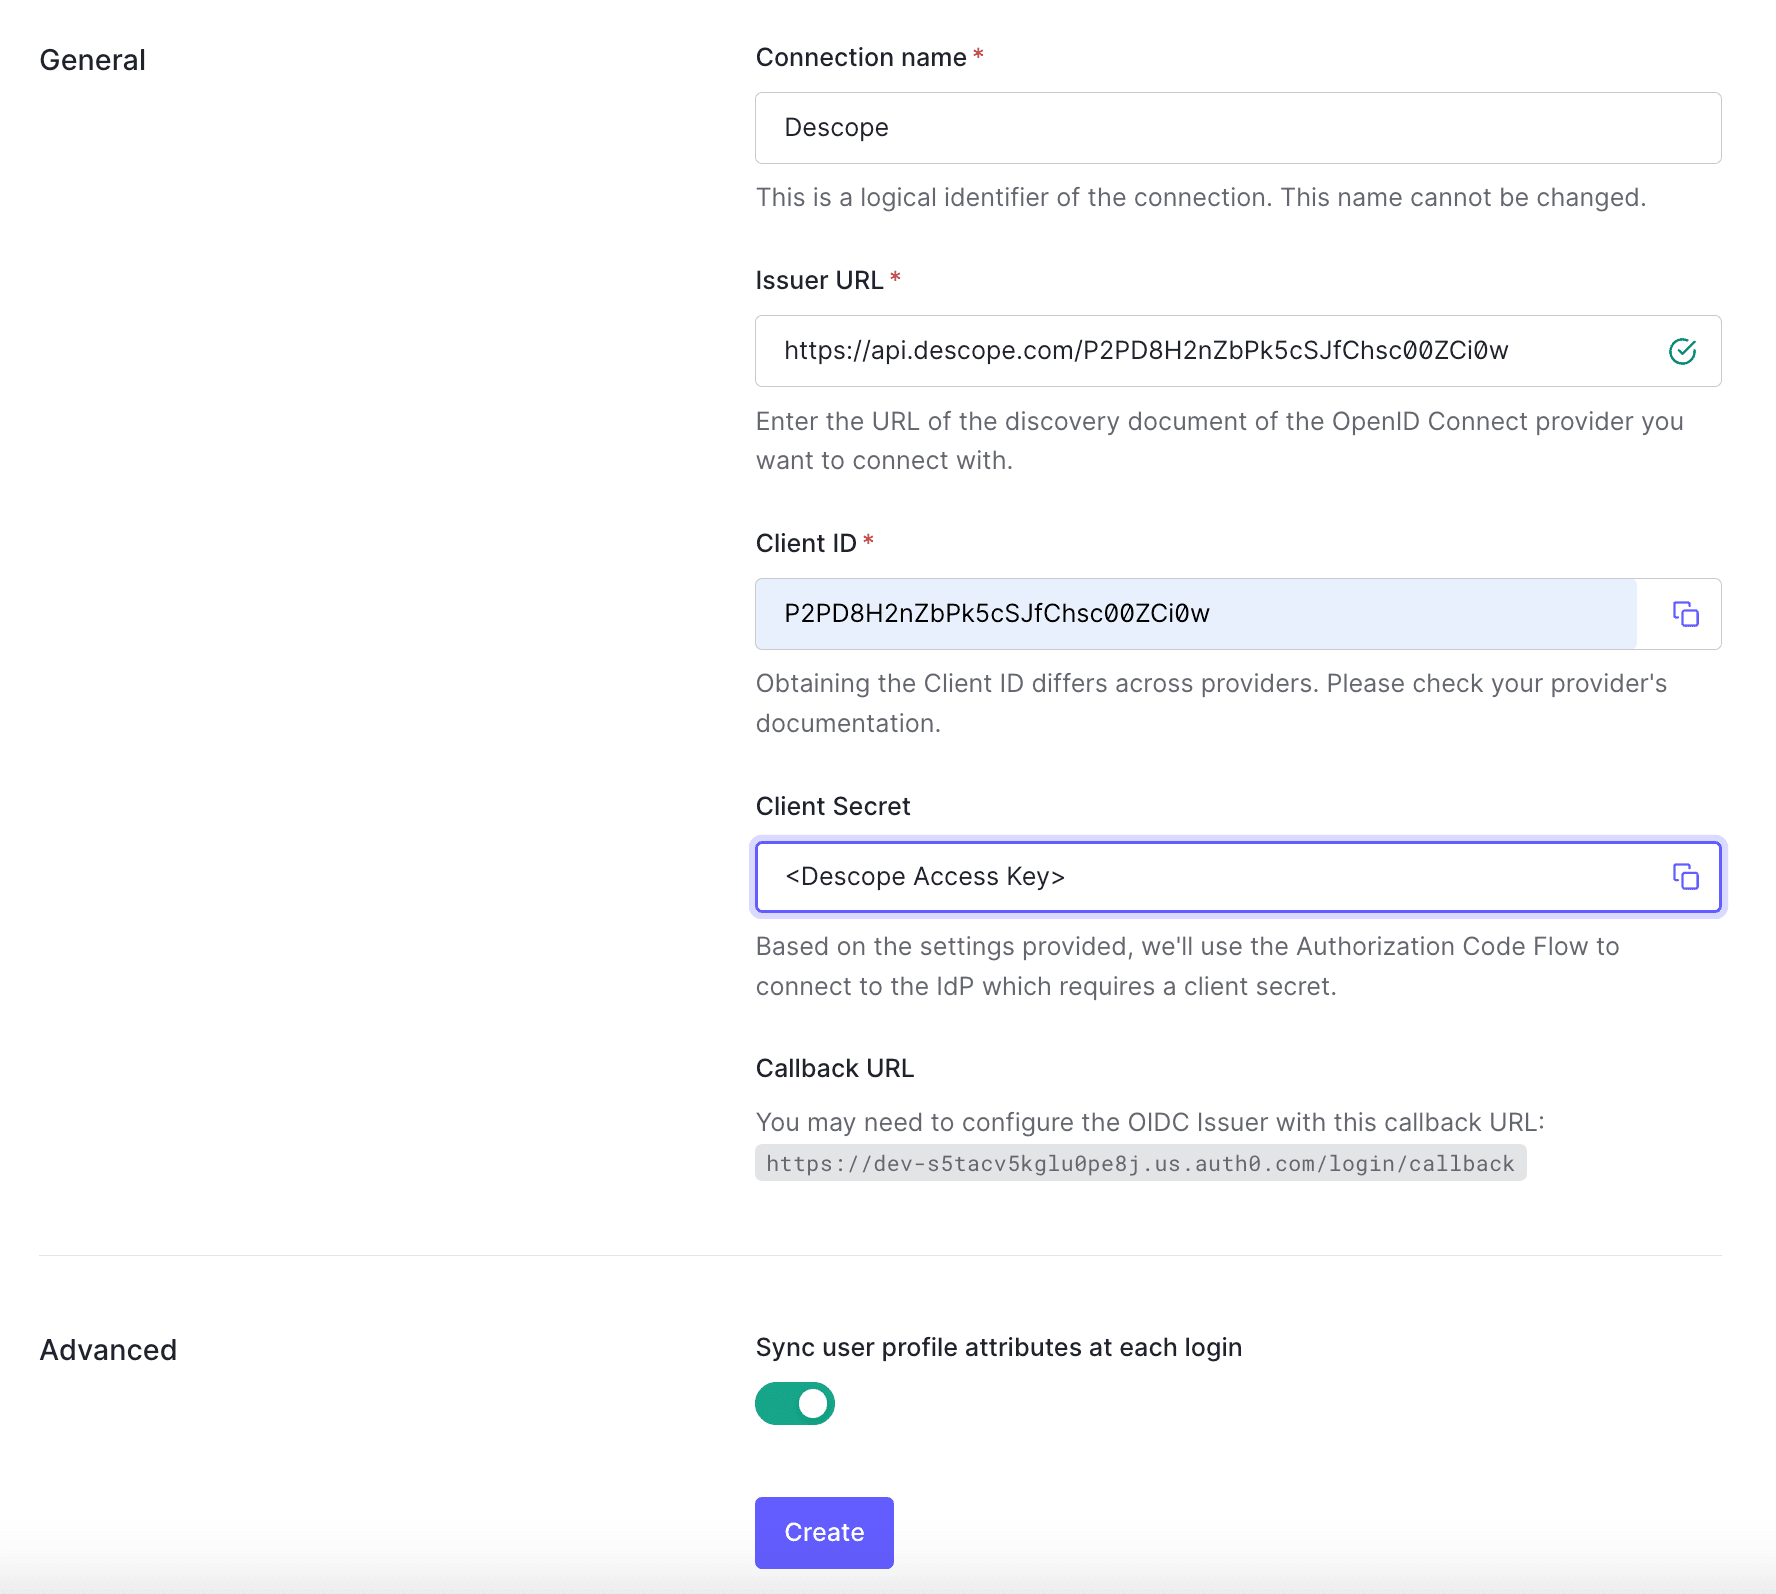
When setting up the connection, you’ll need to enable the Sync user profile attributes at each login toggle at the bottom of the screen, as seen on the last screenshot. This ensures that when users log in with passkeys, their profile attributes are synchronized, and they won’t end up with duplicate accounts in Auth0.
This step also prevents malicious users from creating passkeys for someone else’s account, as they’ll need to verify their identity through traditional Auth0 credentials before they can link their passkeys.
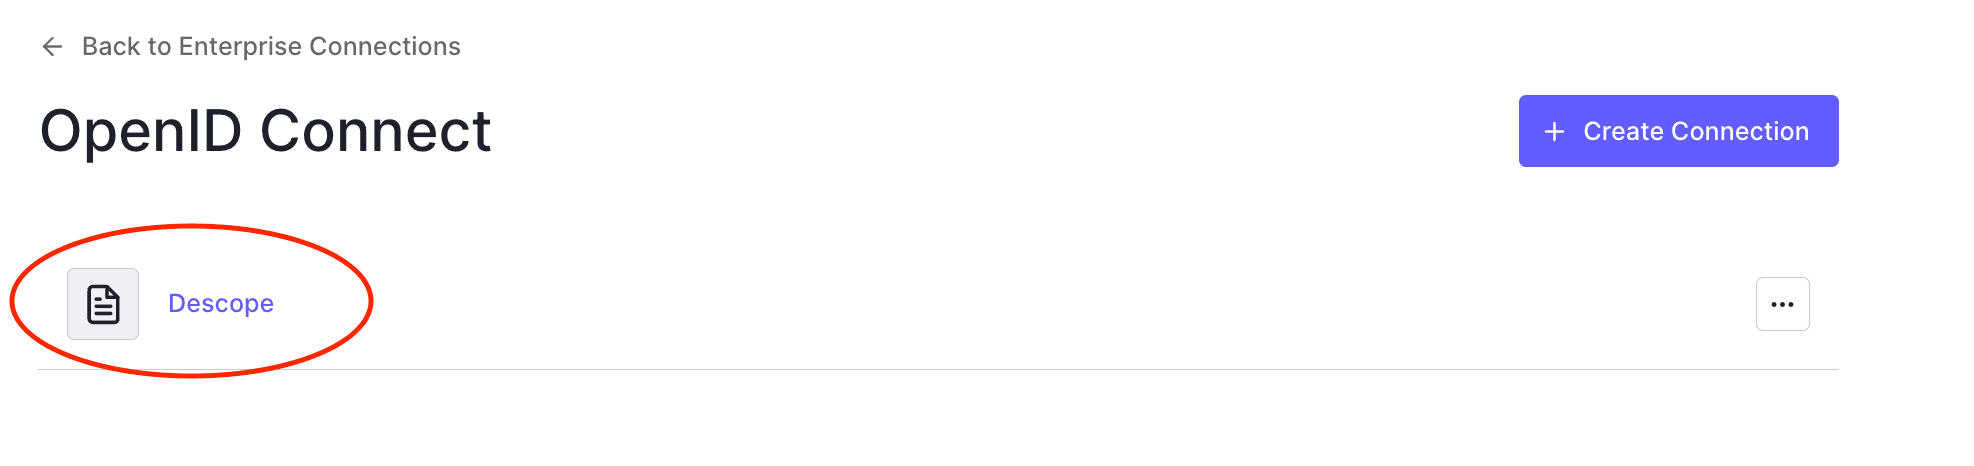
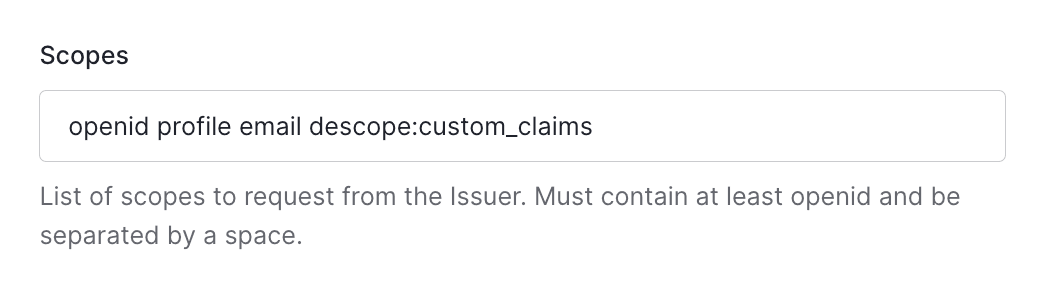
To finish configuring your OIDC connection, click on the new connection you’ve just created and make sure that the four scopes are defined in your connection configuration. These scopes will ensure that the correct information is passed between Descope and Auth0 during authentication.
Add the login button
With the connection and scopes configured, it's time to update your Auth0 login page.
If you’re using a custom login page, you’ll need to add a Login with Descope button, which will redirect users to your Descope Flow for passwordless login.
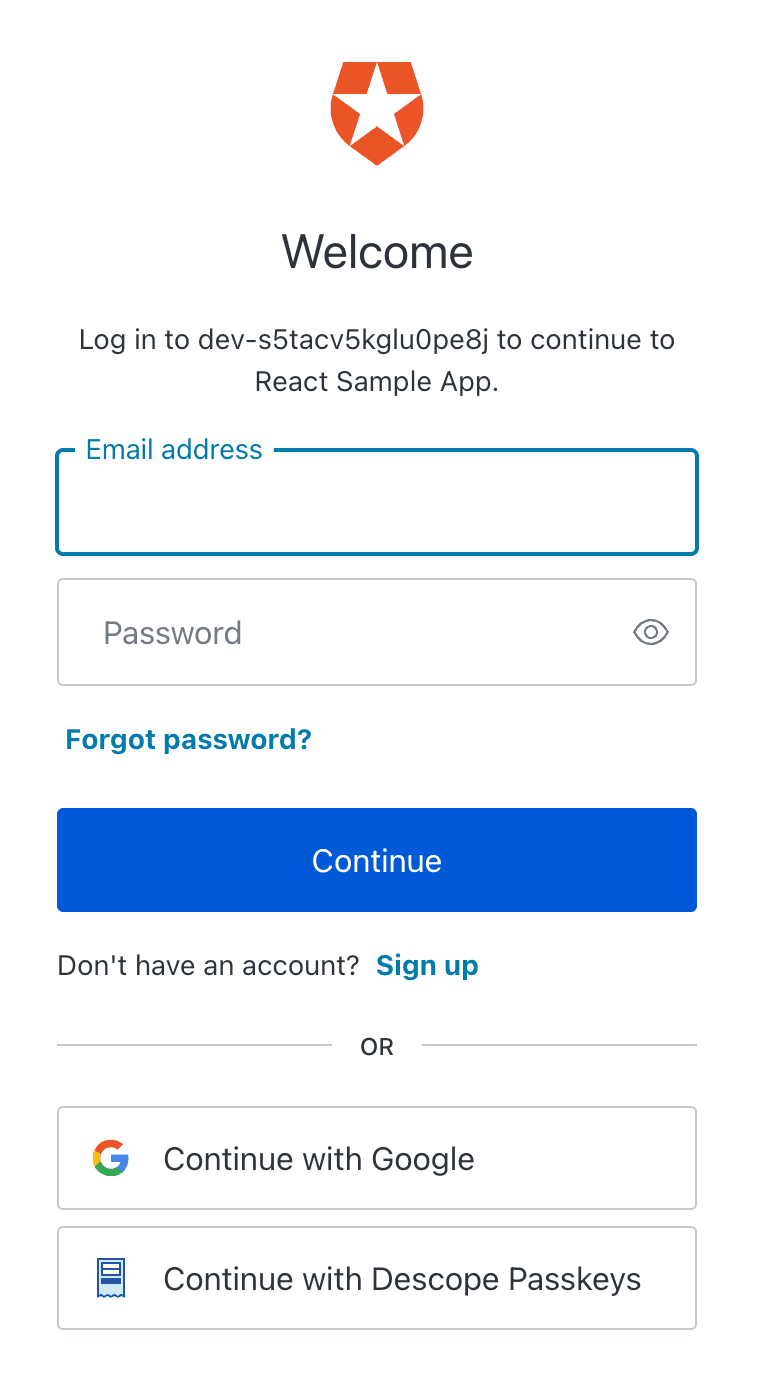
If you're using Auth0's Universal Login Experience, simply navigate to the Login Experience tab in your Auth0 dashboard and select Display connection as a button.
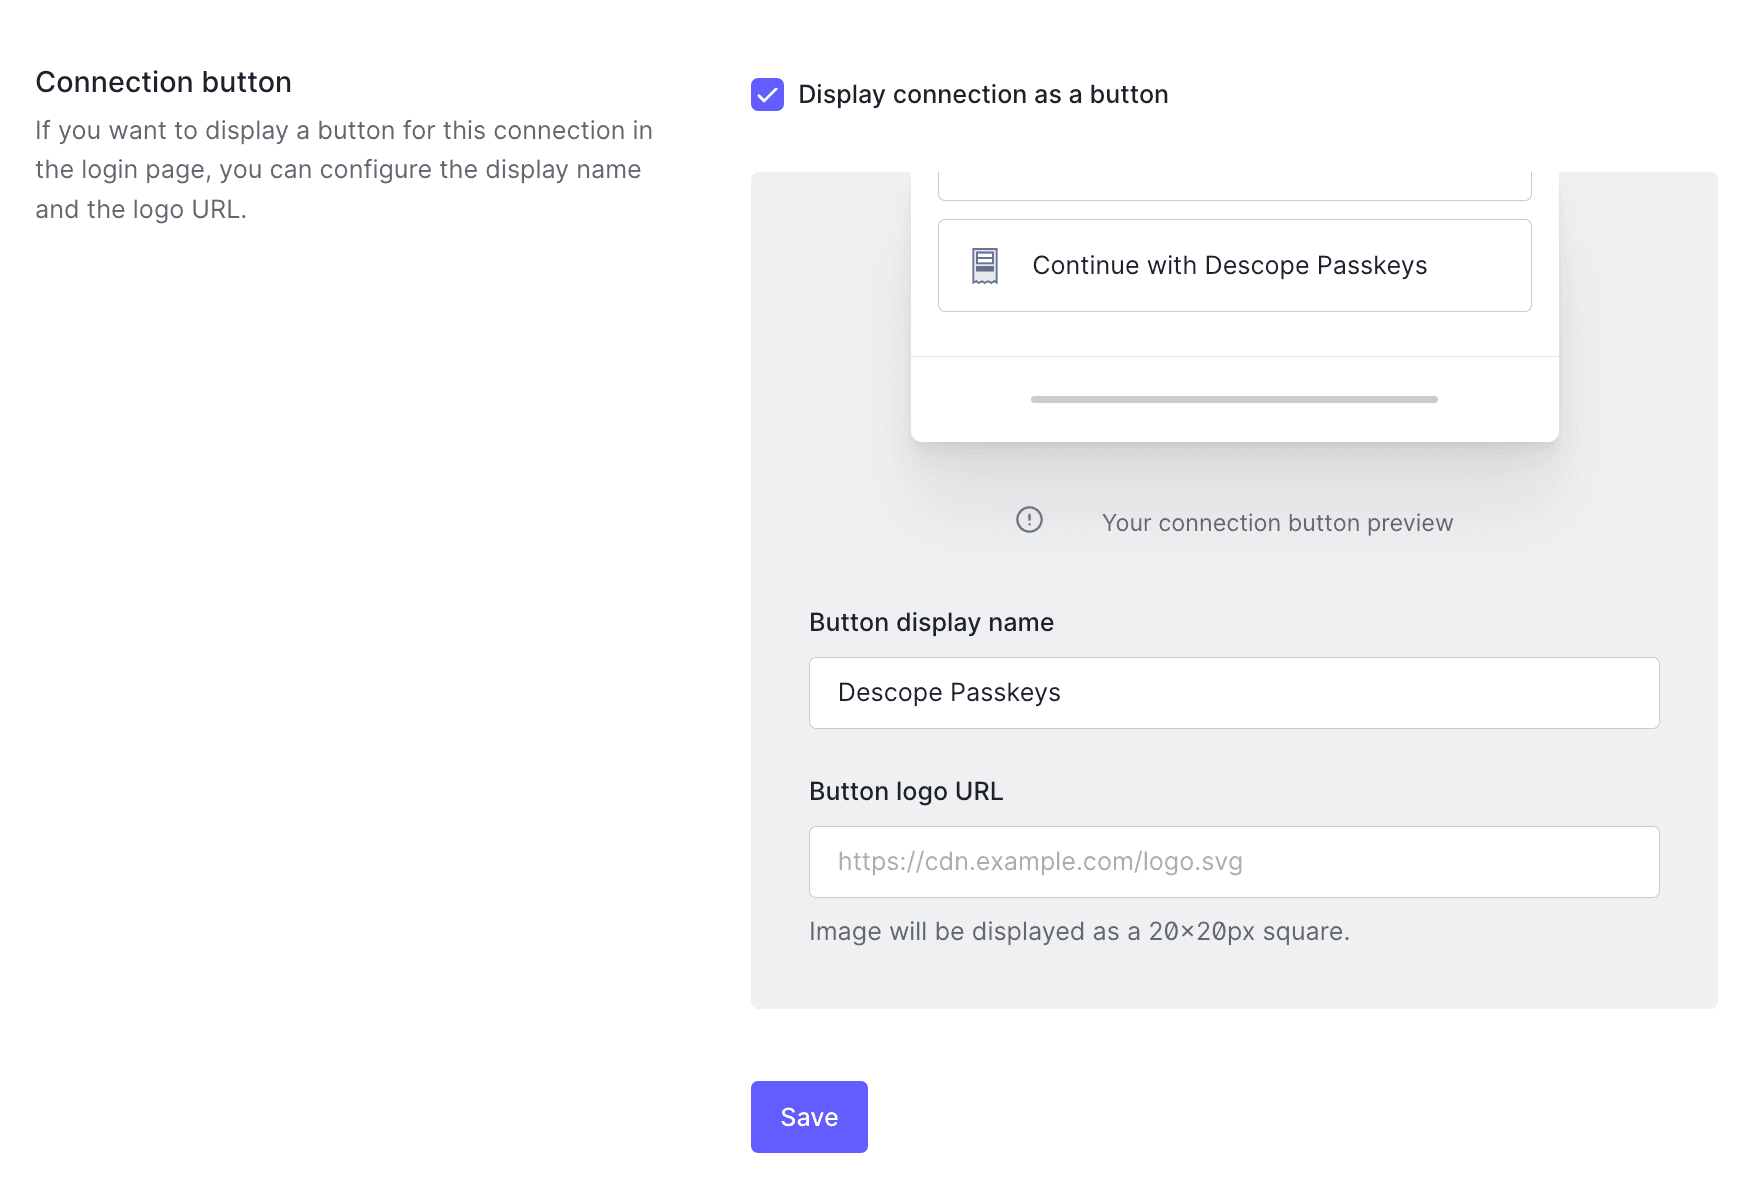
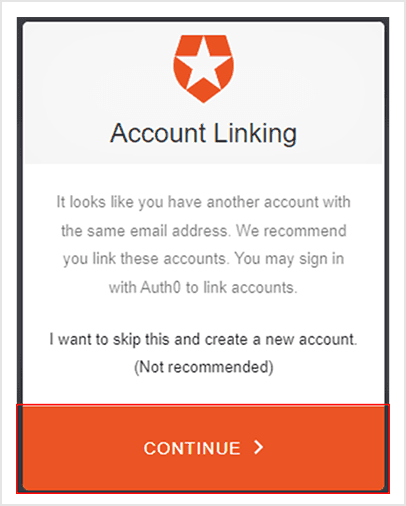
This will redirect users to your Descope Flow. Your login screen will look something like this:
When users click Continue with Descope Passkeys, they will be redirected to your Descope Flow, where they can complete their login using biometrics. Once they authenticate, the app will process the login just as it would with traditional Auth0 credentials, but without the need for a password.
Auth0 passkeys made easy with Descope
With Descope and OIDC, you can wave goodbye to the age of passwords and unlock a new era of secure, seamless passkey authentication. The best part? You can fully customize your authentication flow without touching any of your existing APIs, backend session validation, or user identity store. It's the future of authentication—today.
Want to see it in action? Check out our sample React application on GitHub for a hands-on demo.
Curious to discover more? Book time with our auth experts.